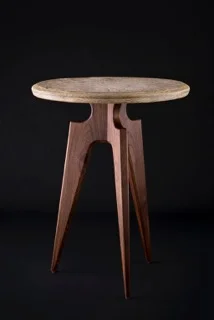
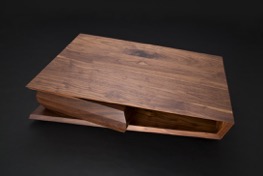
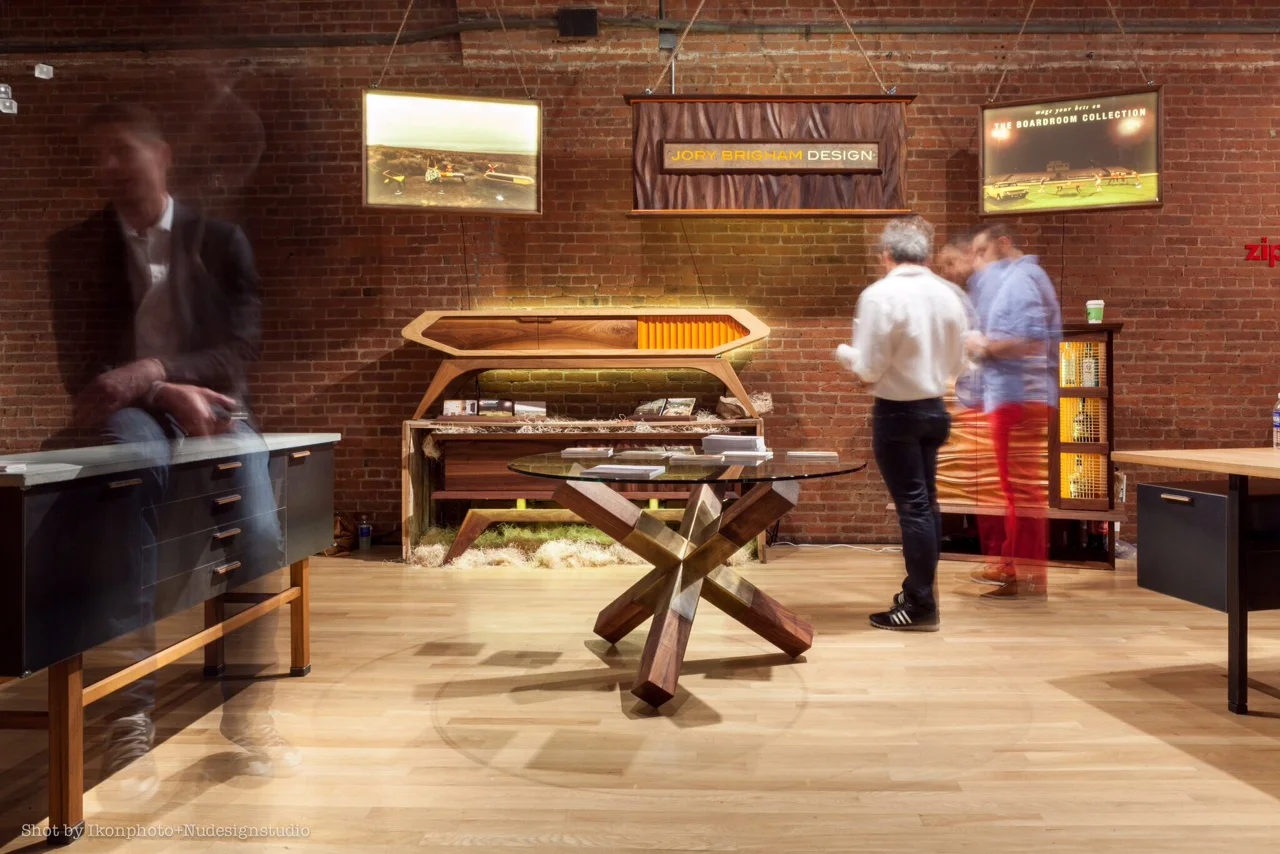
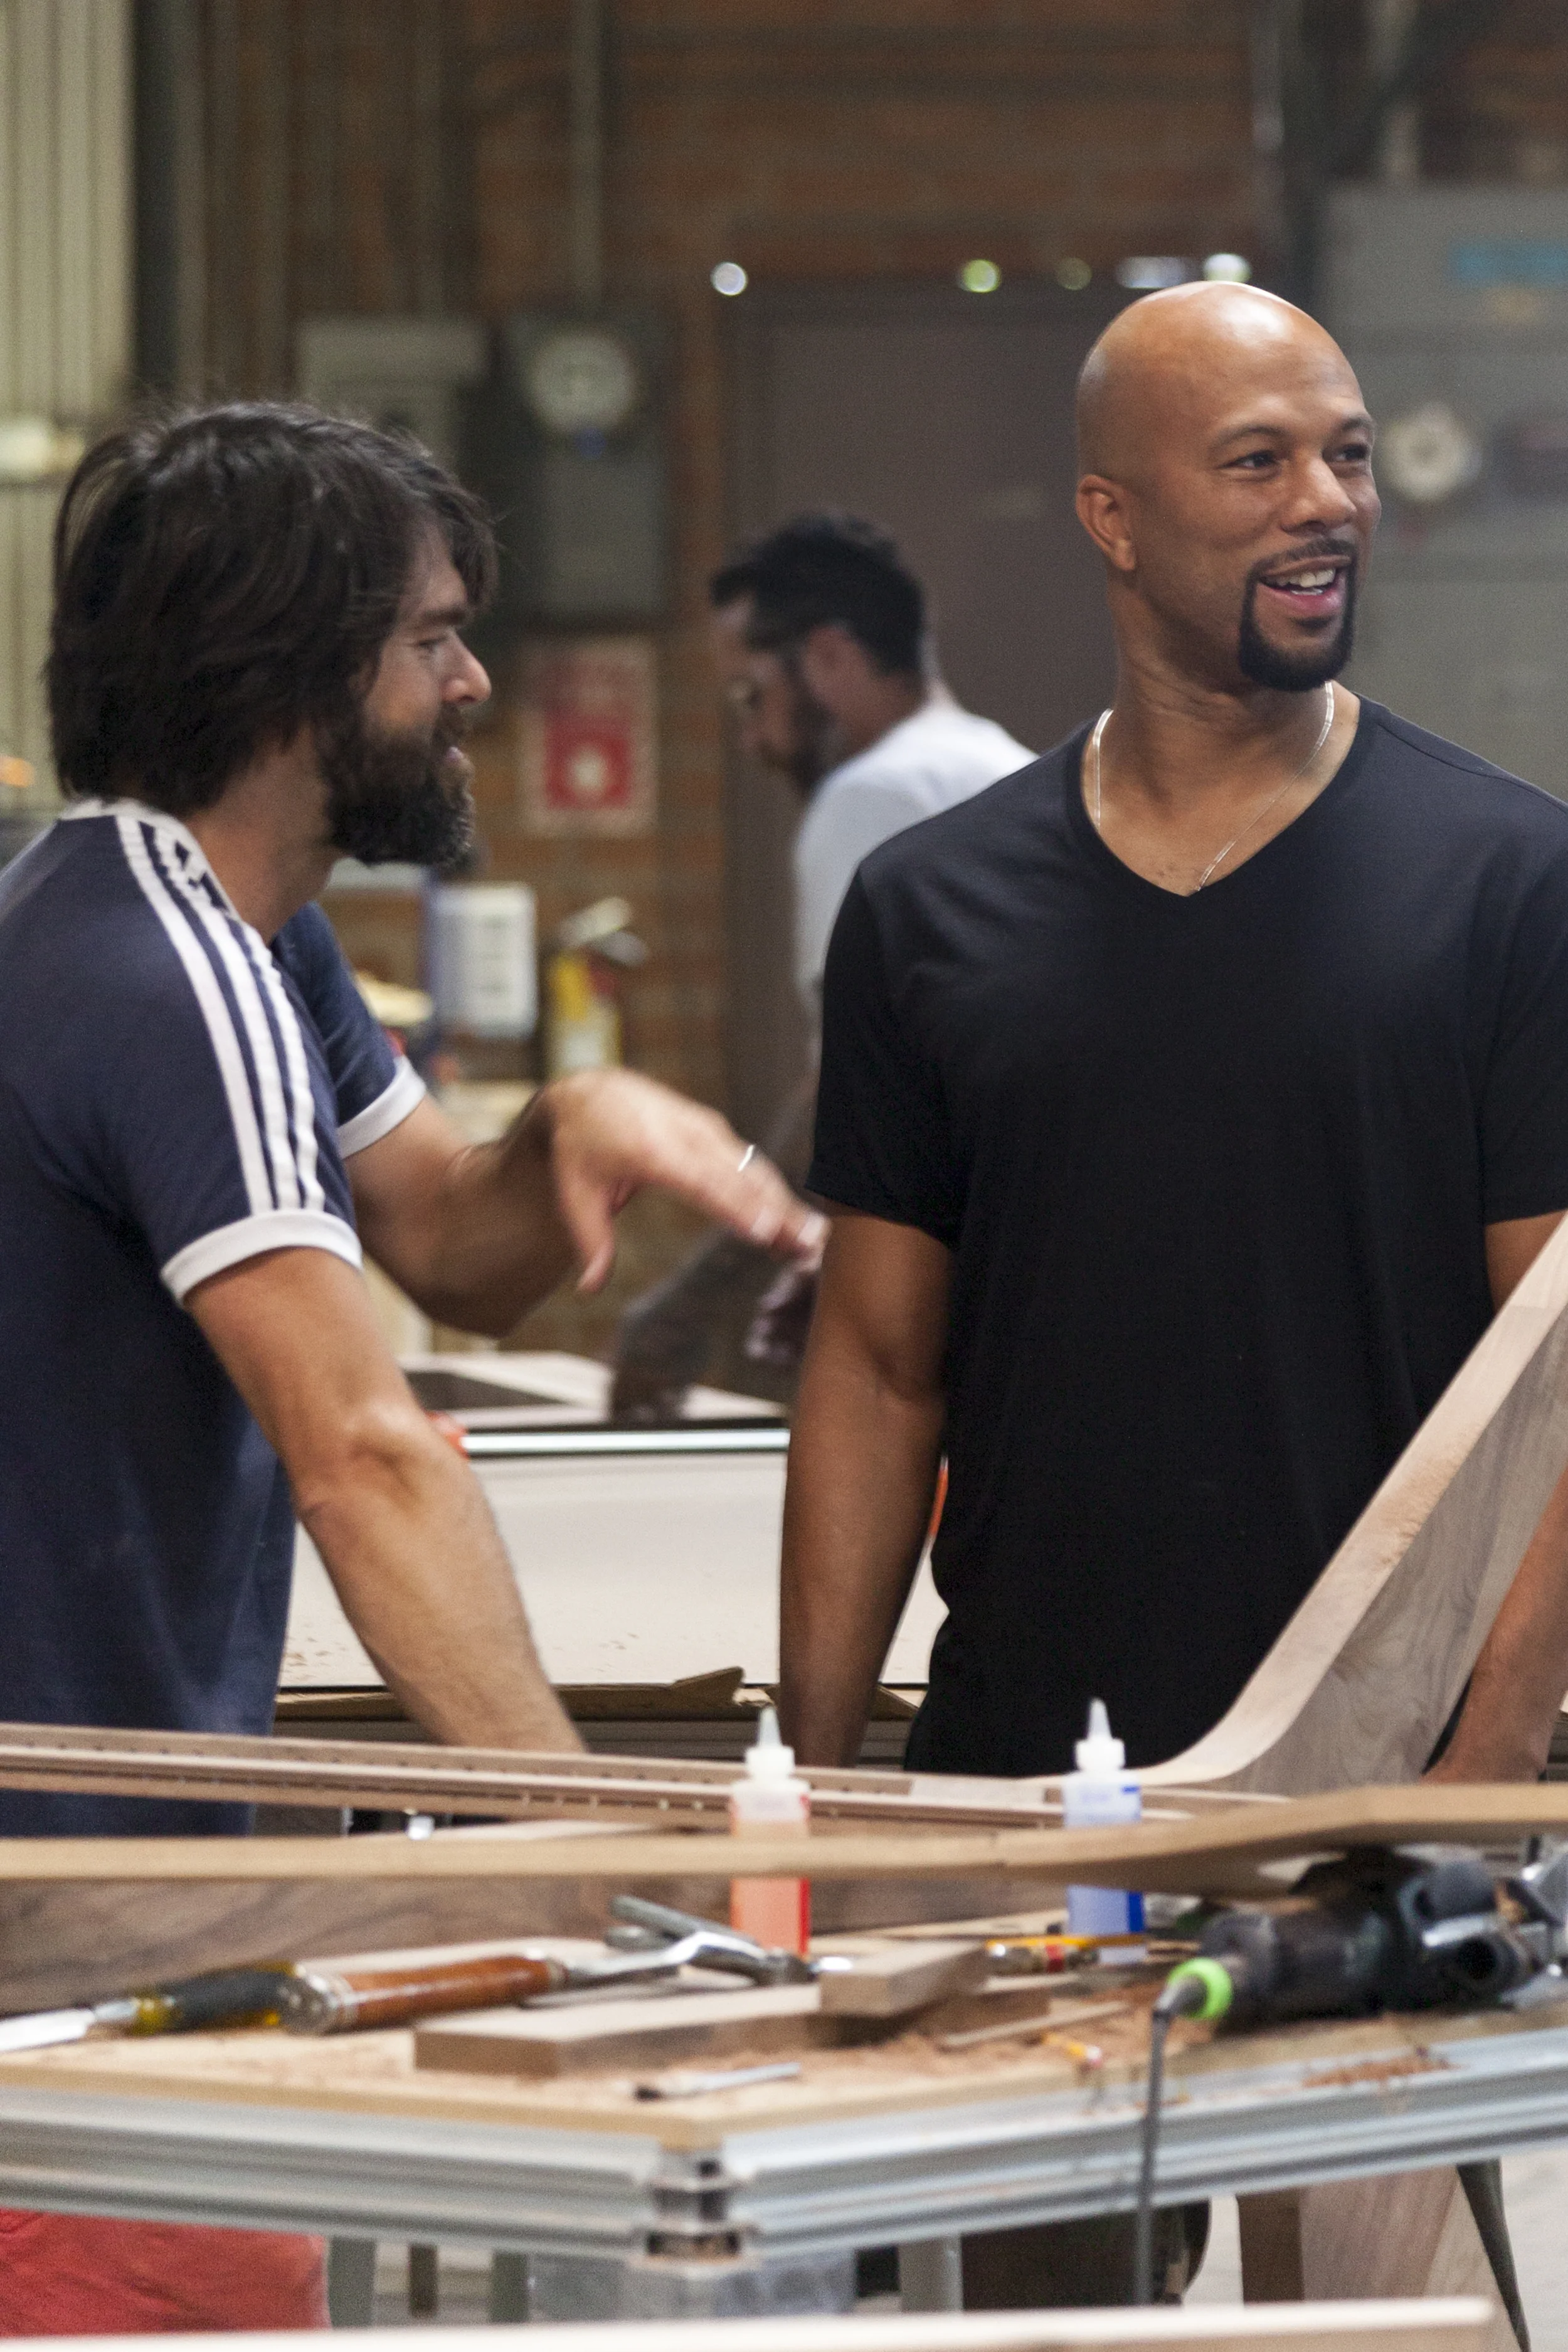
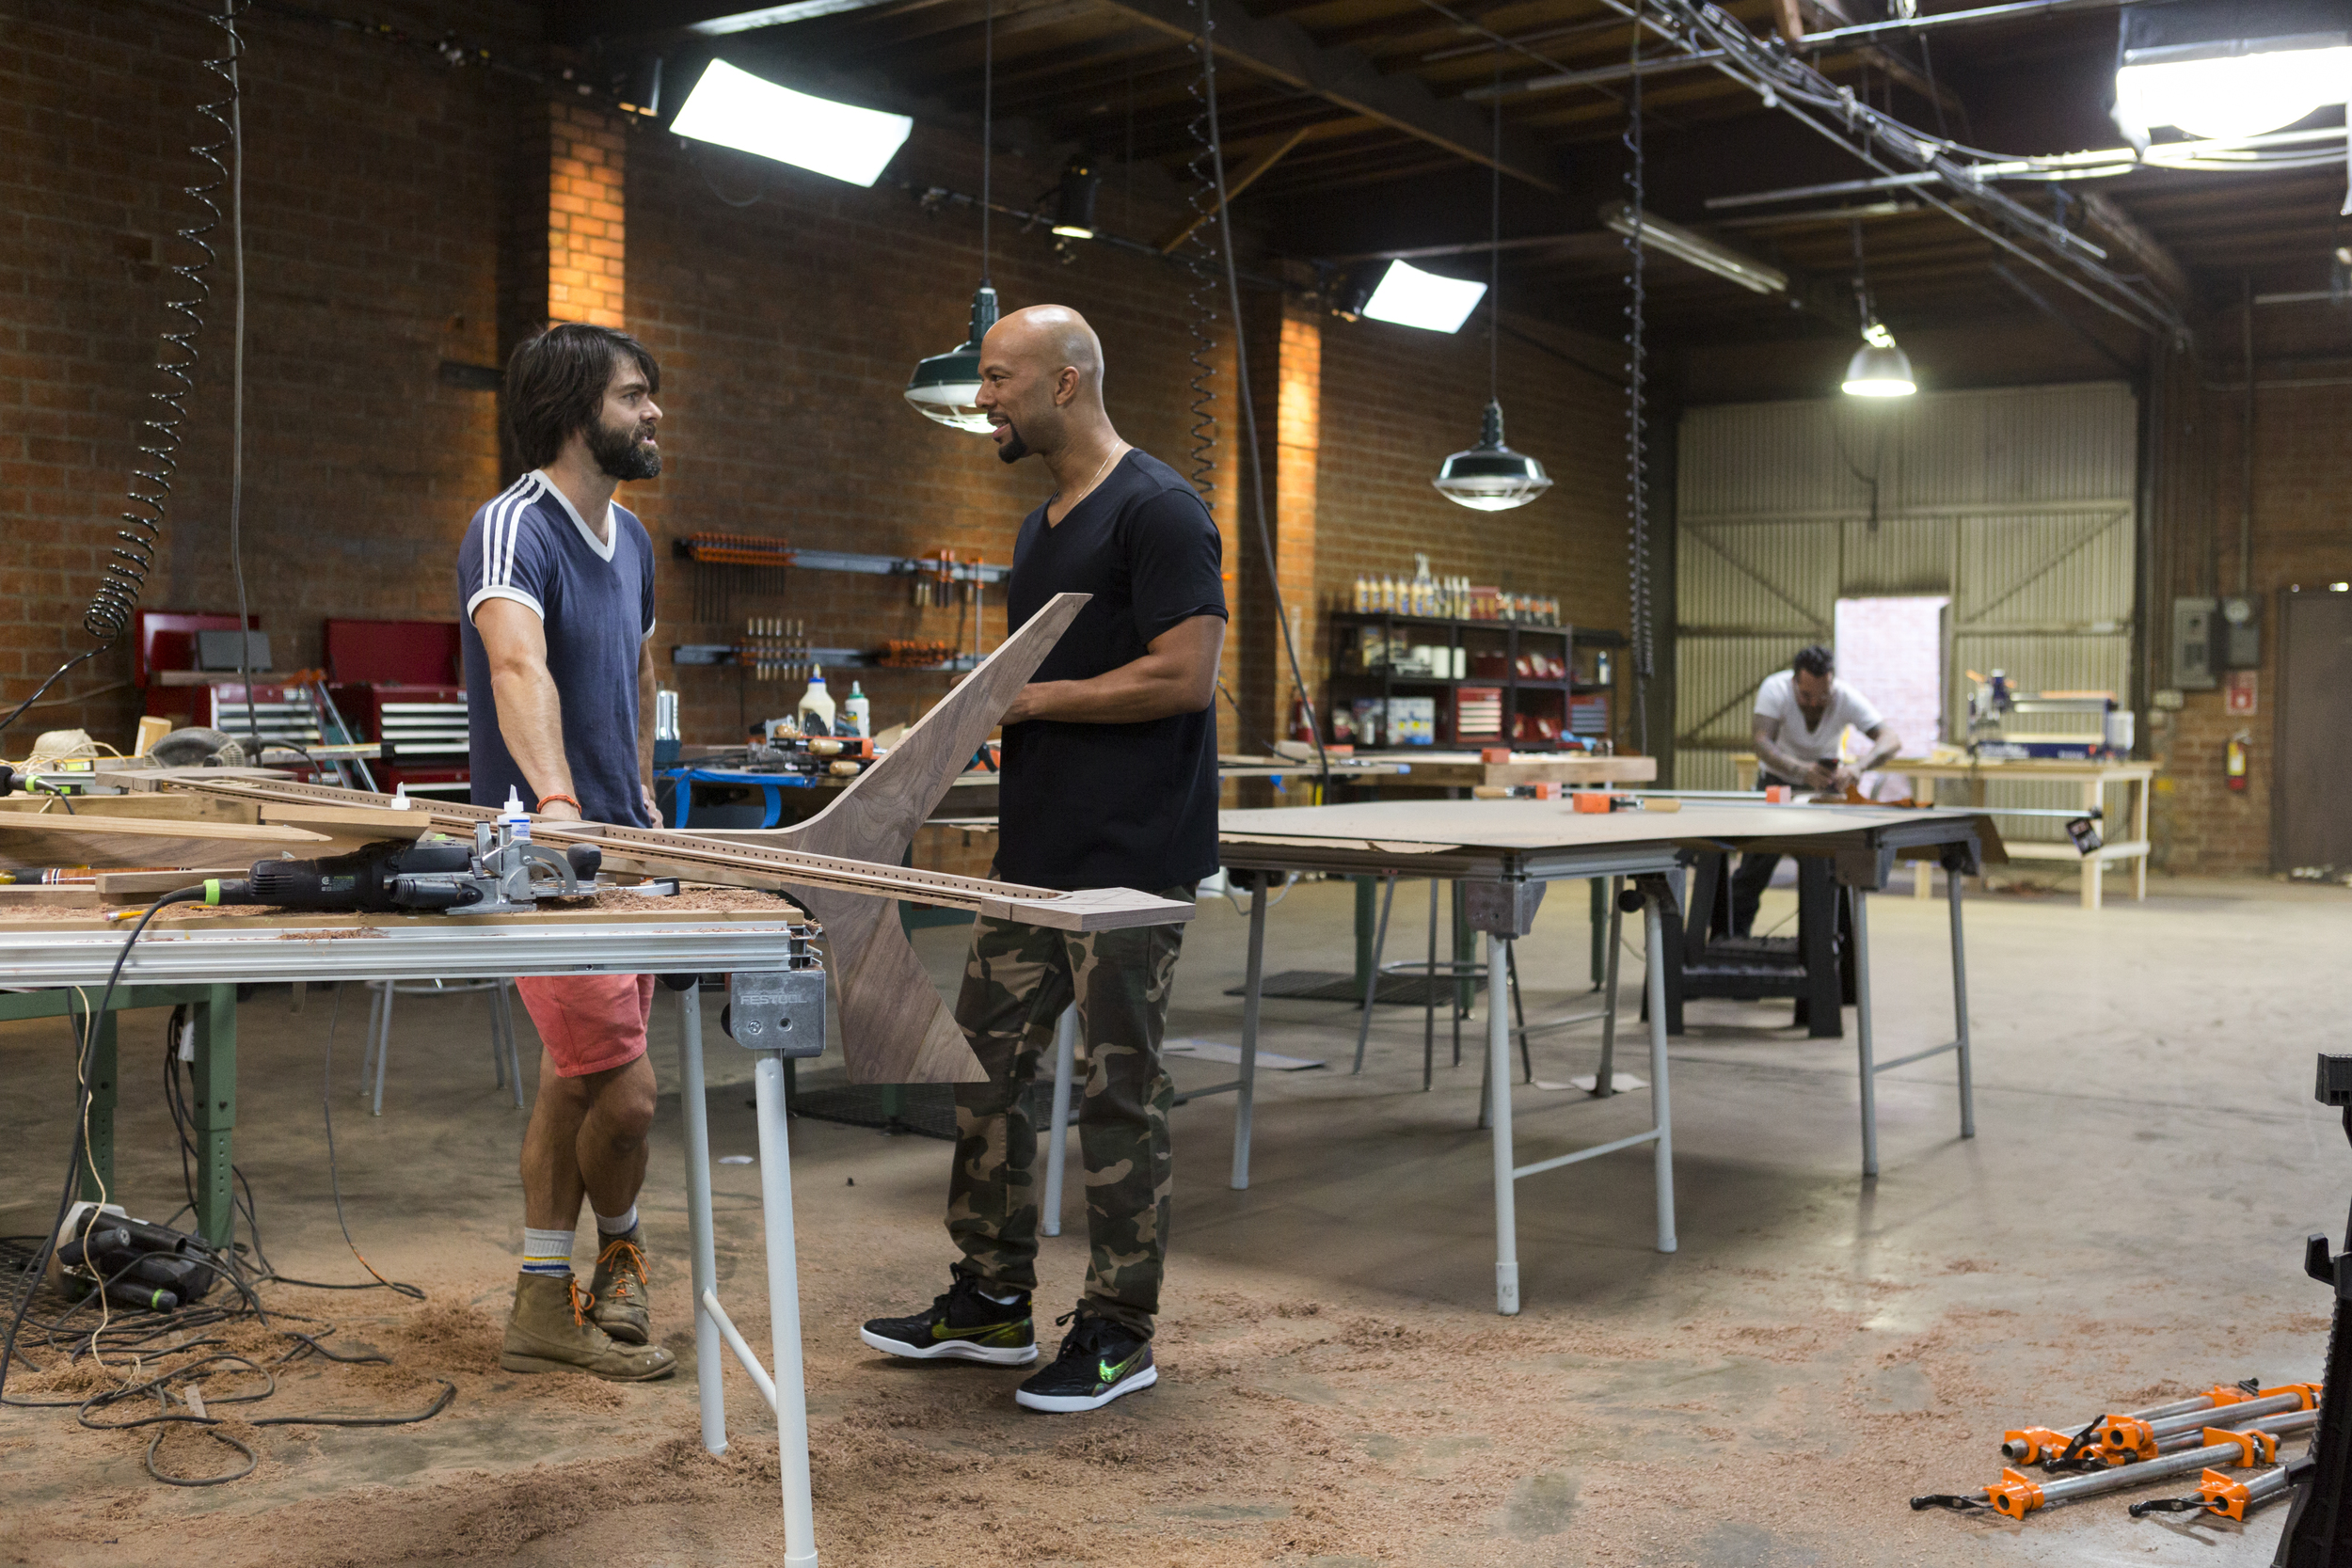
A custom-sized Shuffle Board is more than just a place to meet. For Jory Brigham, a creator of handcrafted furniture, it is a statement of design, functionality, and artistry. Jory blends modern creativity with classic mid-century sensibility, crafting pieces that are both elegant and purposeful. Each table is unique because it is made by hand from natural materials, allowing the wood itself to guide its form and structure.
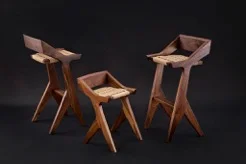
In addition to Shuffle Boards, Jory also creates High end game tables that showcase his signature craftsmanship. Both types of tables reflect his philosophy of patience, restraint, and creativity. Every curve, joint, and surface is considered with care to ensure comfort, utility, and aesthetic appeal.
Quick Overview
Custom-sized Shuffle Boards are designed to fit specific spaces while supporting collaboration, comfort, and visual appeal. A well-designed table balances proportions, materials, and features. Jory Brigham’s handcrafted tables highlight these elements, creating pieces that are functional, elegant, and full of character.
This blog will cover: key design elements, materials, dimensions, finishes, structural considerations, placement tips, and why handcrafted furniture enhances both style and utility.
Purpose and Function
A boardroom table is central to professional meetings. Its design must accommodate communication, technology, and workflow. A custom-sized Shuffle Board ensures that all participants have ample space, whether for laptops, documents, or refreshments.
The right table encourages collaboration, focus, and comfort. Handcrafted pieces like Jory Brigham’s elevate the environment beyond mere functionality, making the Shuffle Board feel intentional and inspiring.
Shape and Size Considerations
Shape affects both aesthetics and interaction. Rectangular tables are traditional and allow everyone to face each other. Oval or boat-shaped tables encourage communication while softening visual lines.
Size is crucial for comfort. A table should allow about 24 inches of width per person and enough length to accommodate technology or materials. Custom sizing ensures the table fits the room perfectly without crowding or leaving excessive empty space.
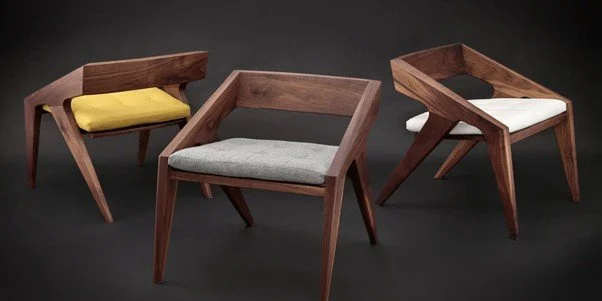
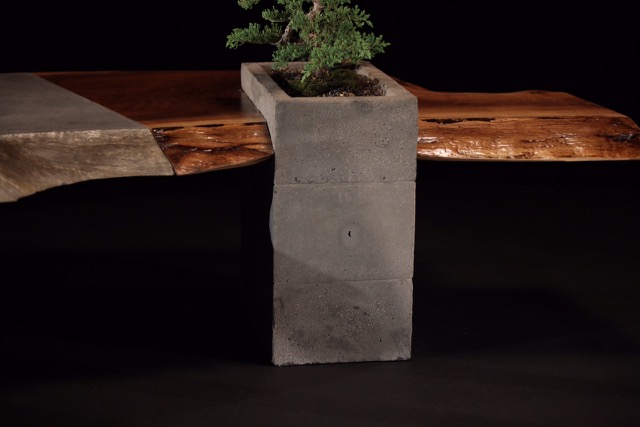
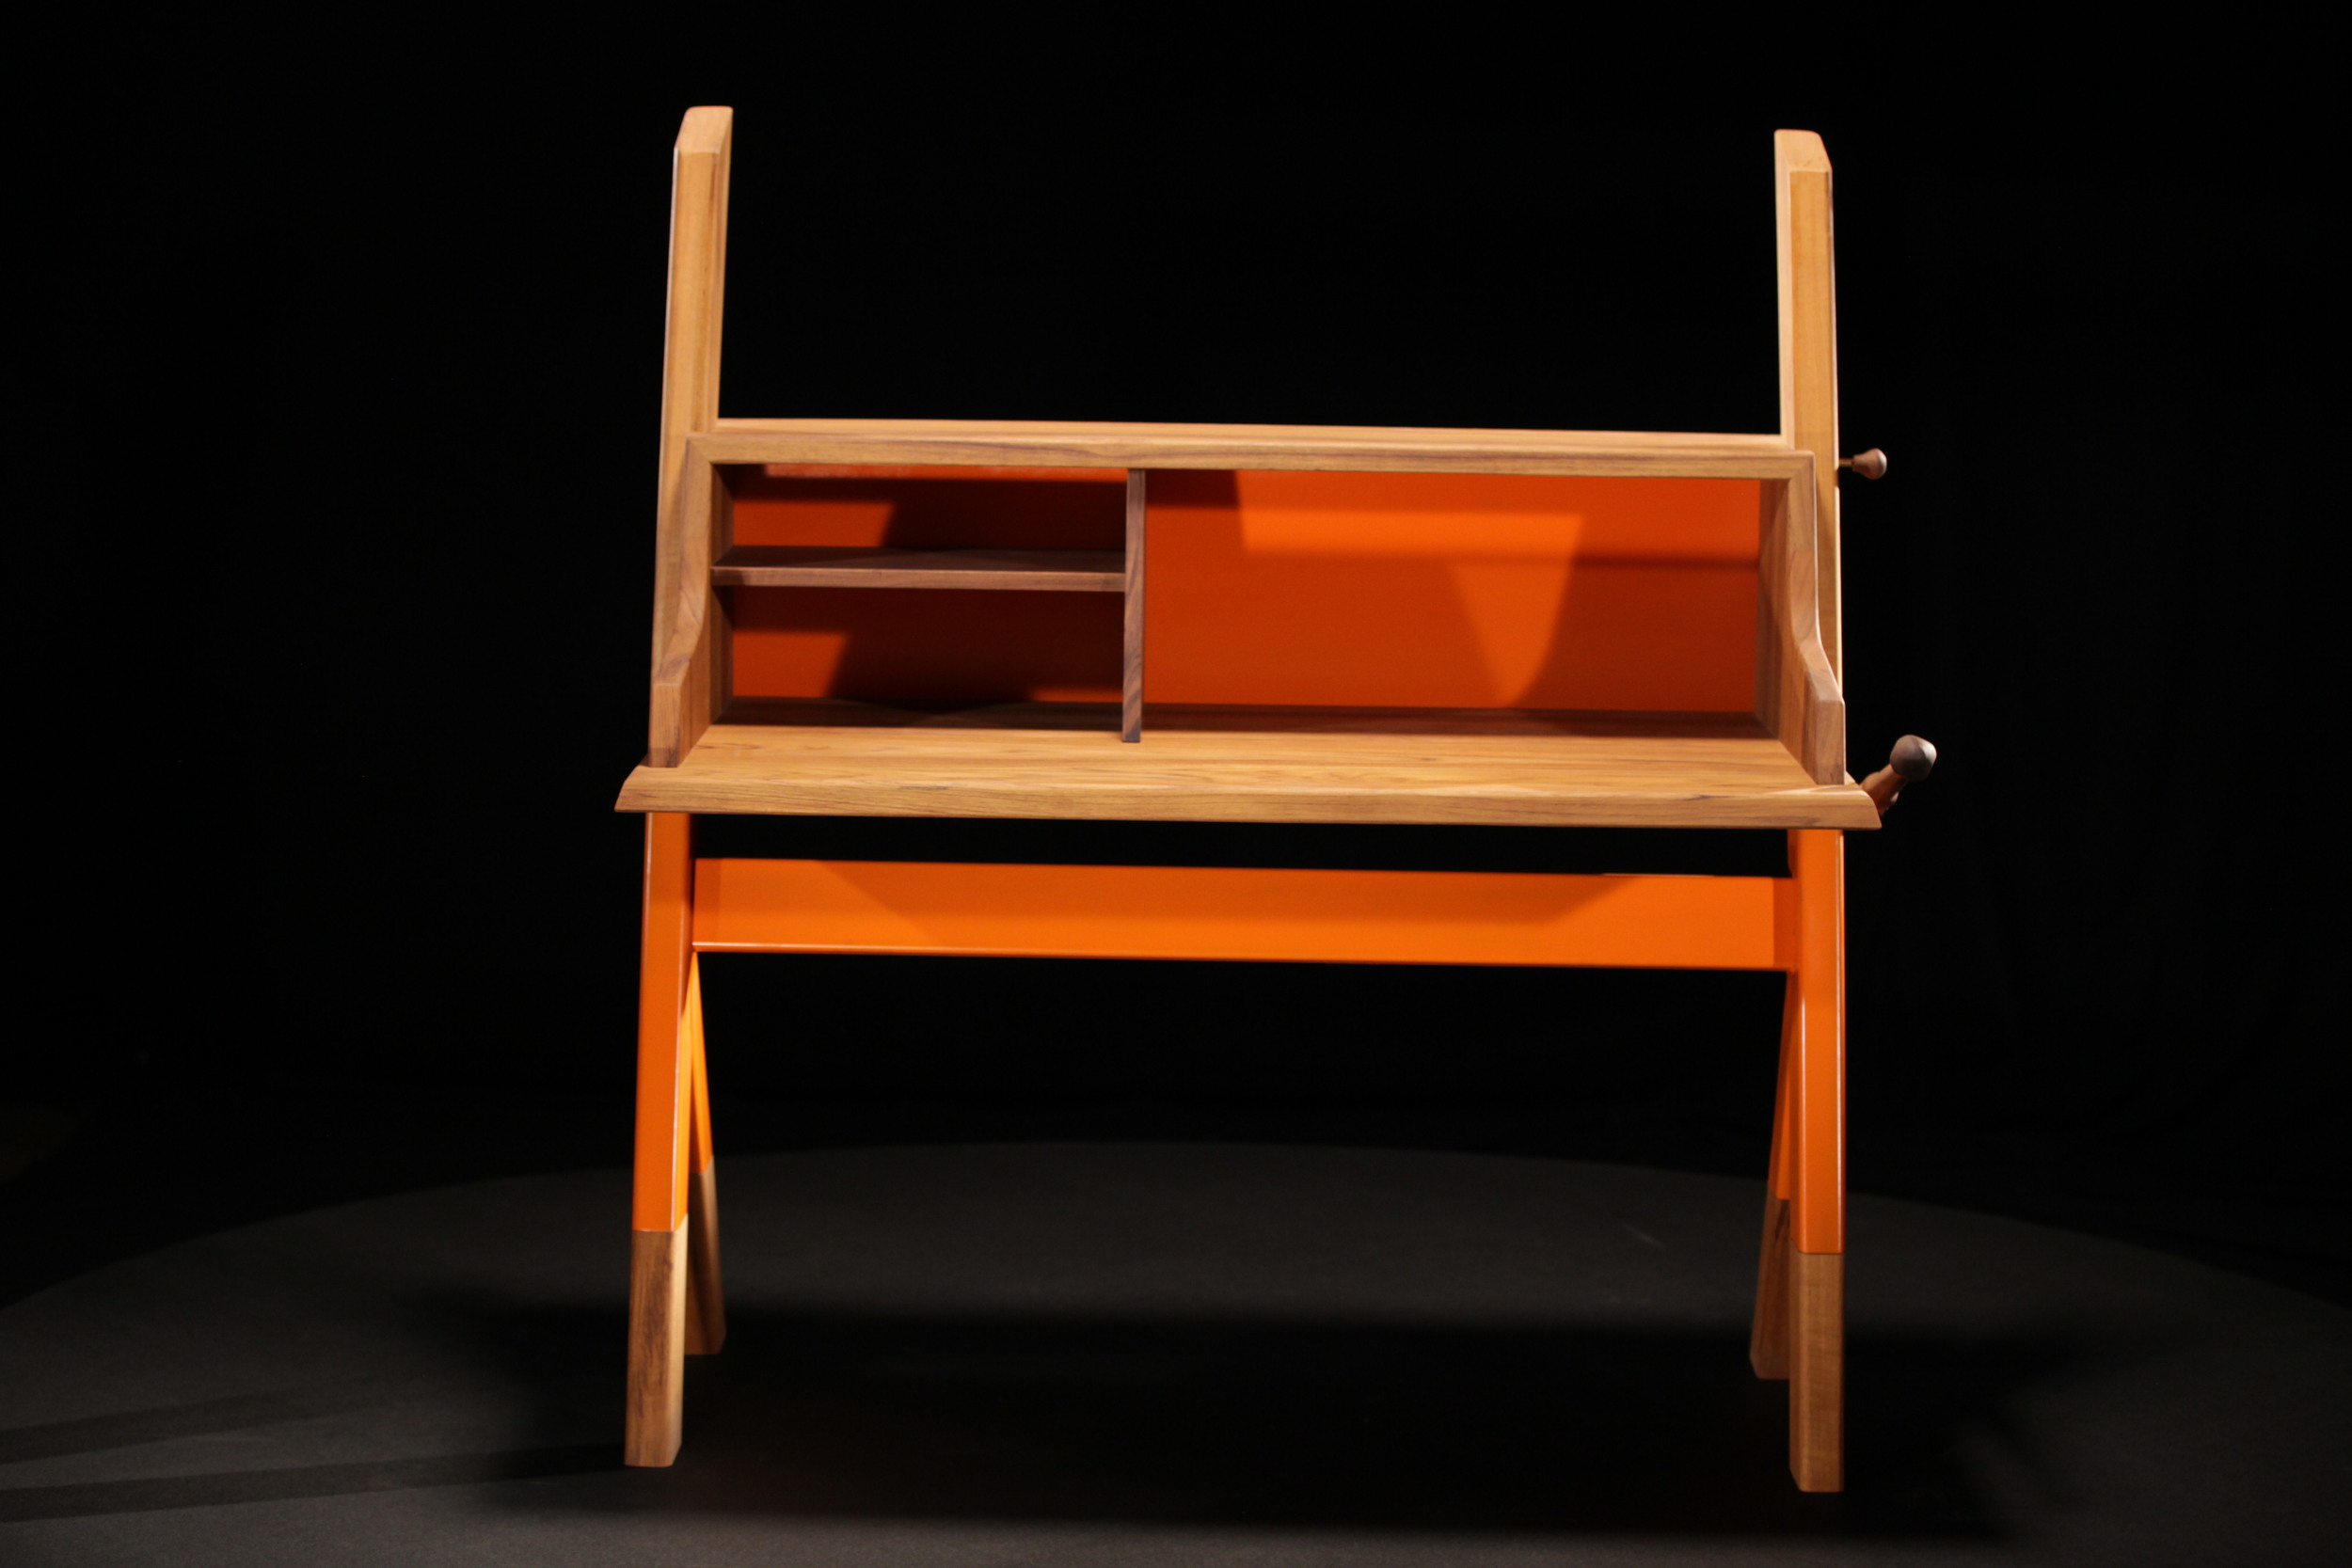
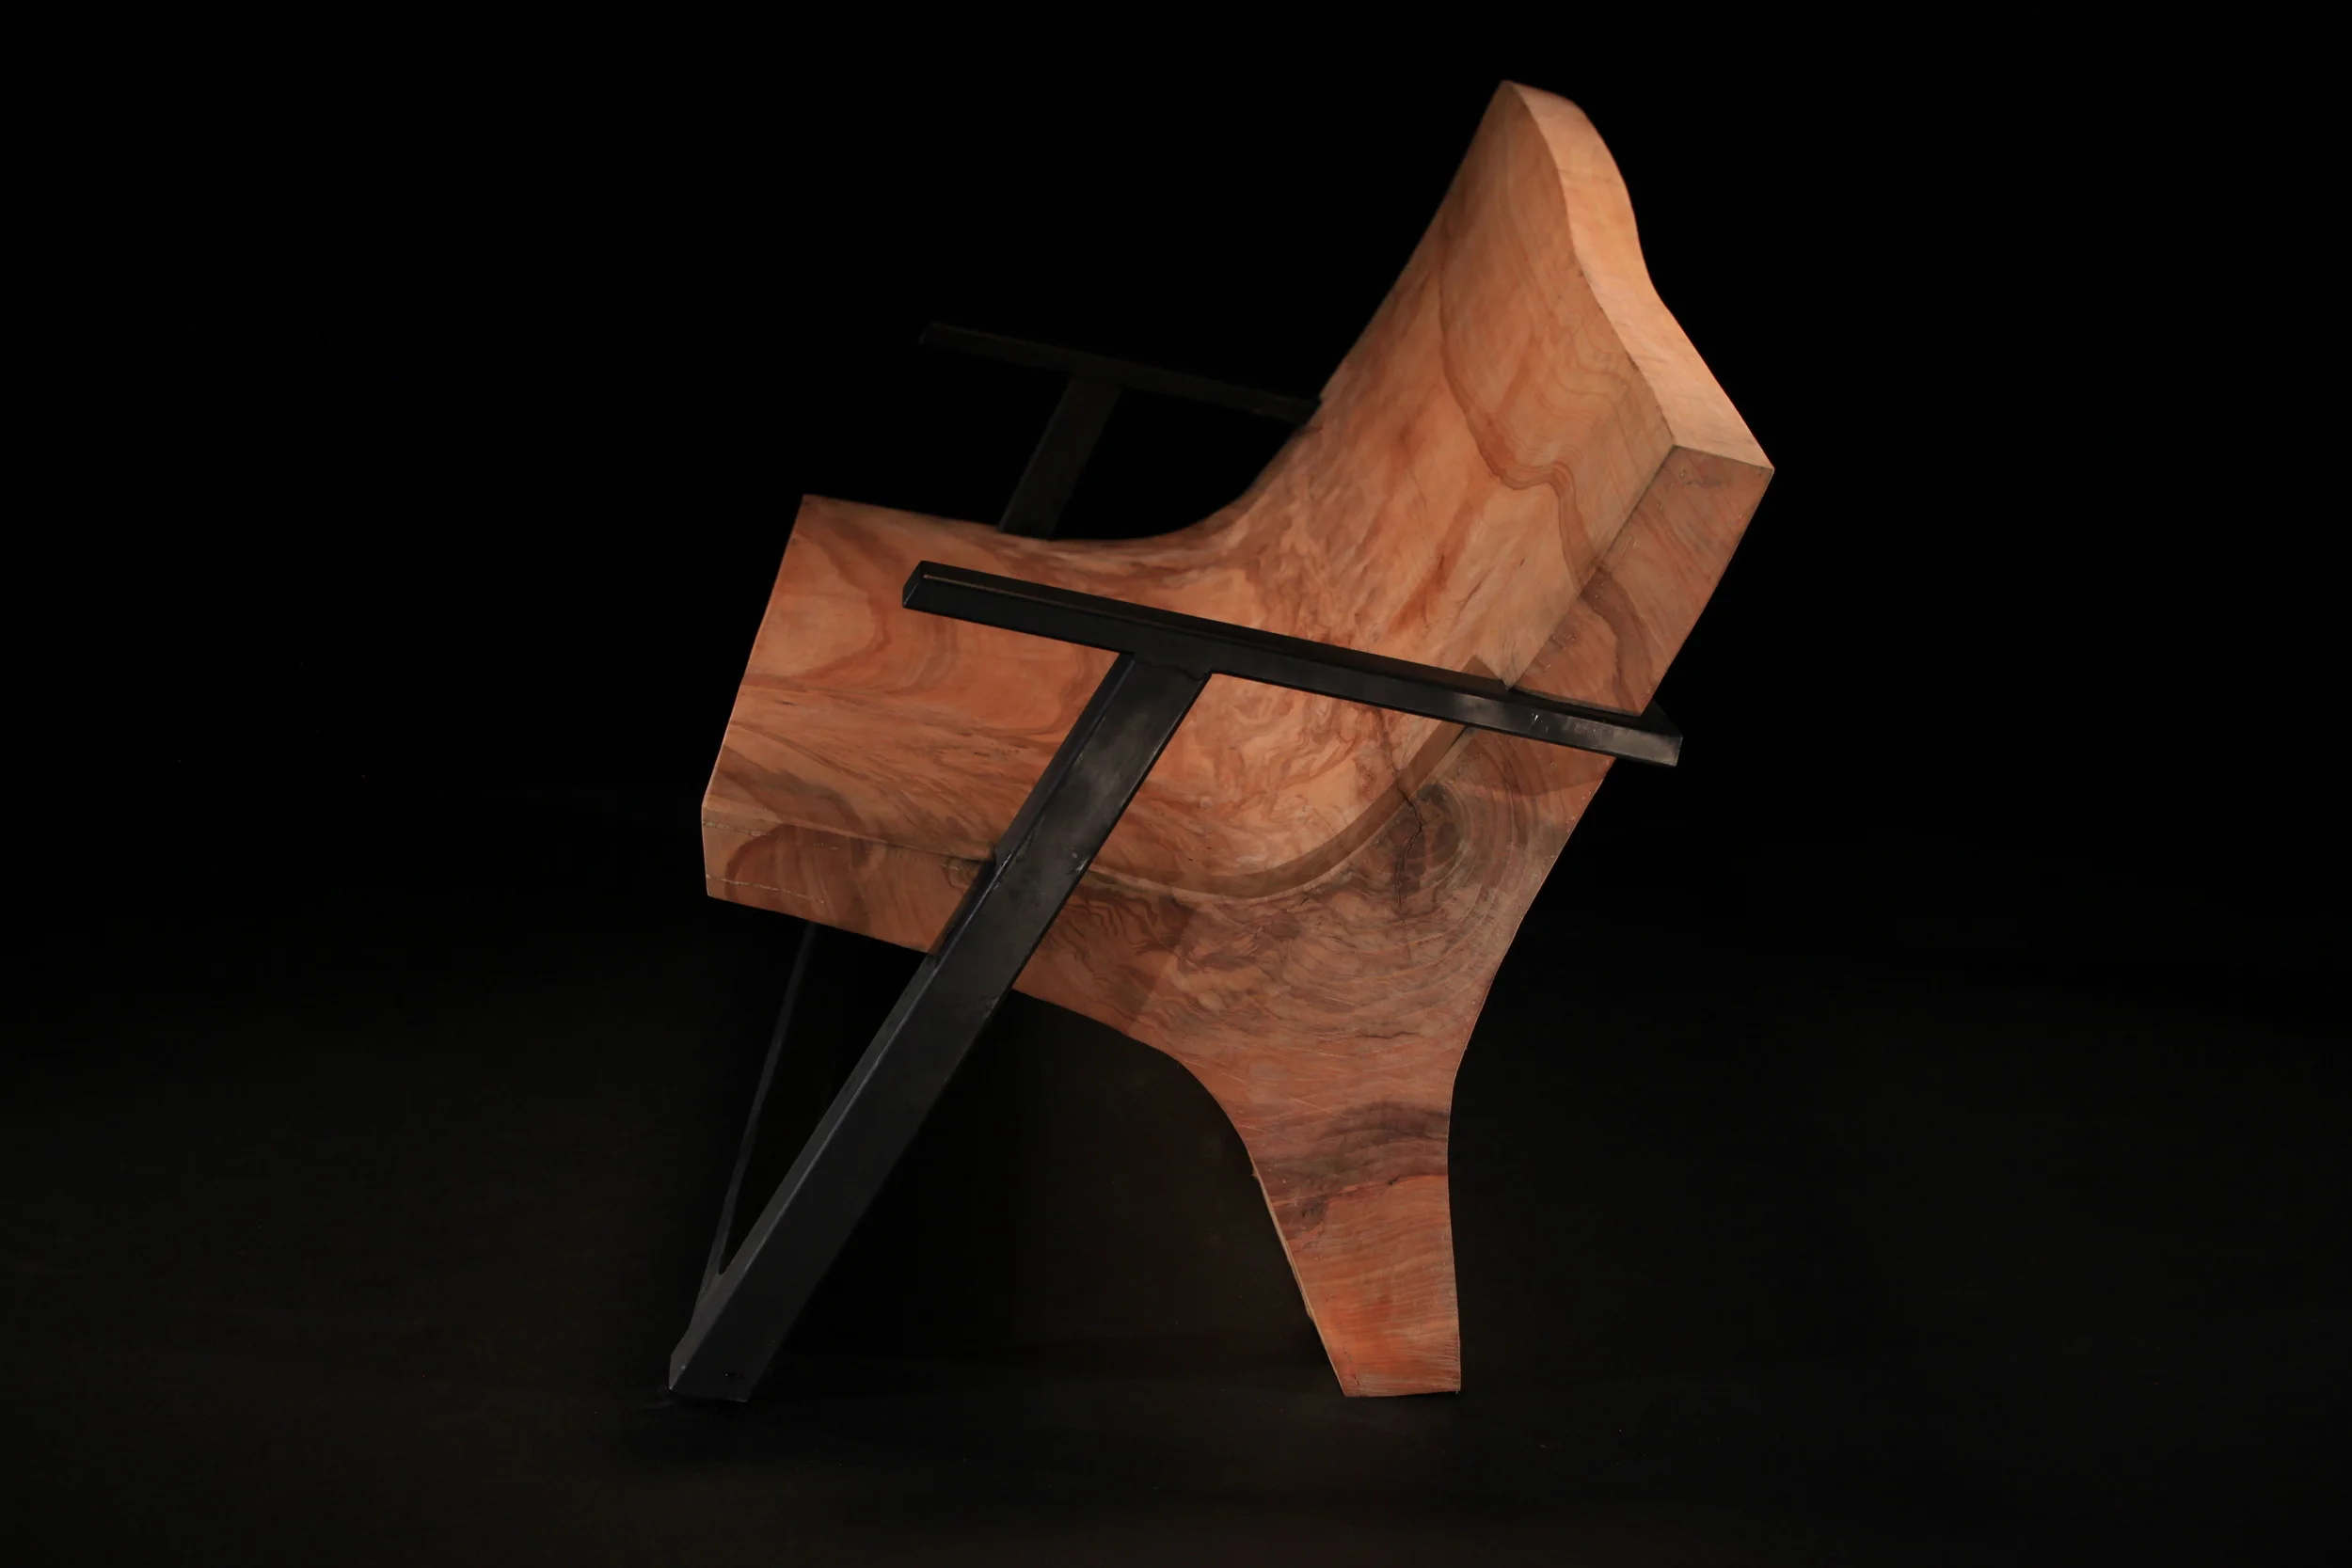
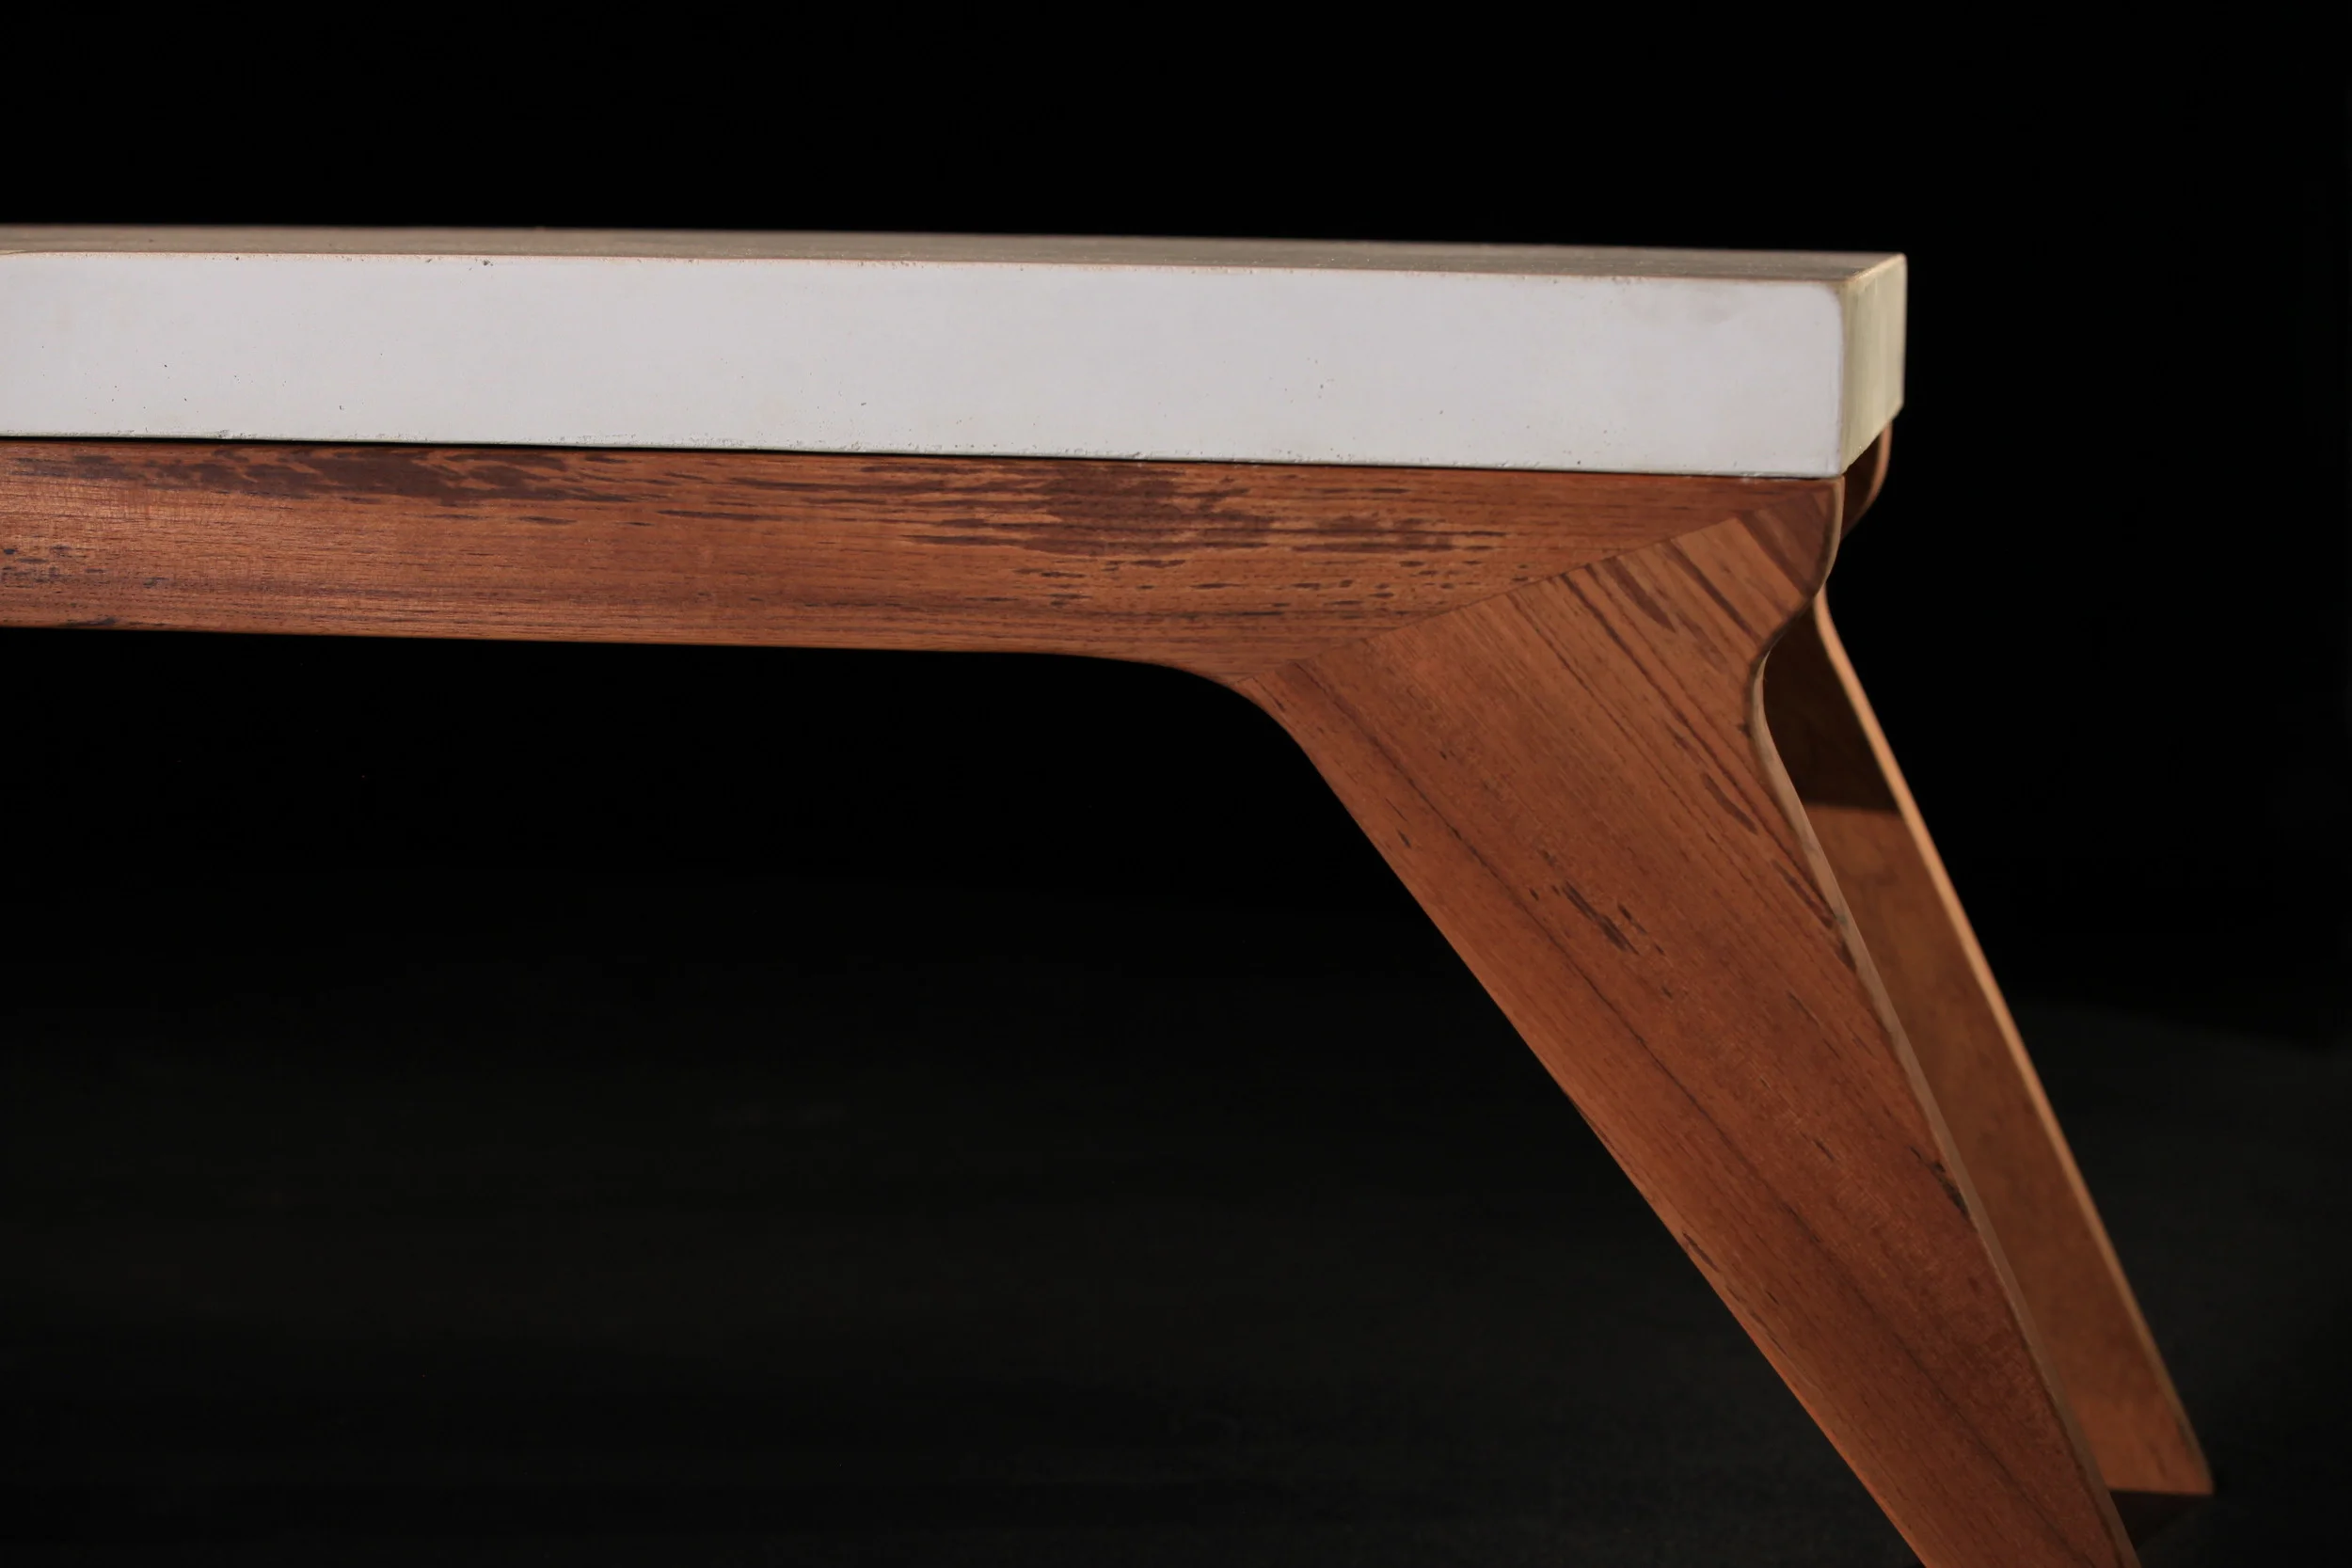
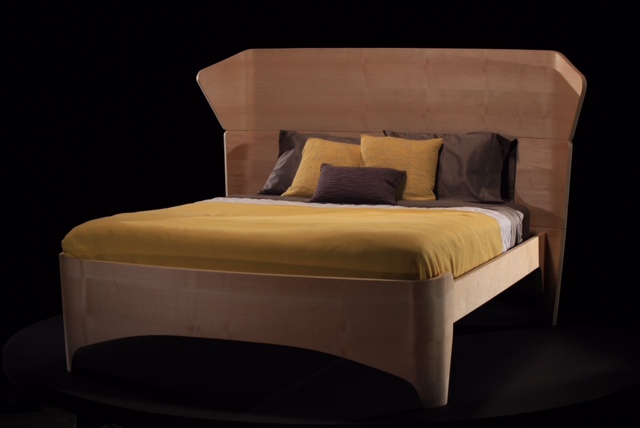
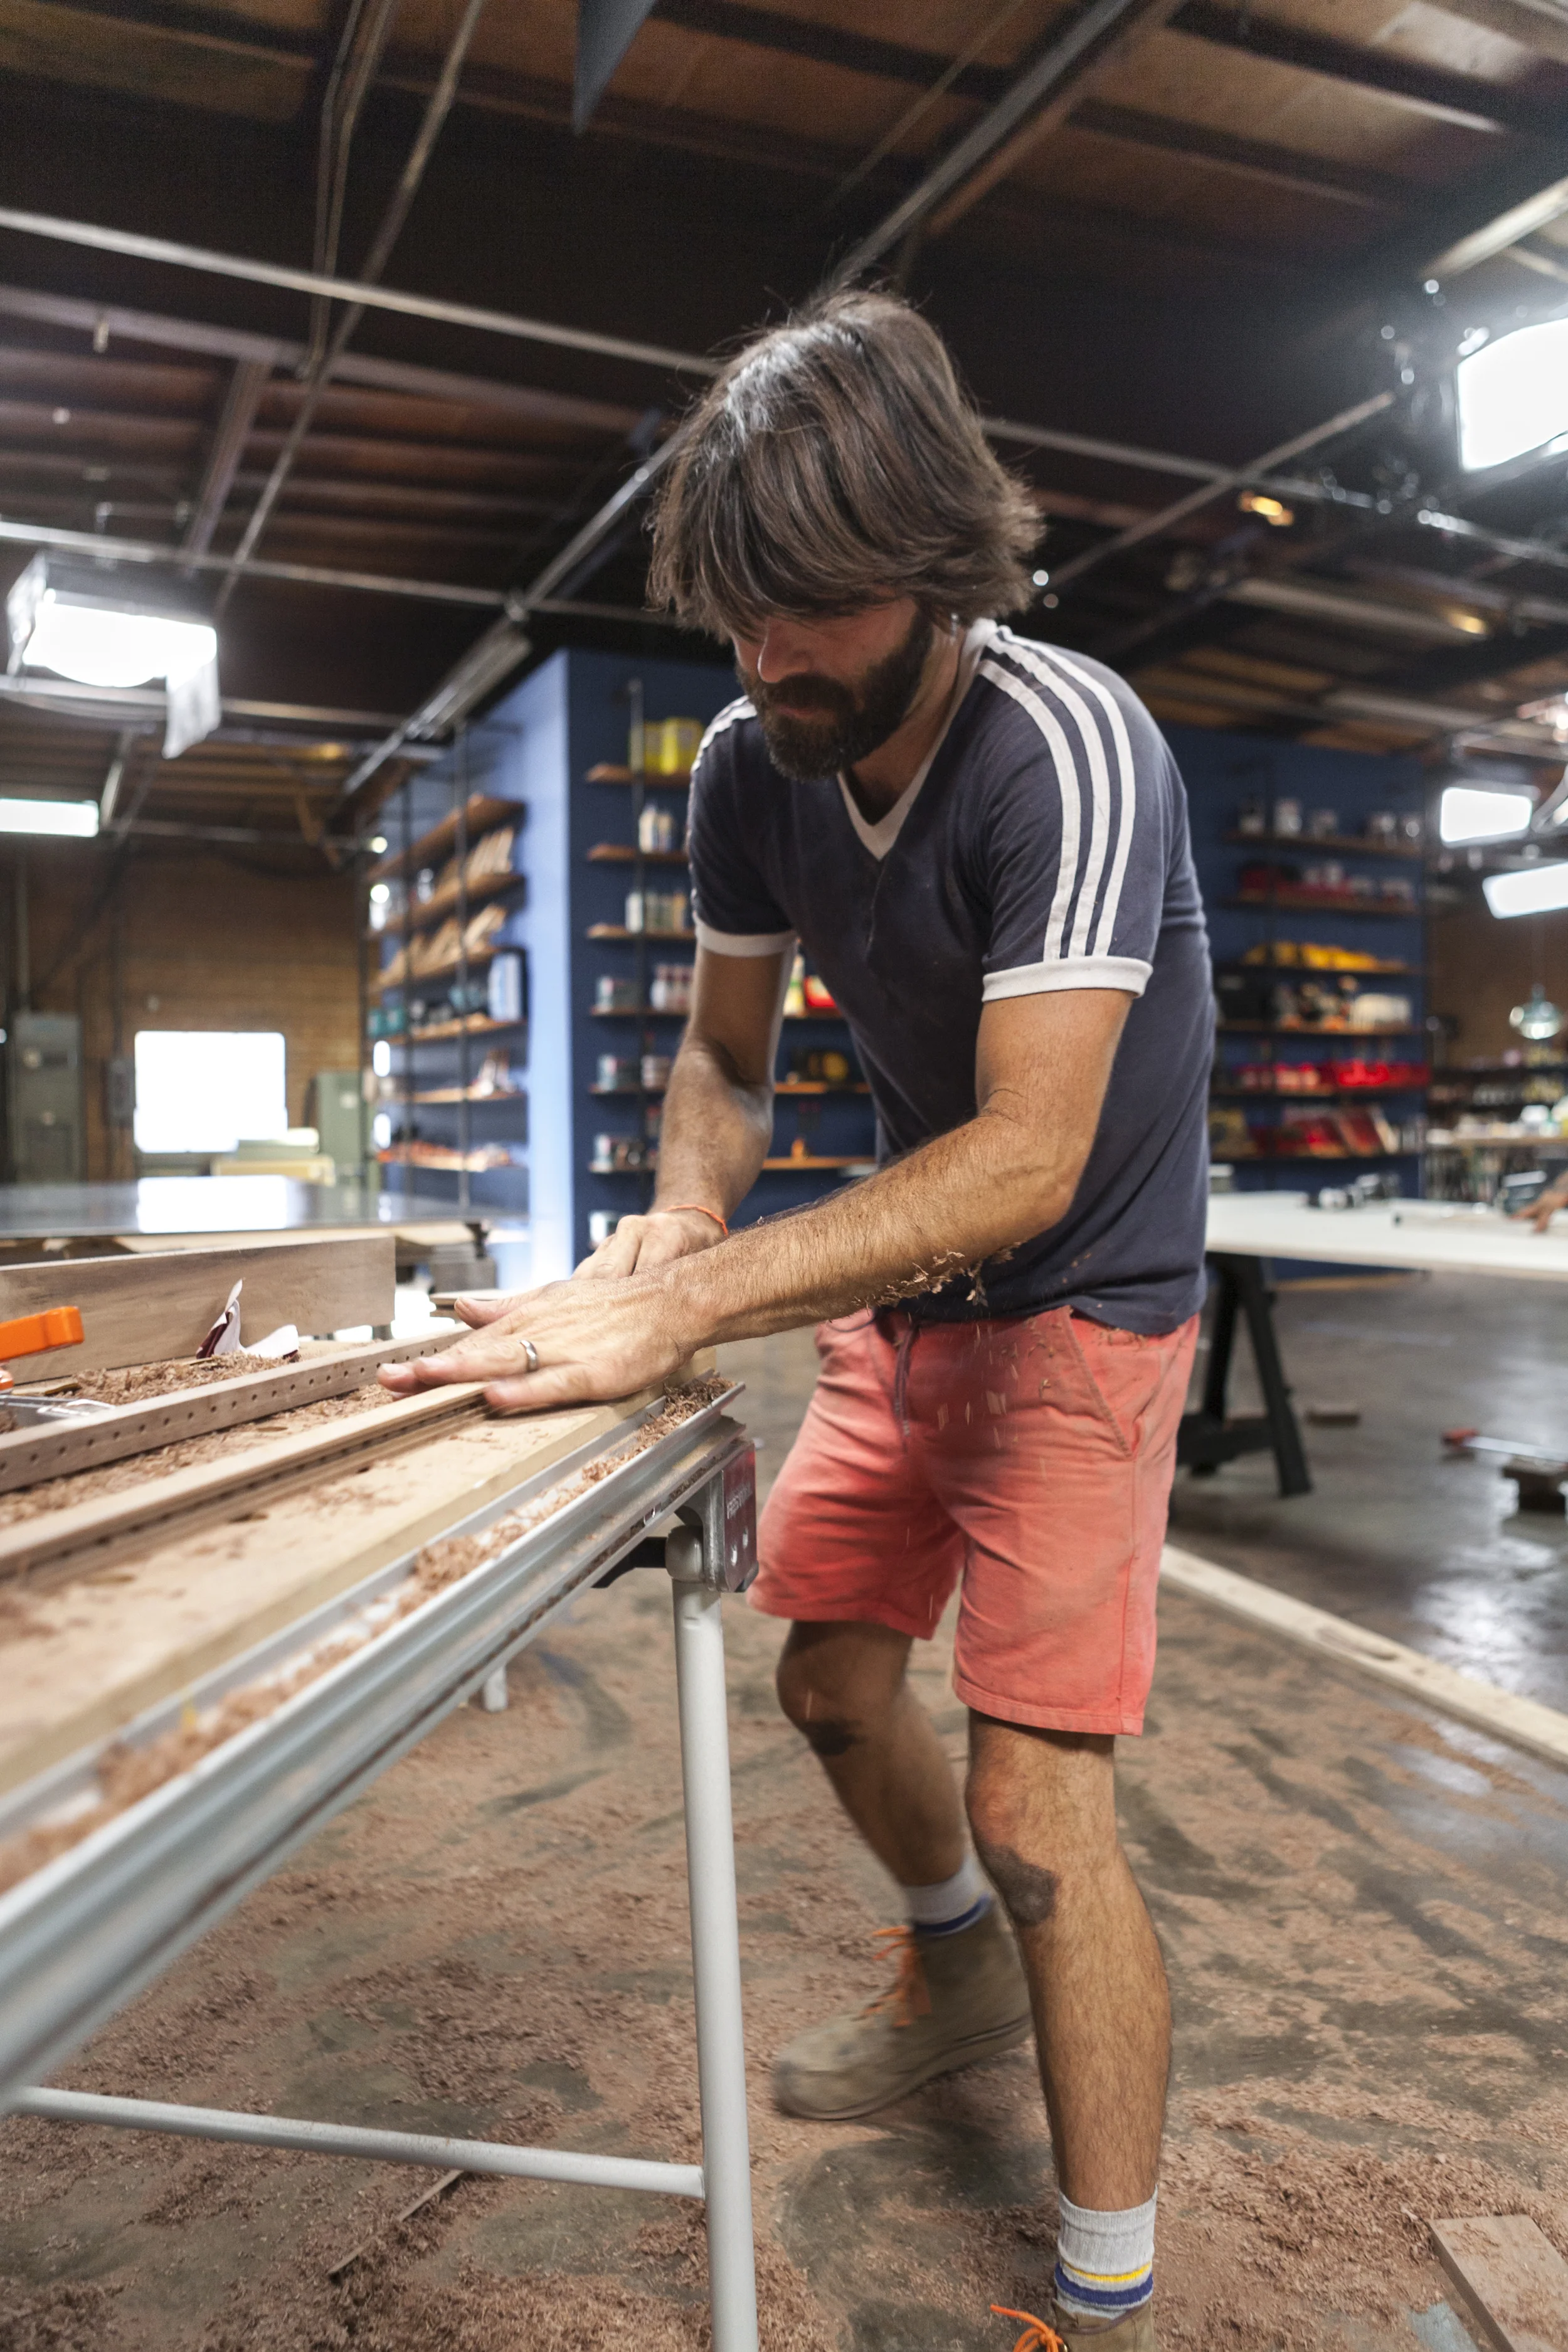
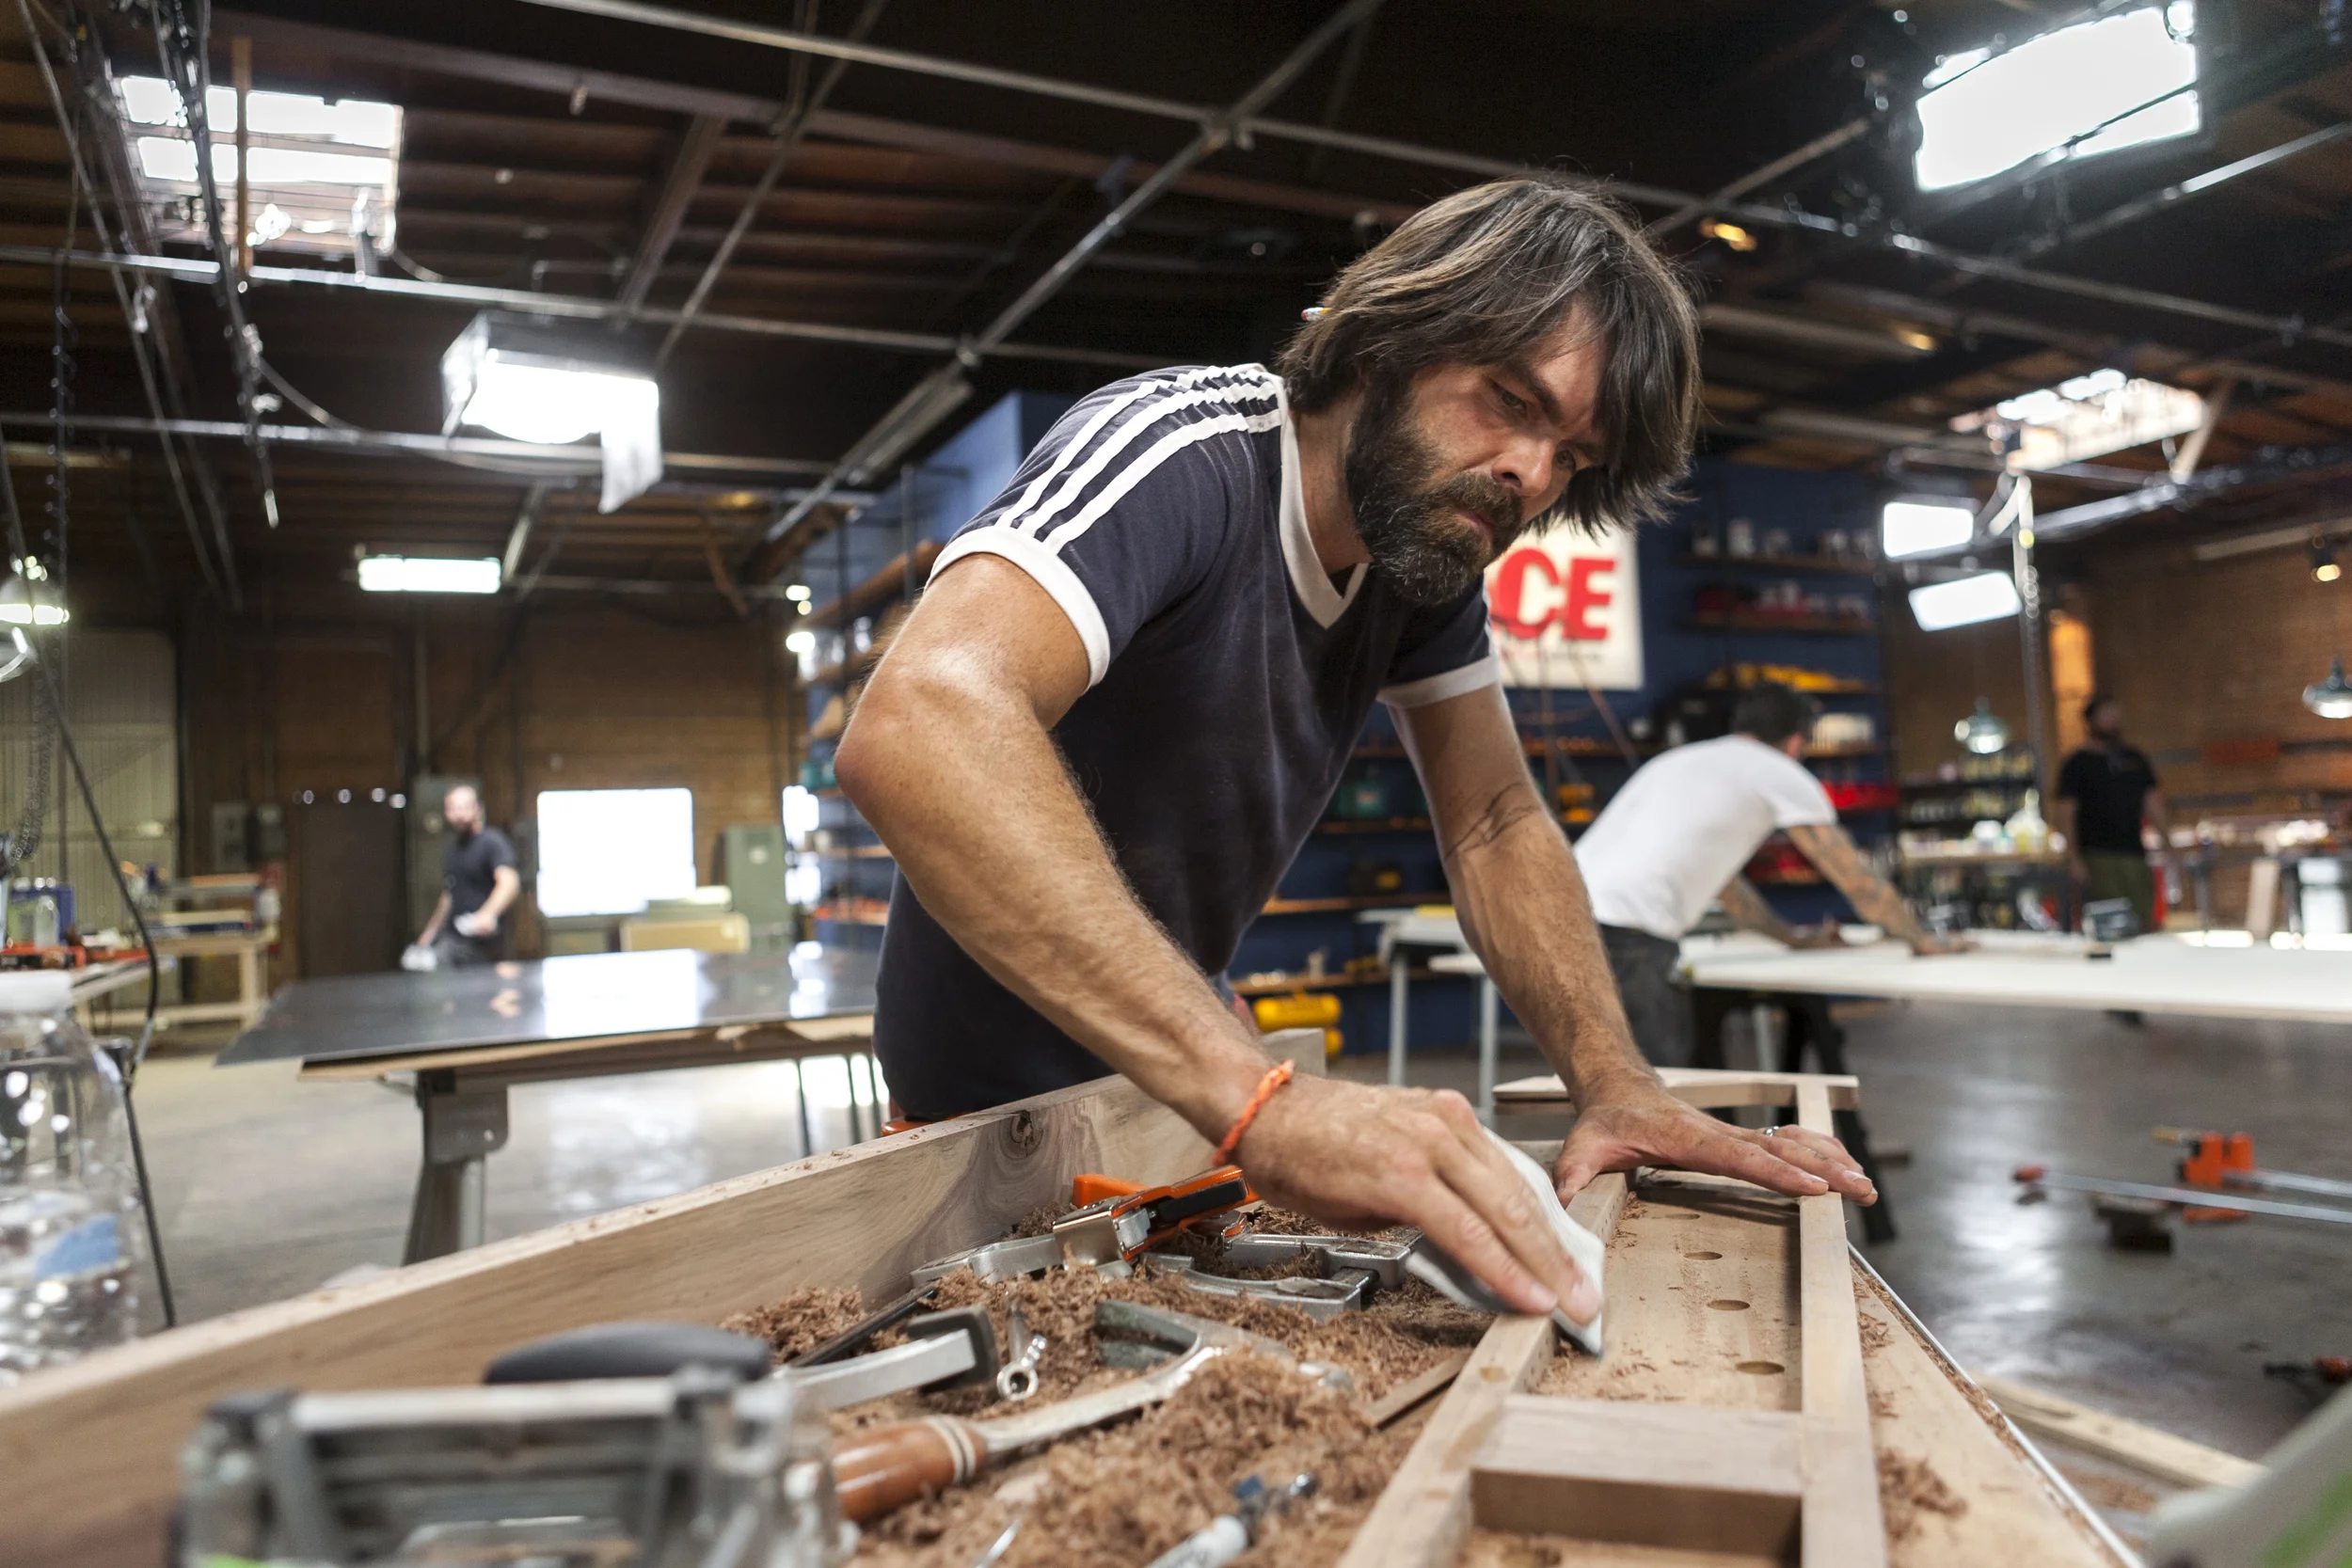
Materials and Finish
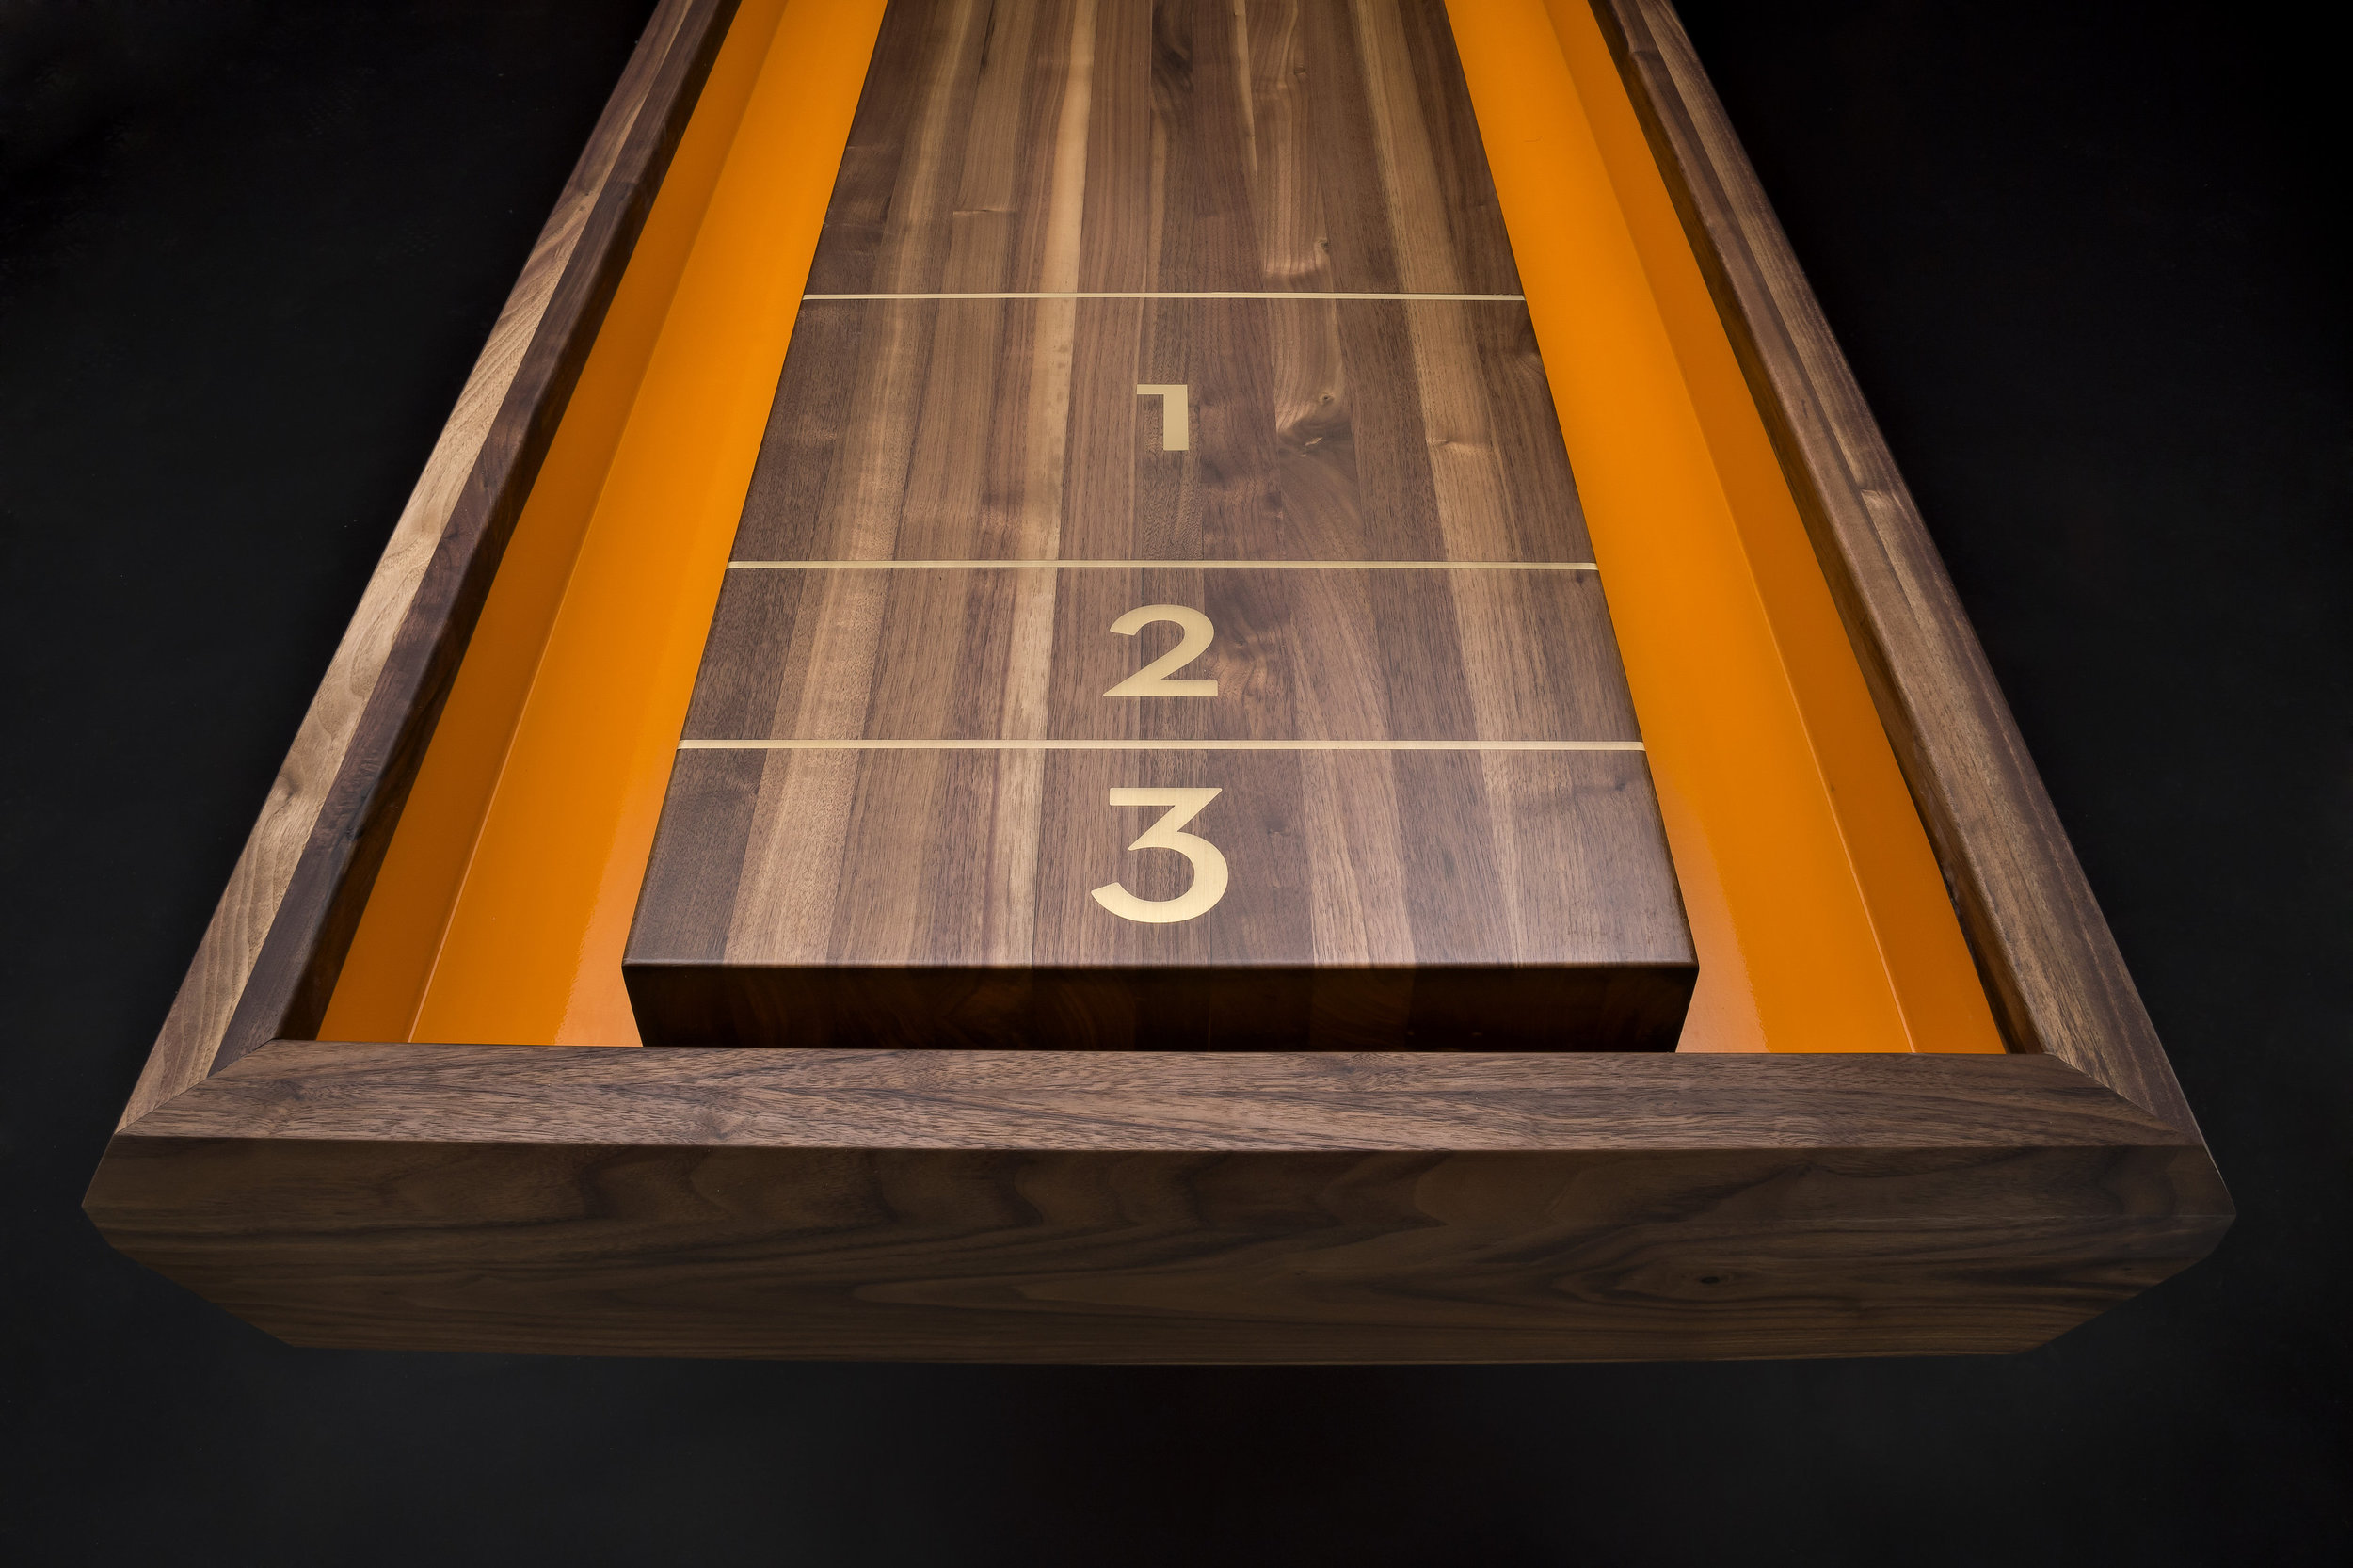
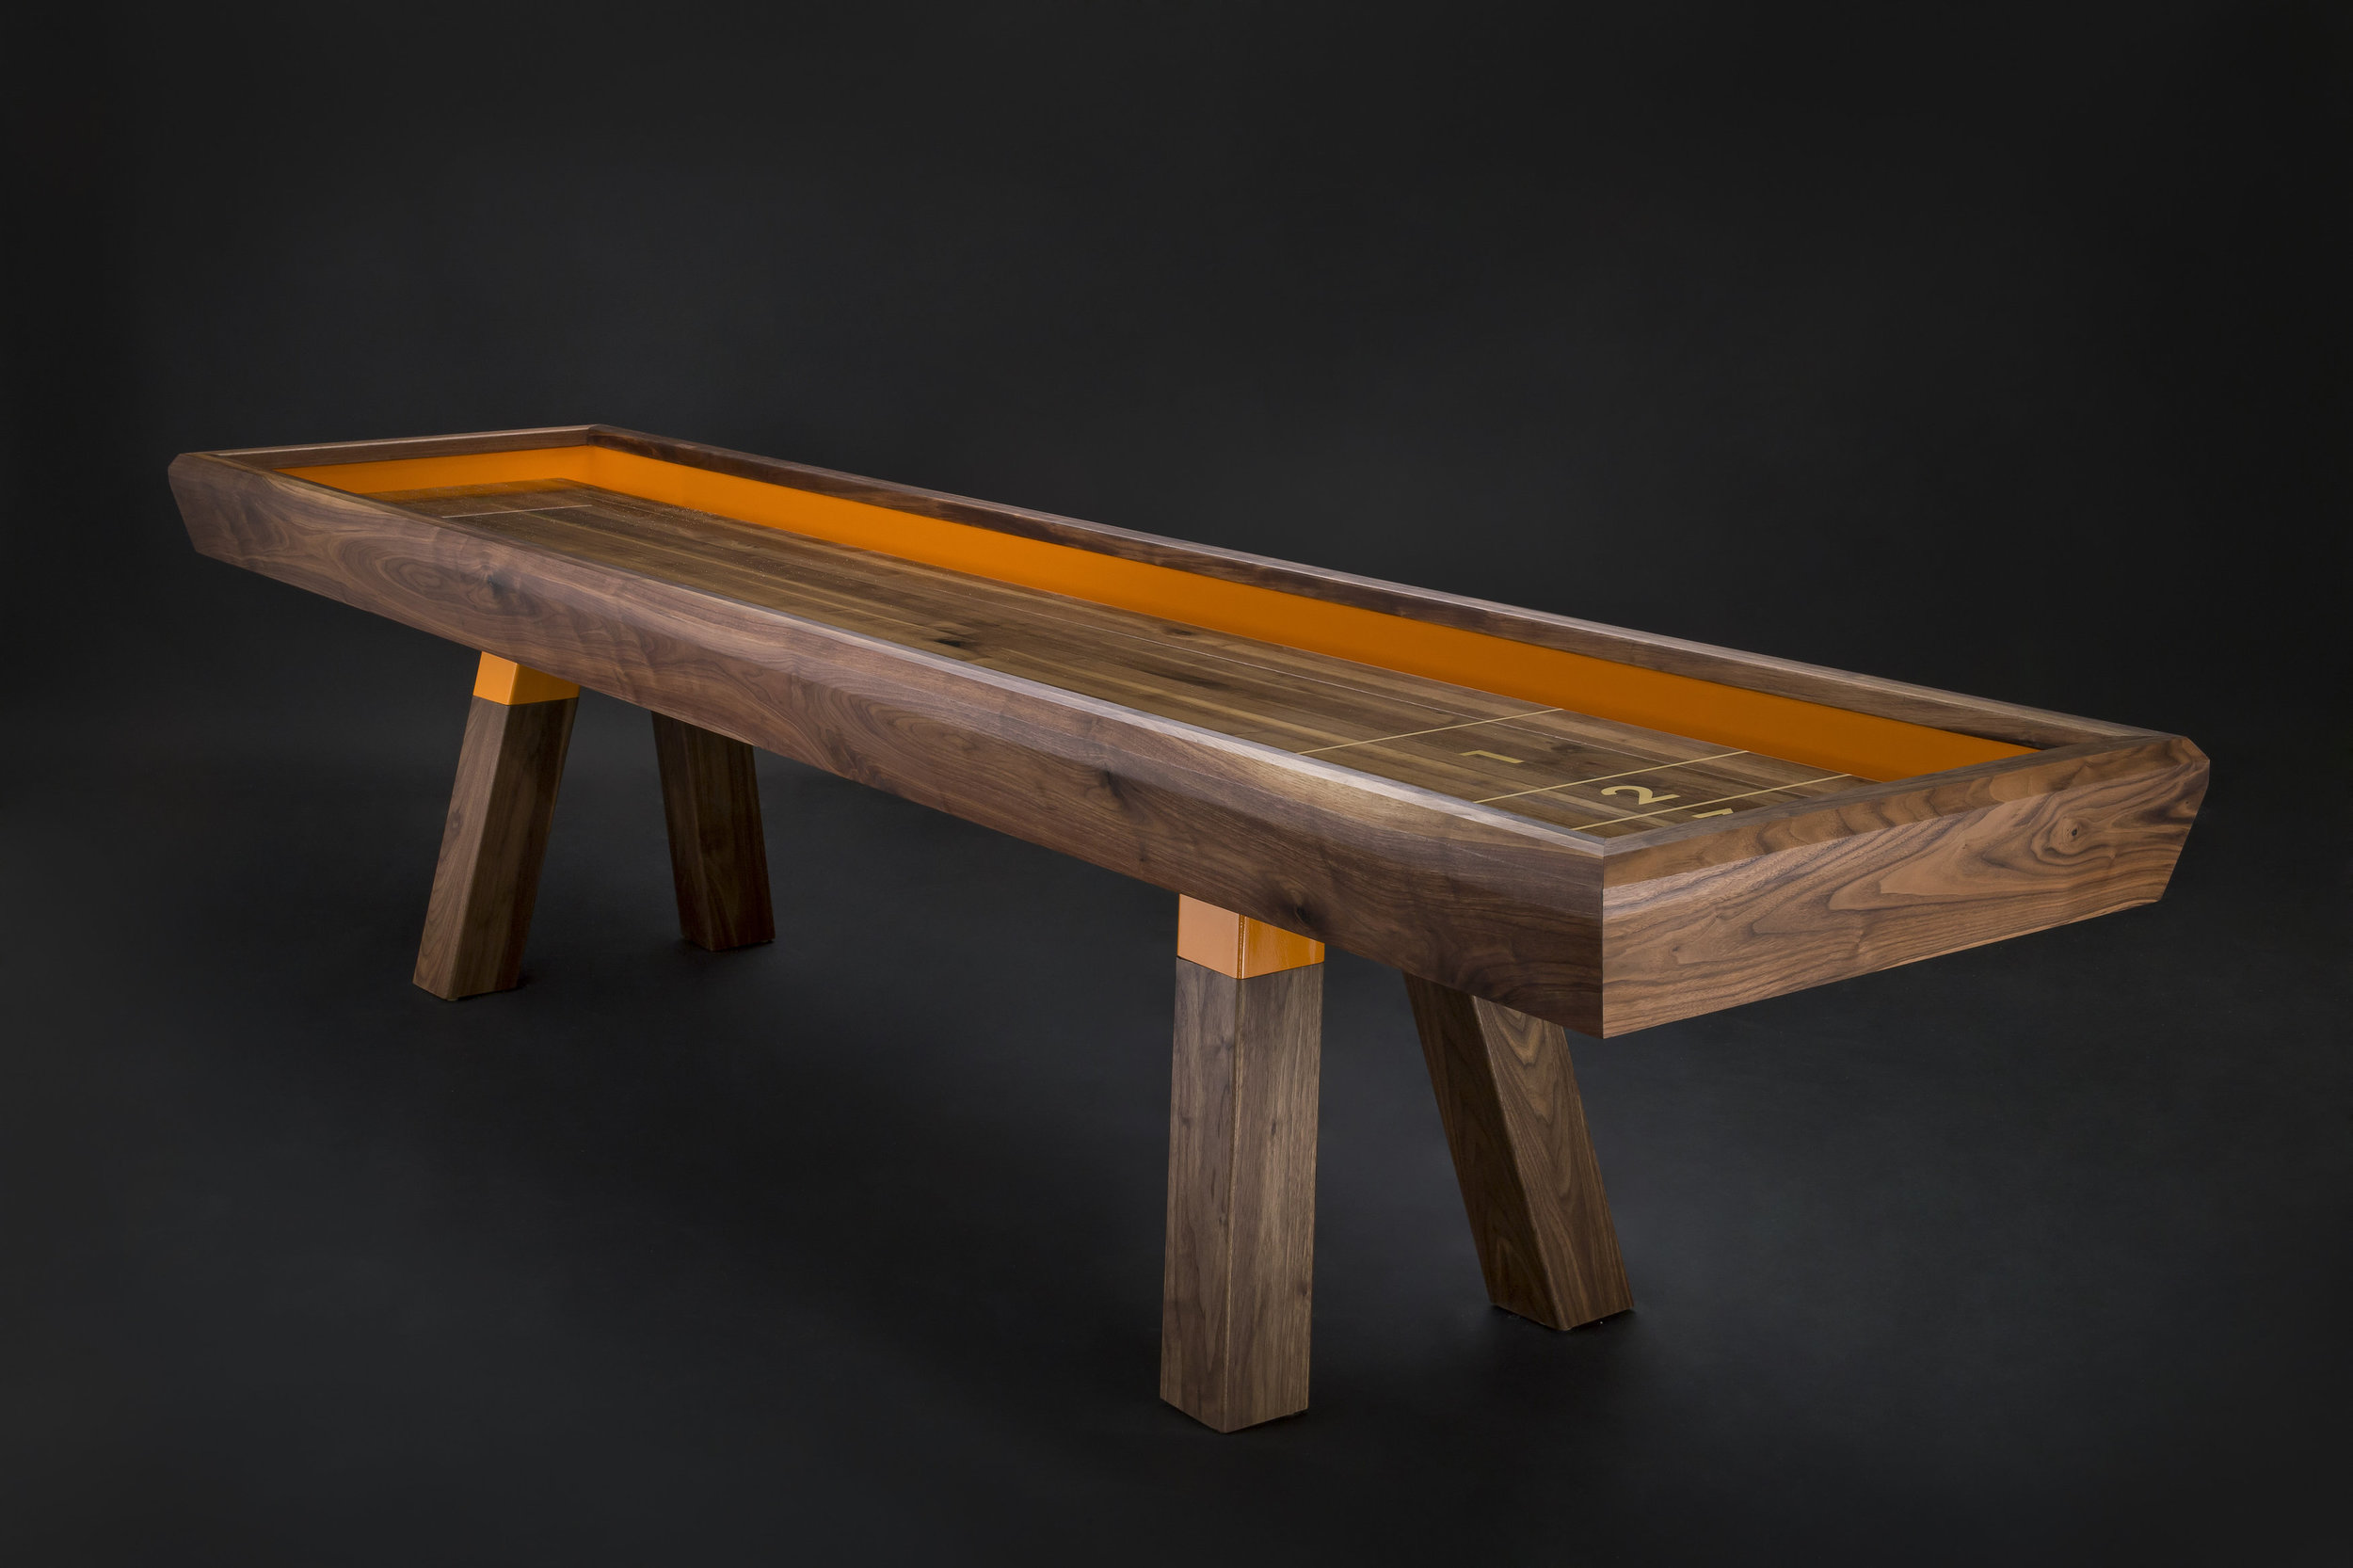
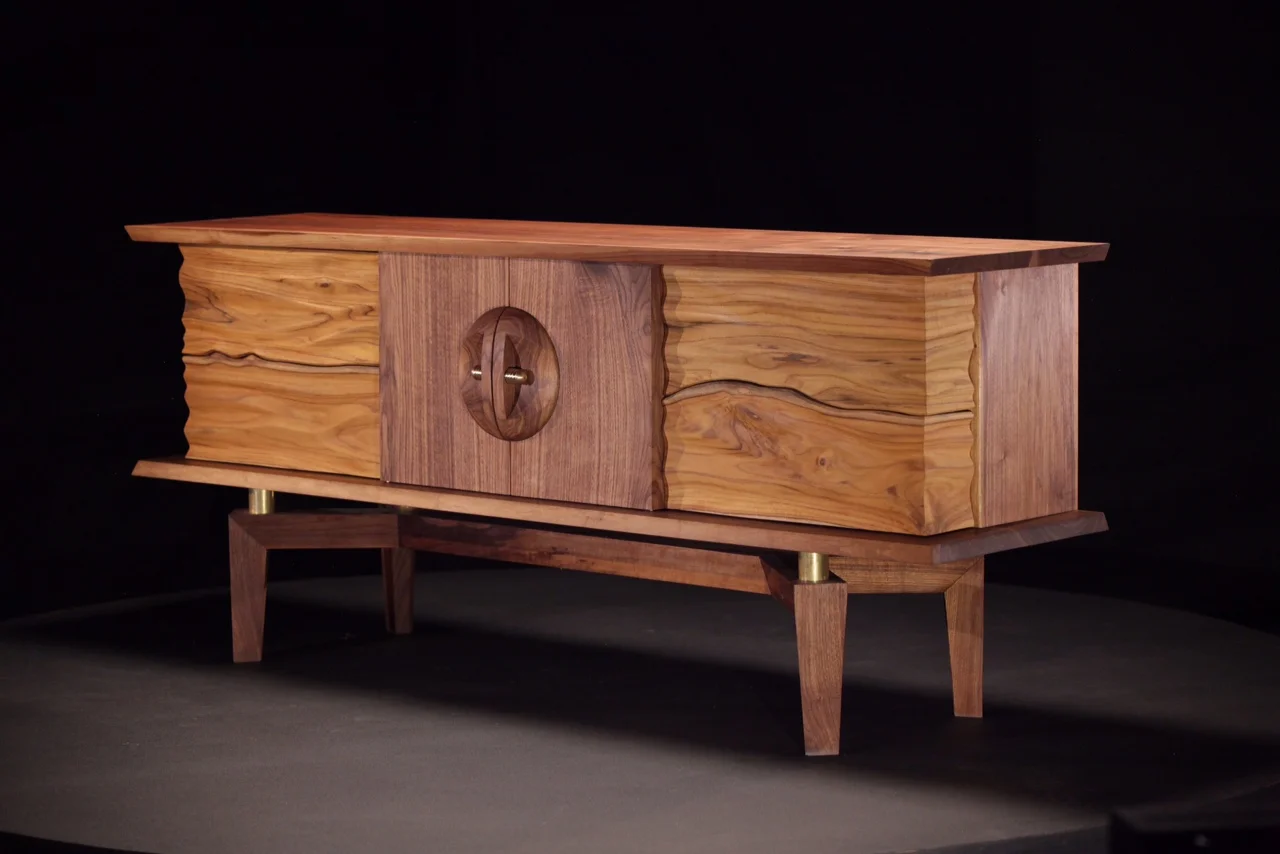
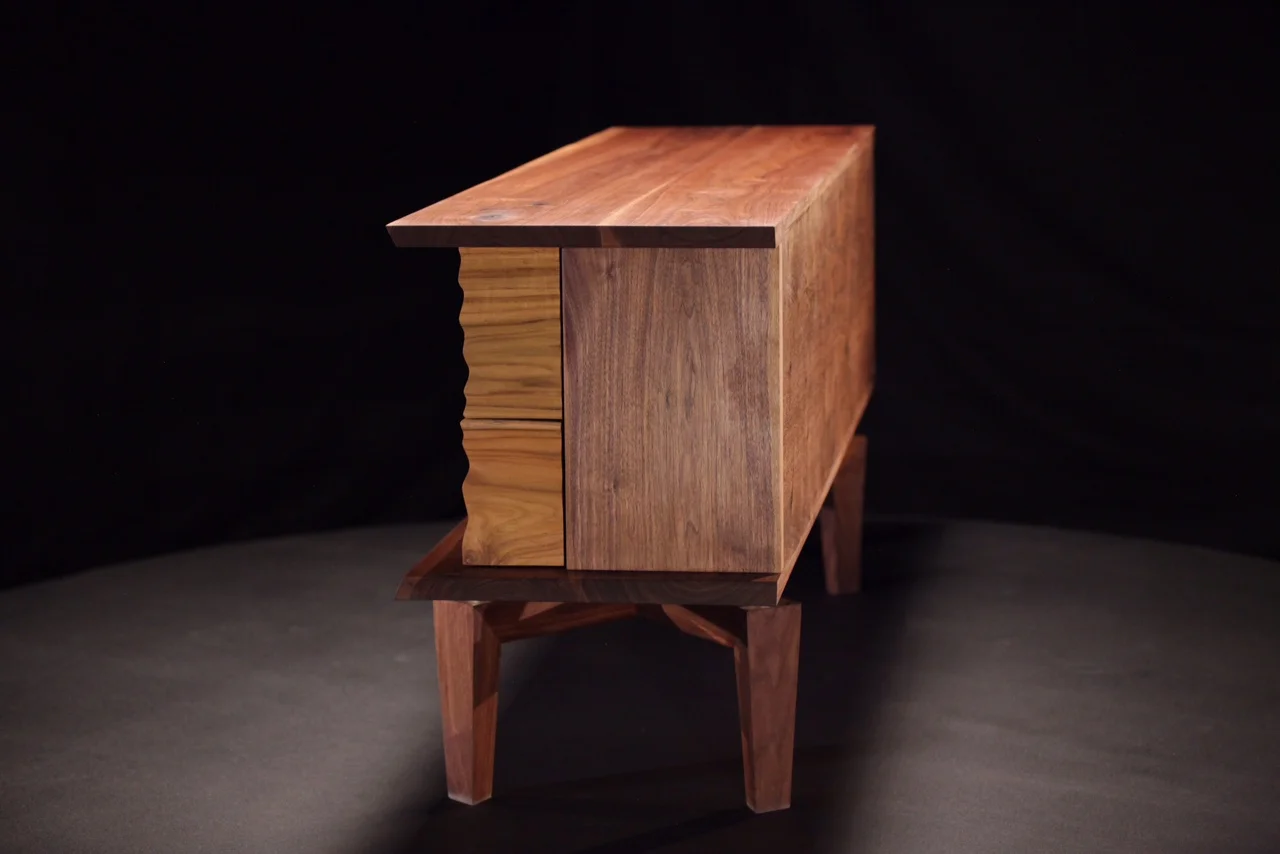
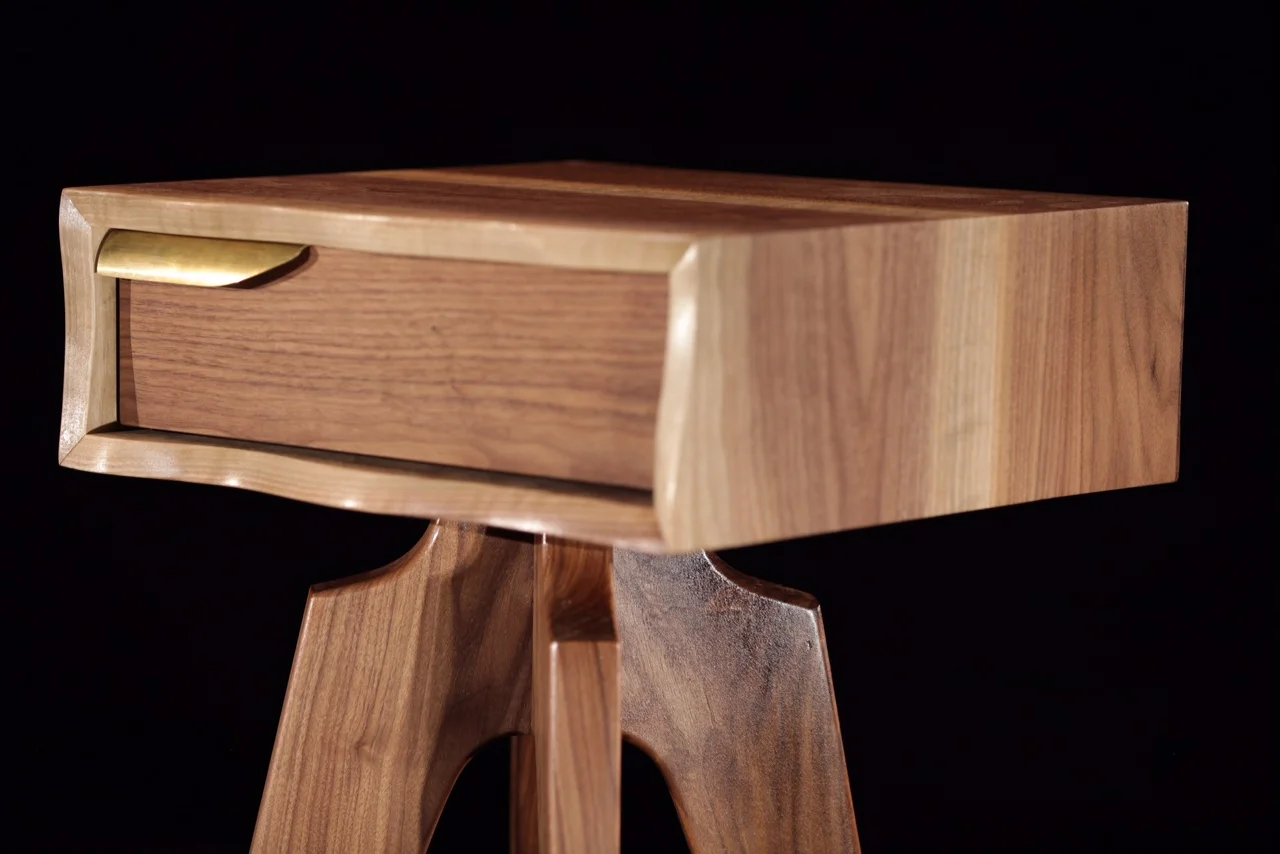
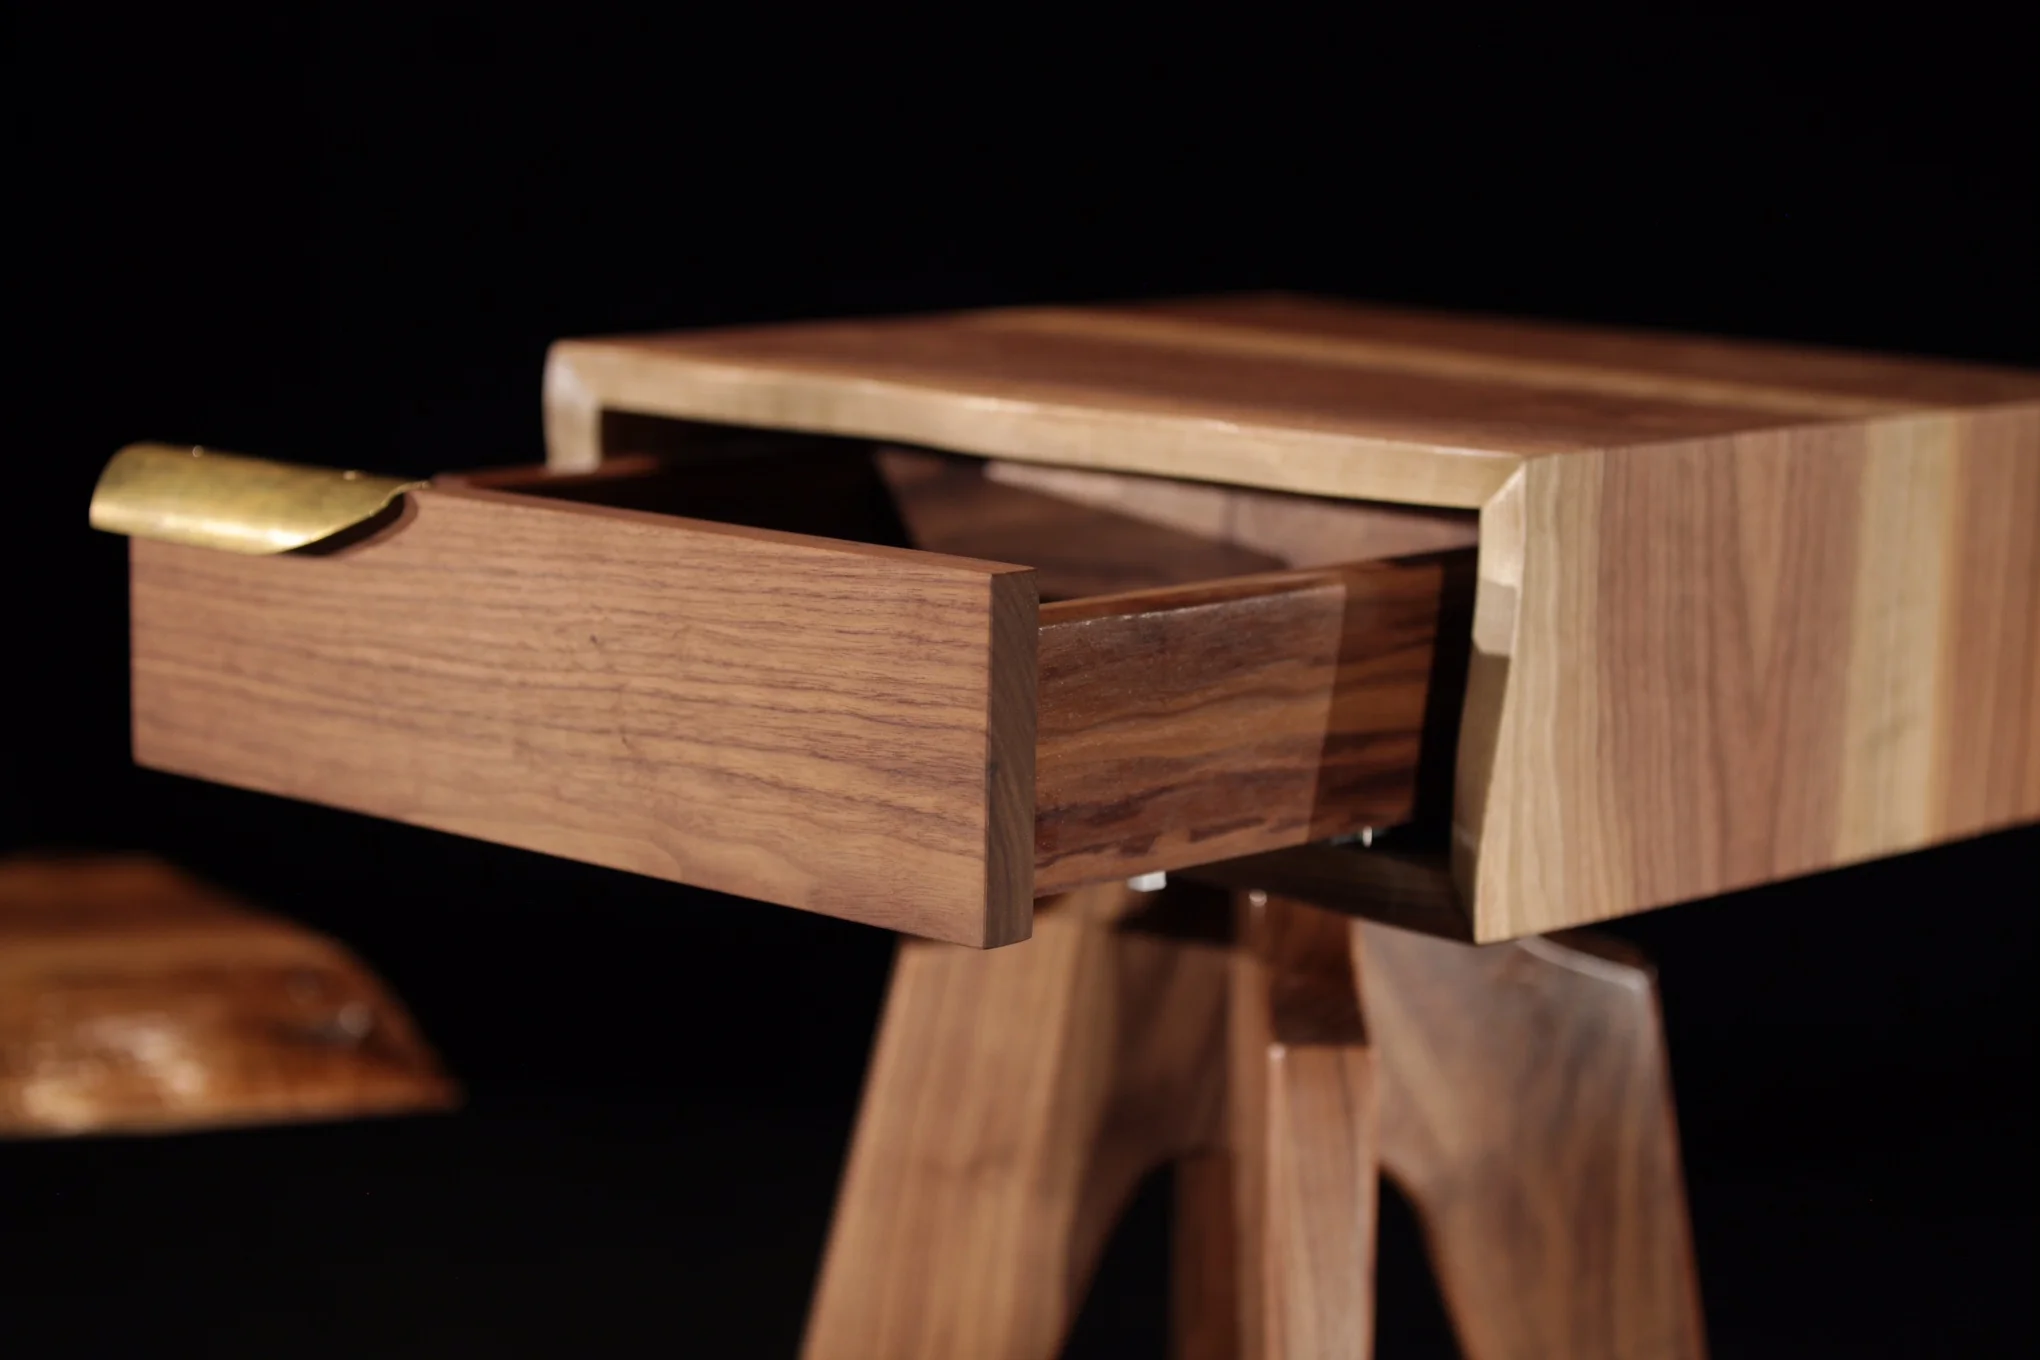
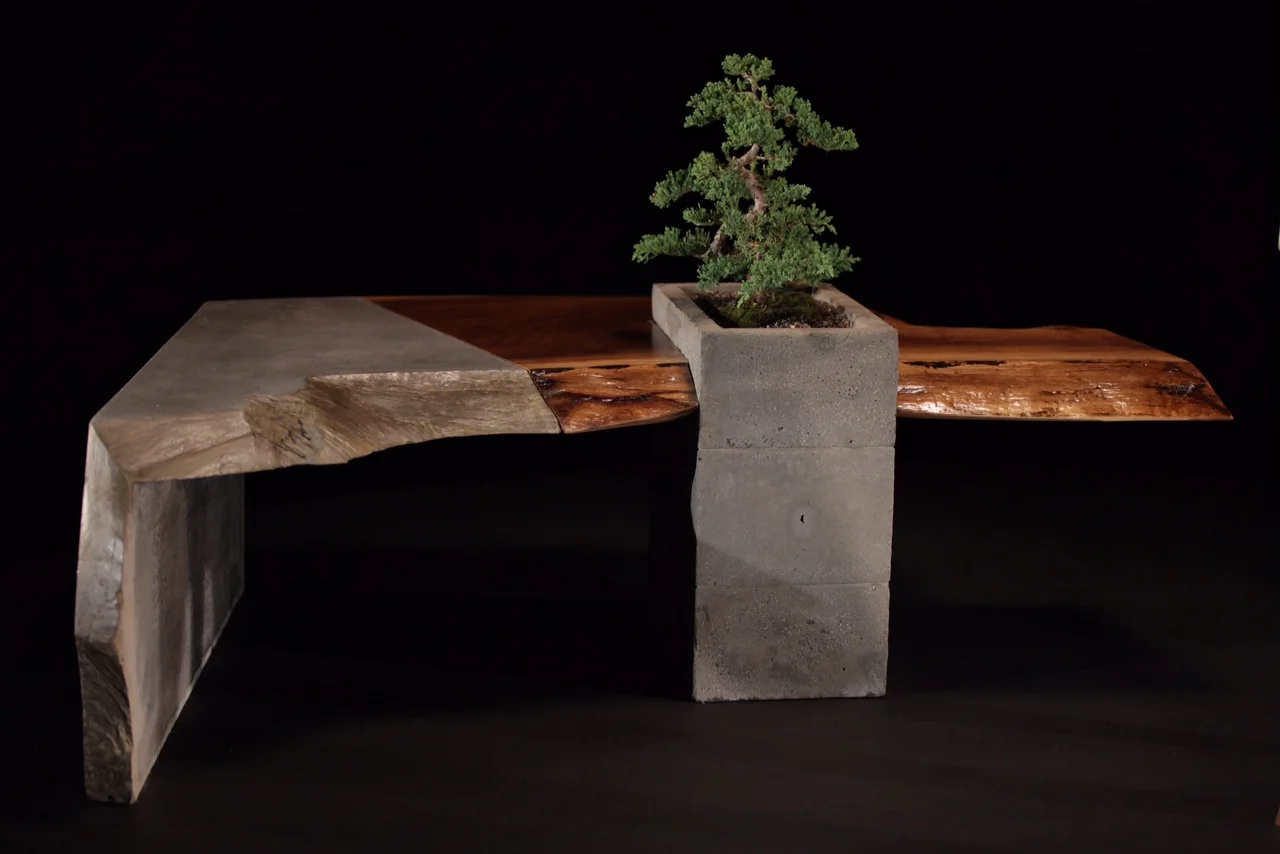
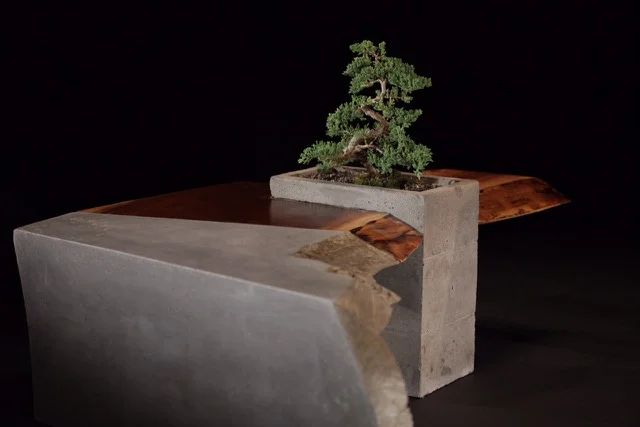
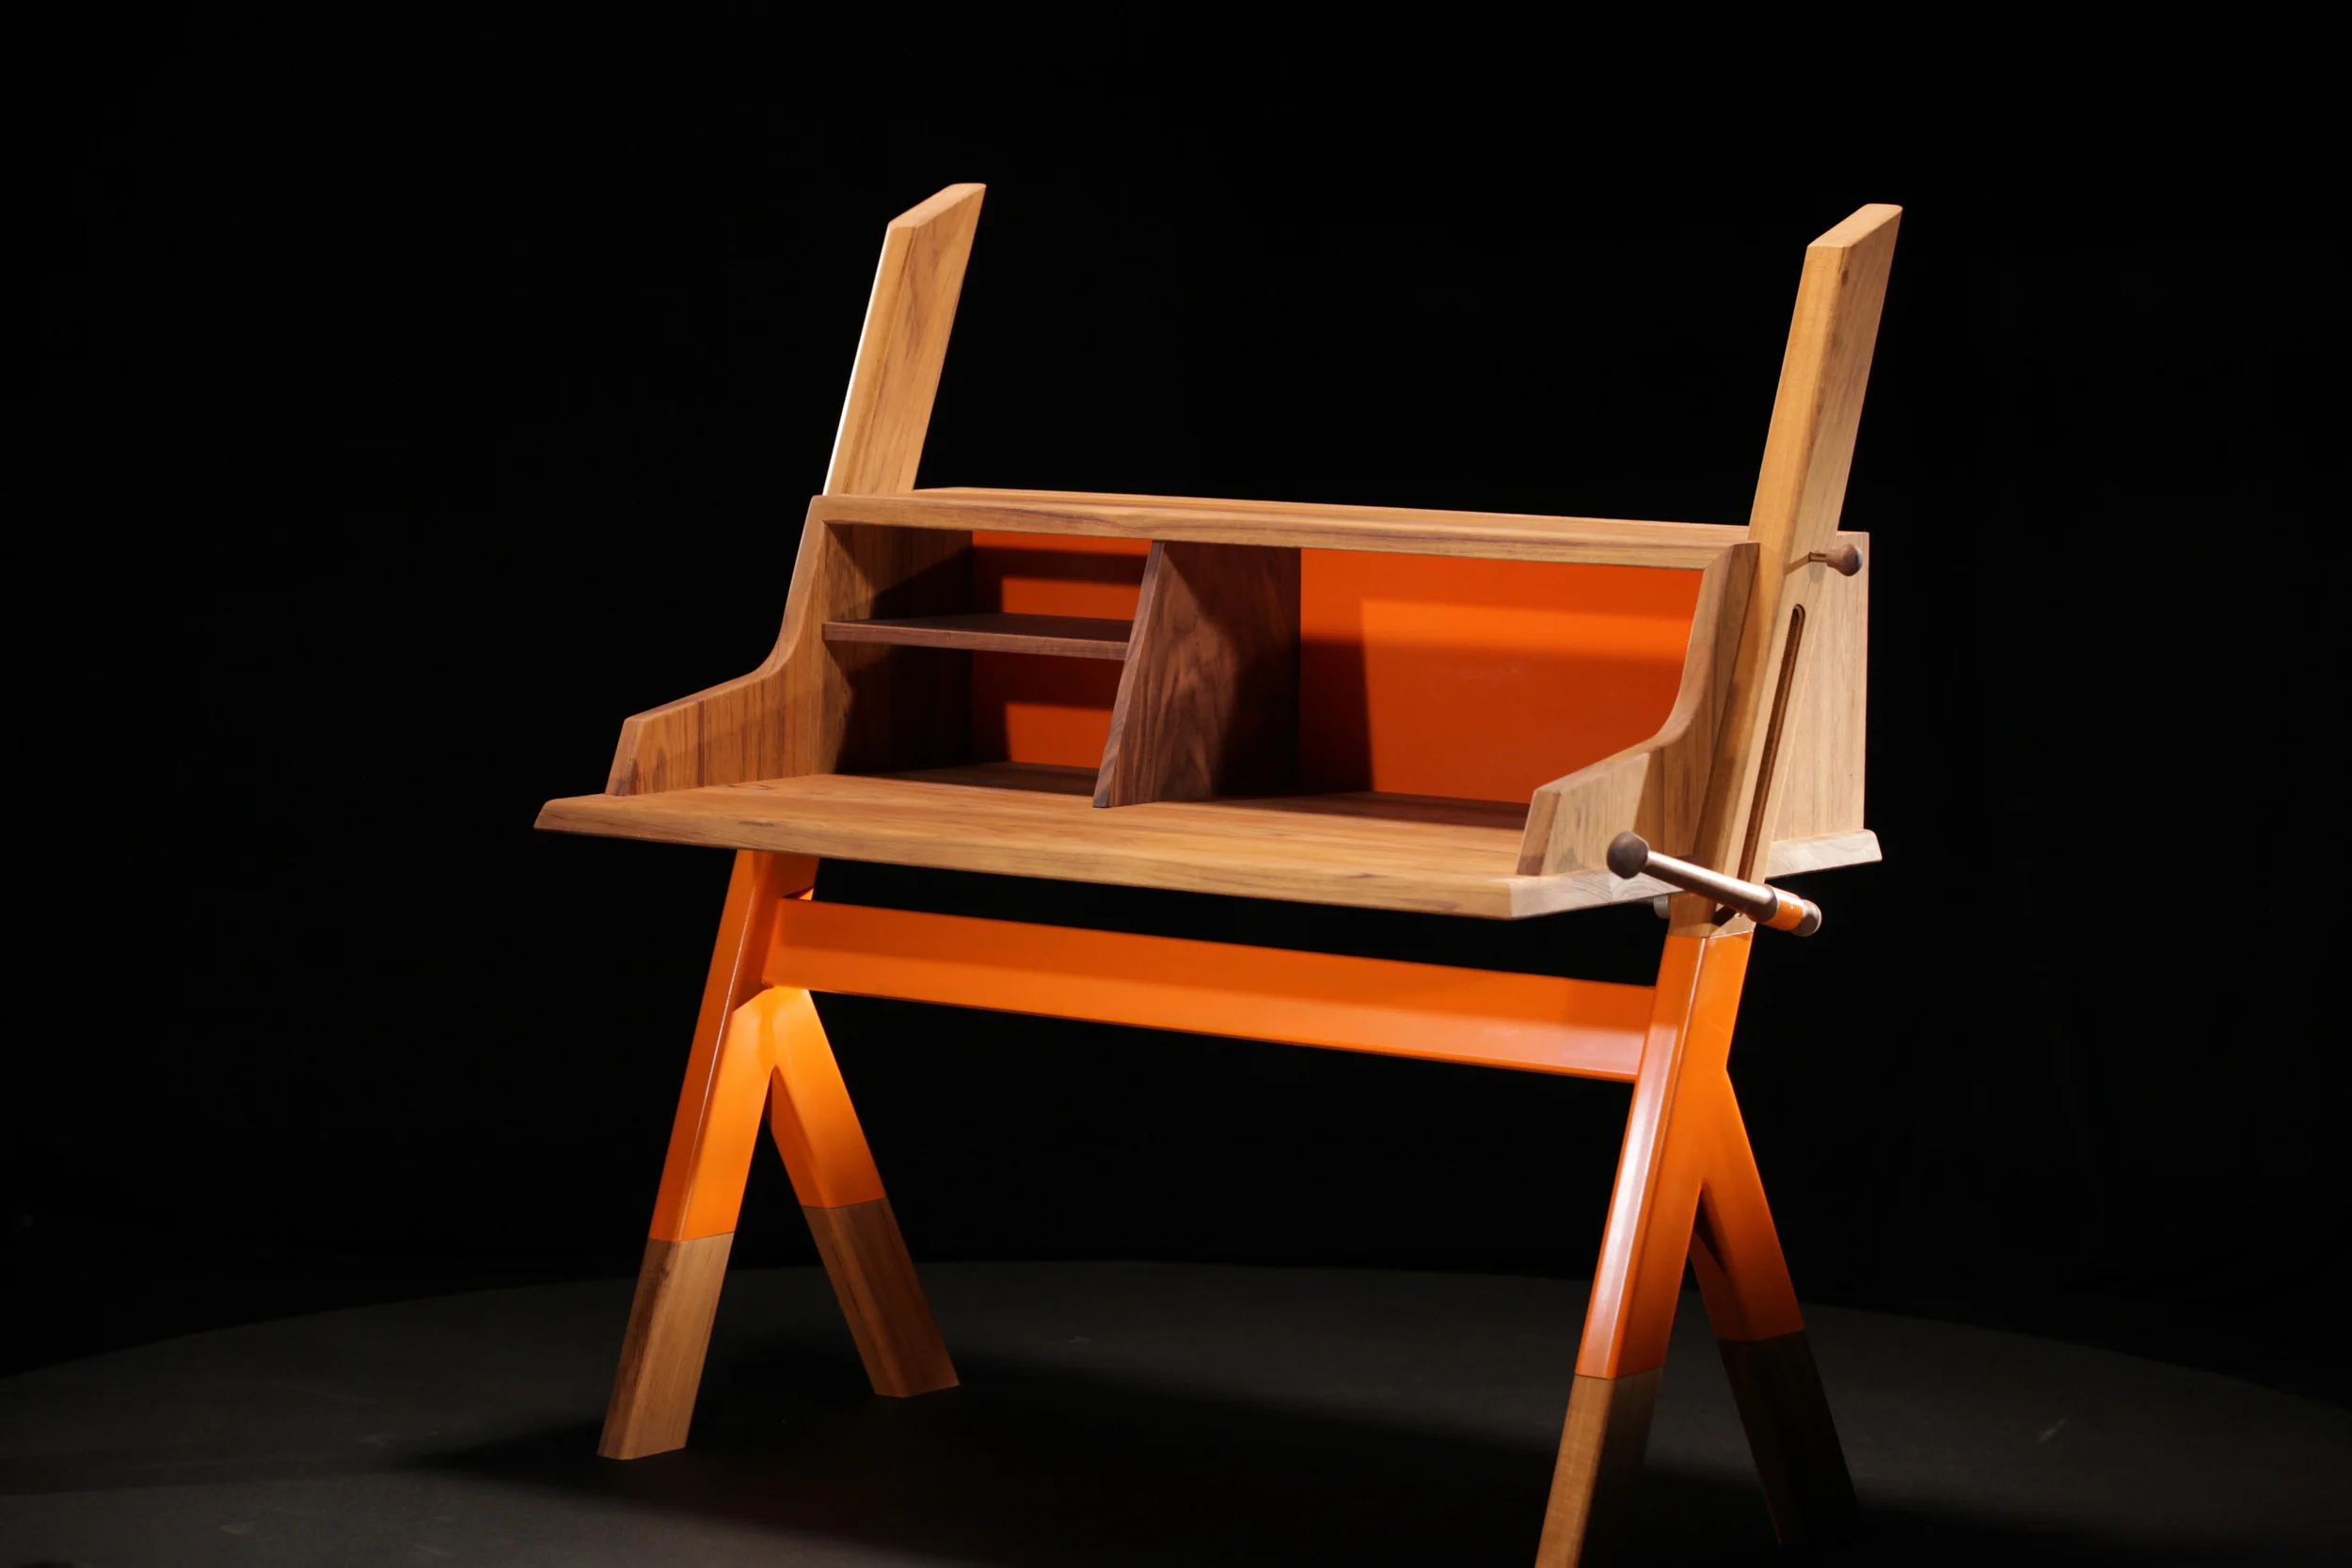
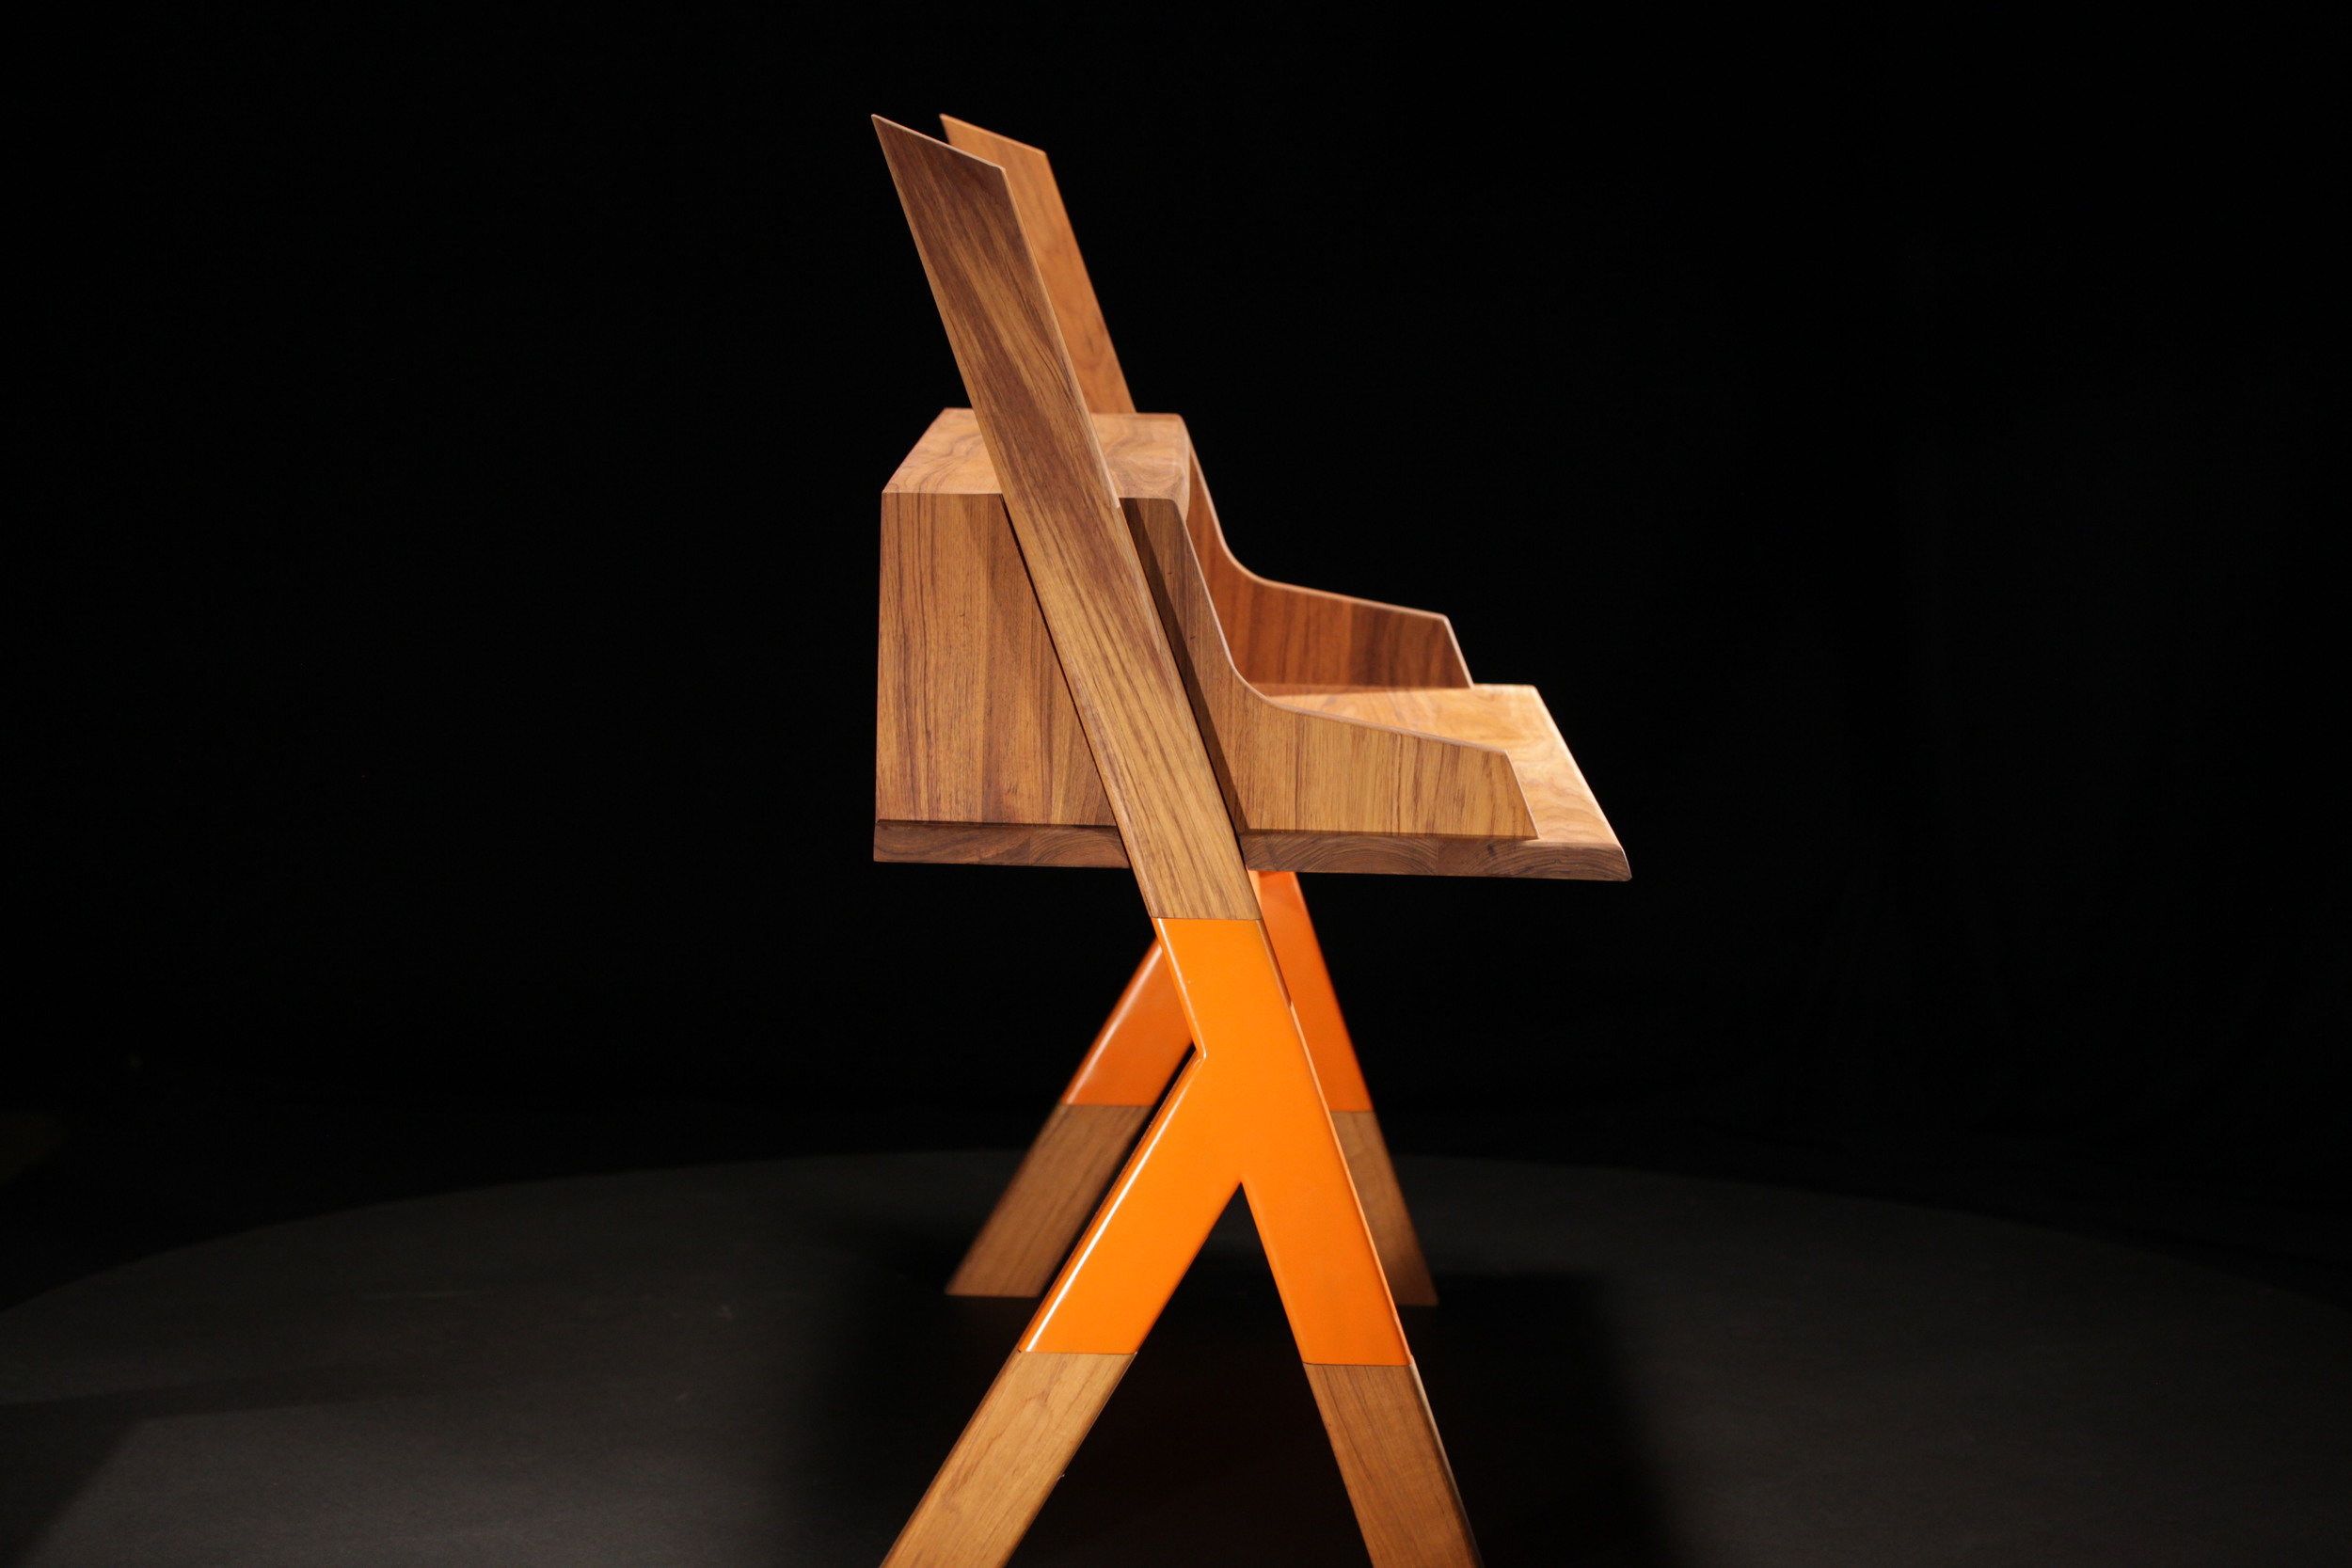
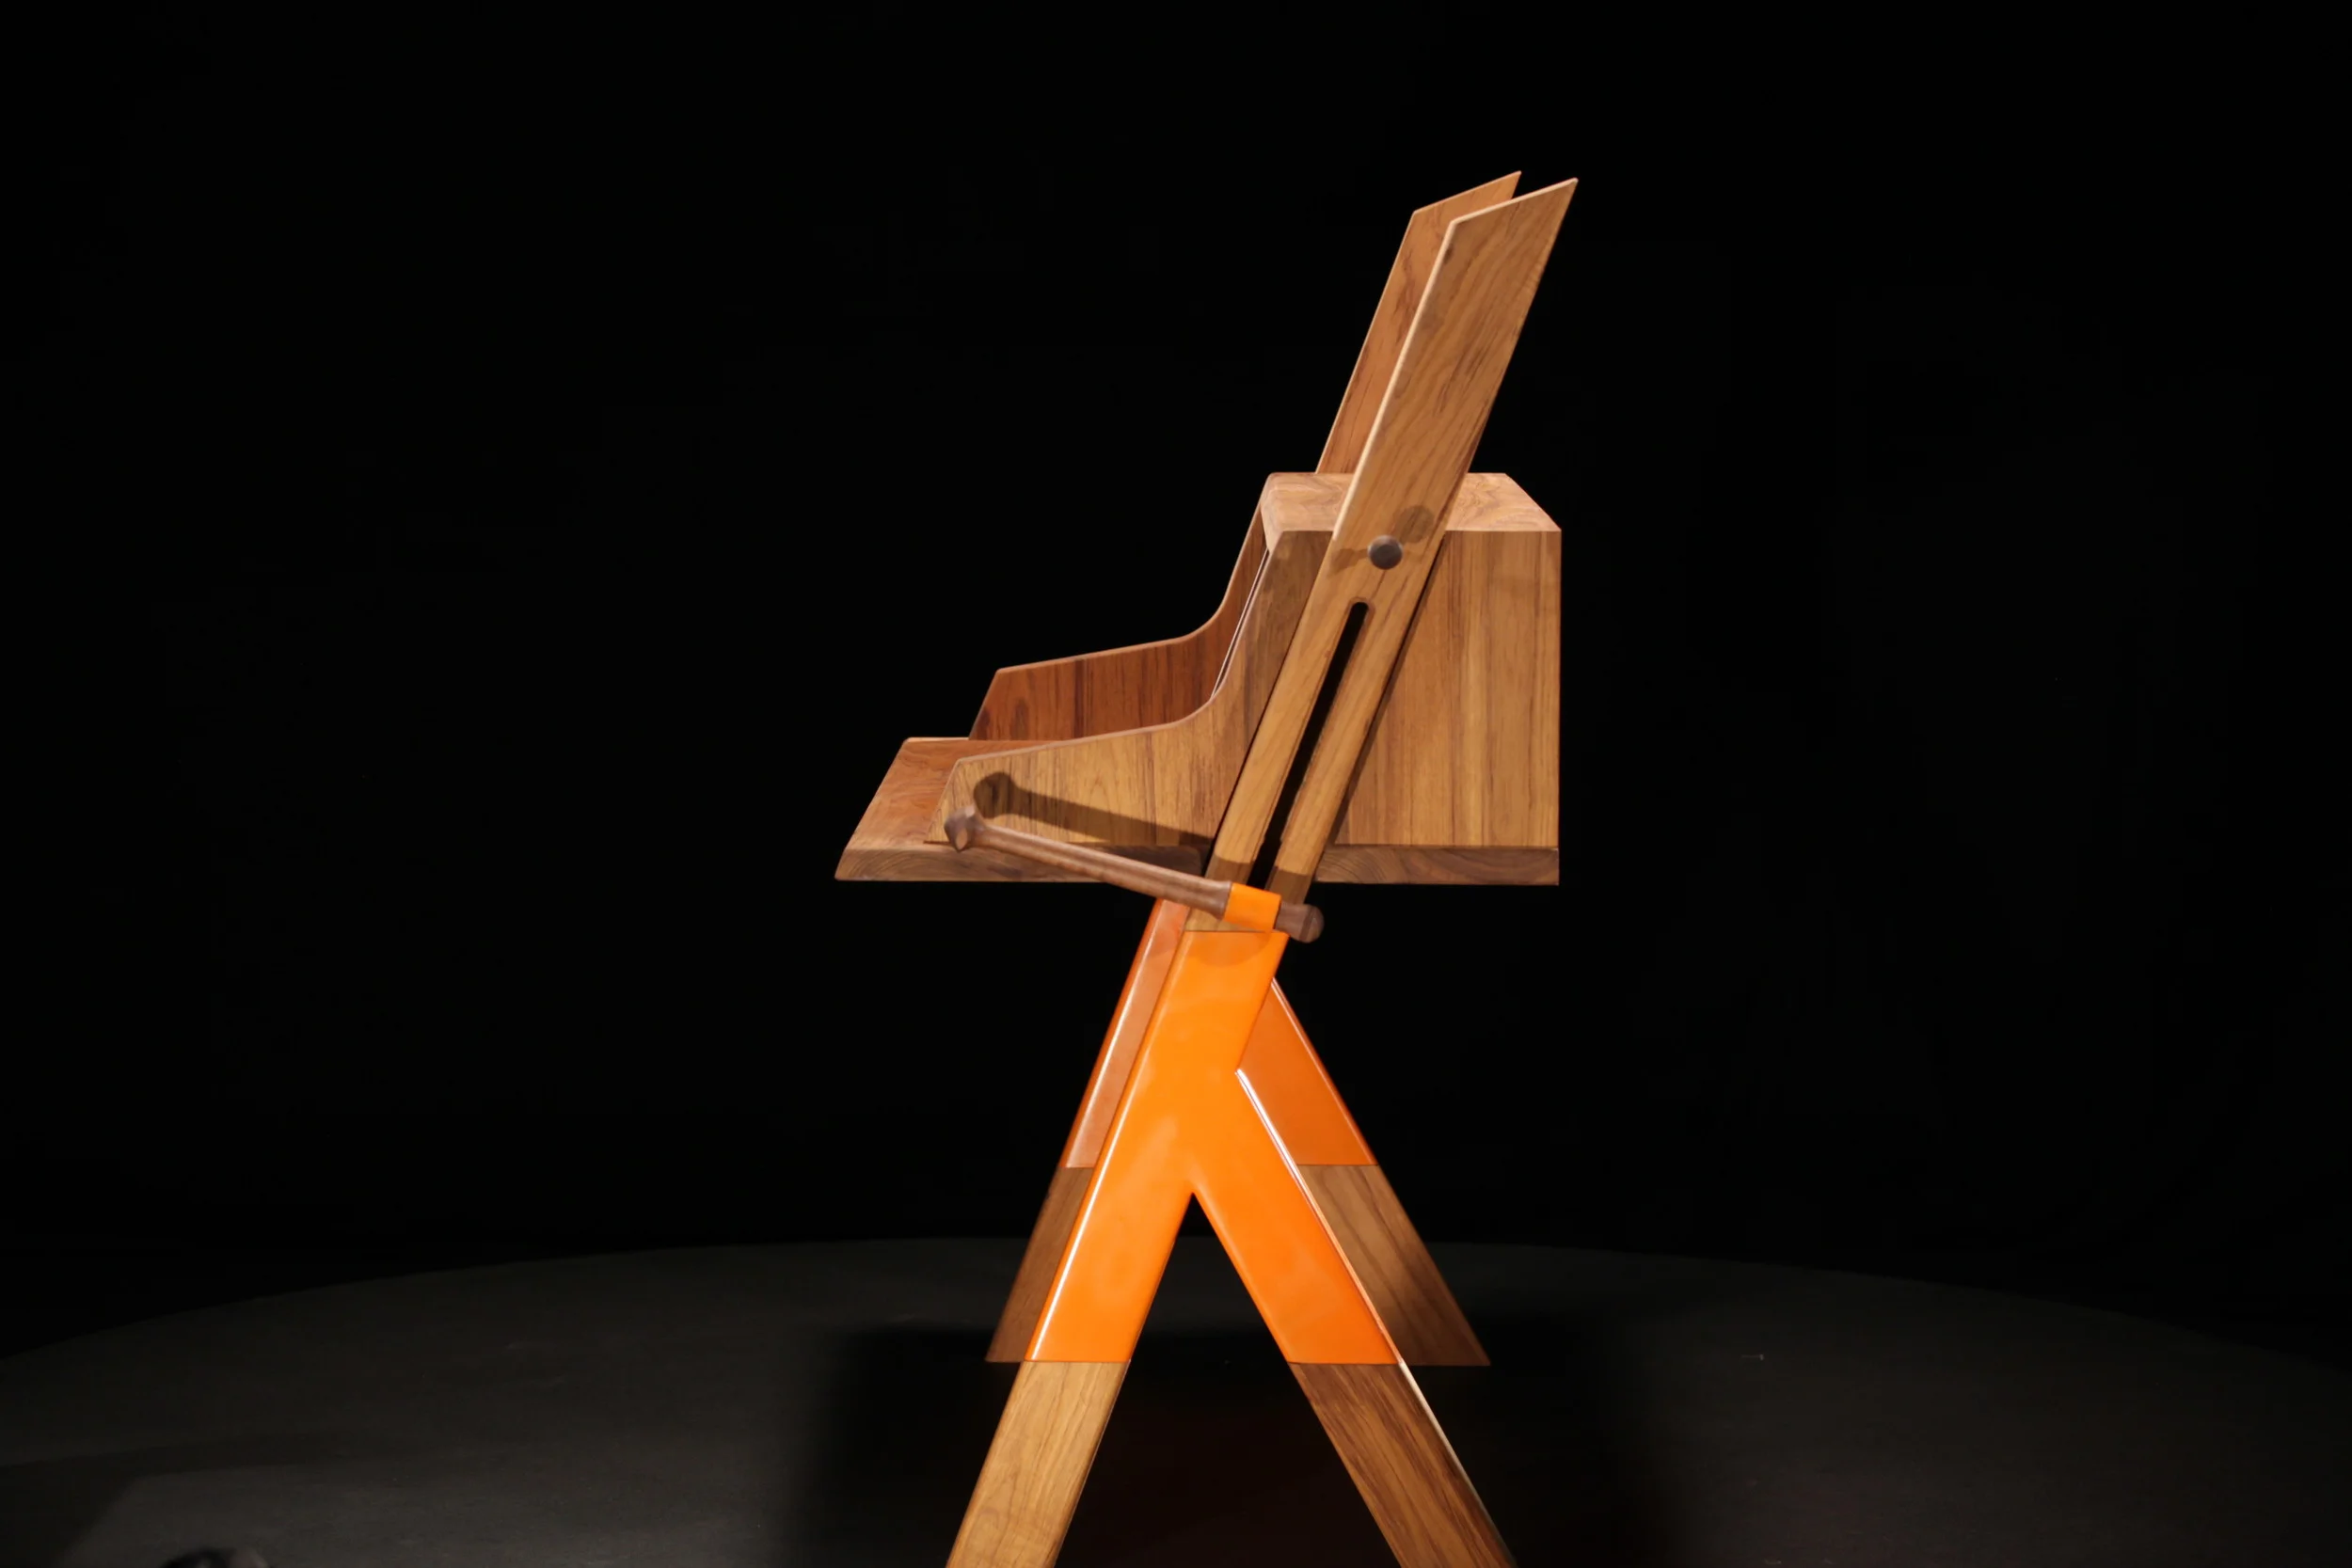
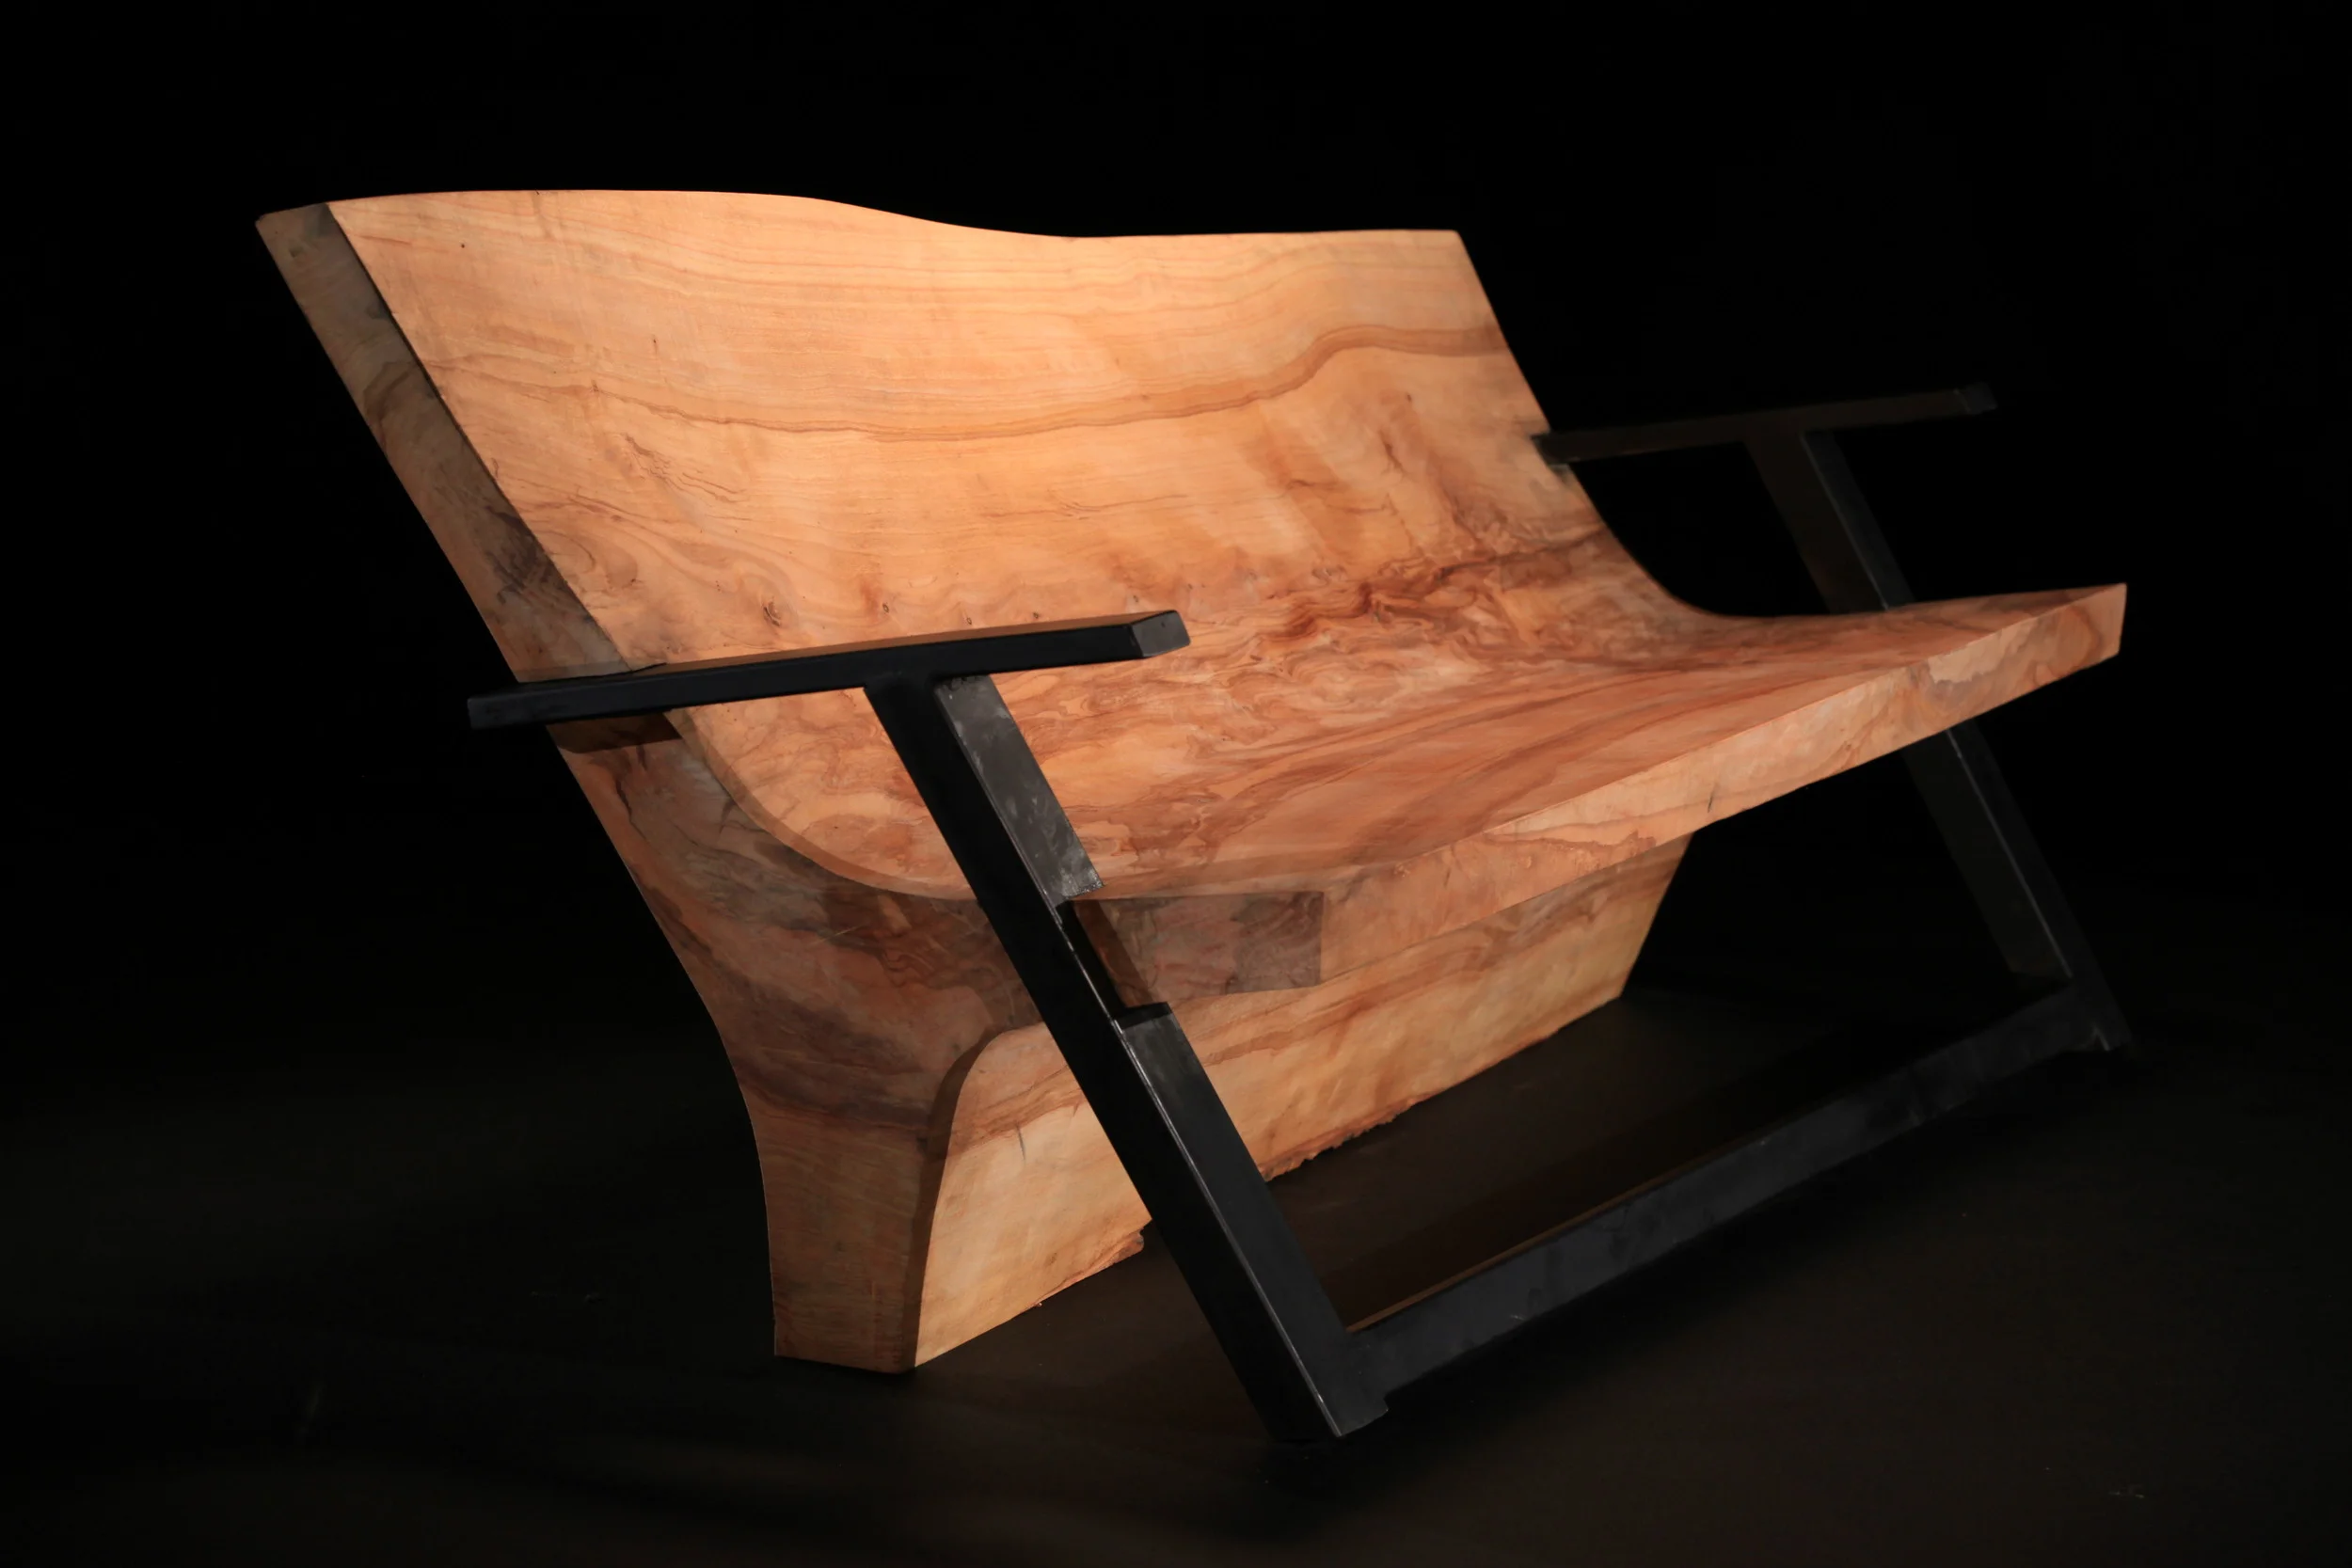
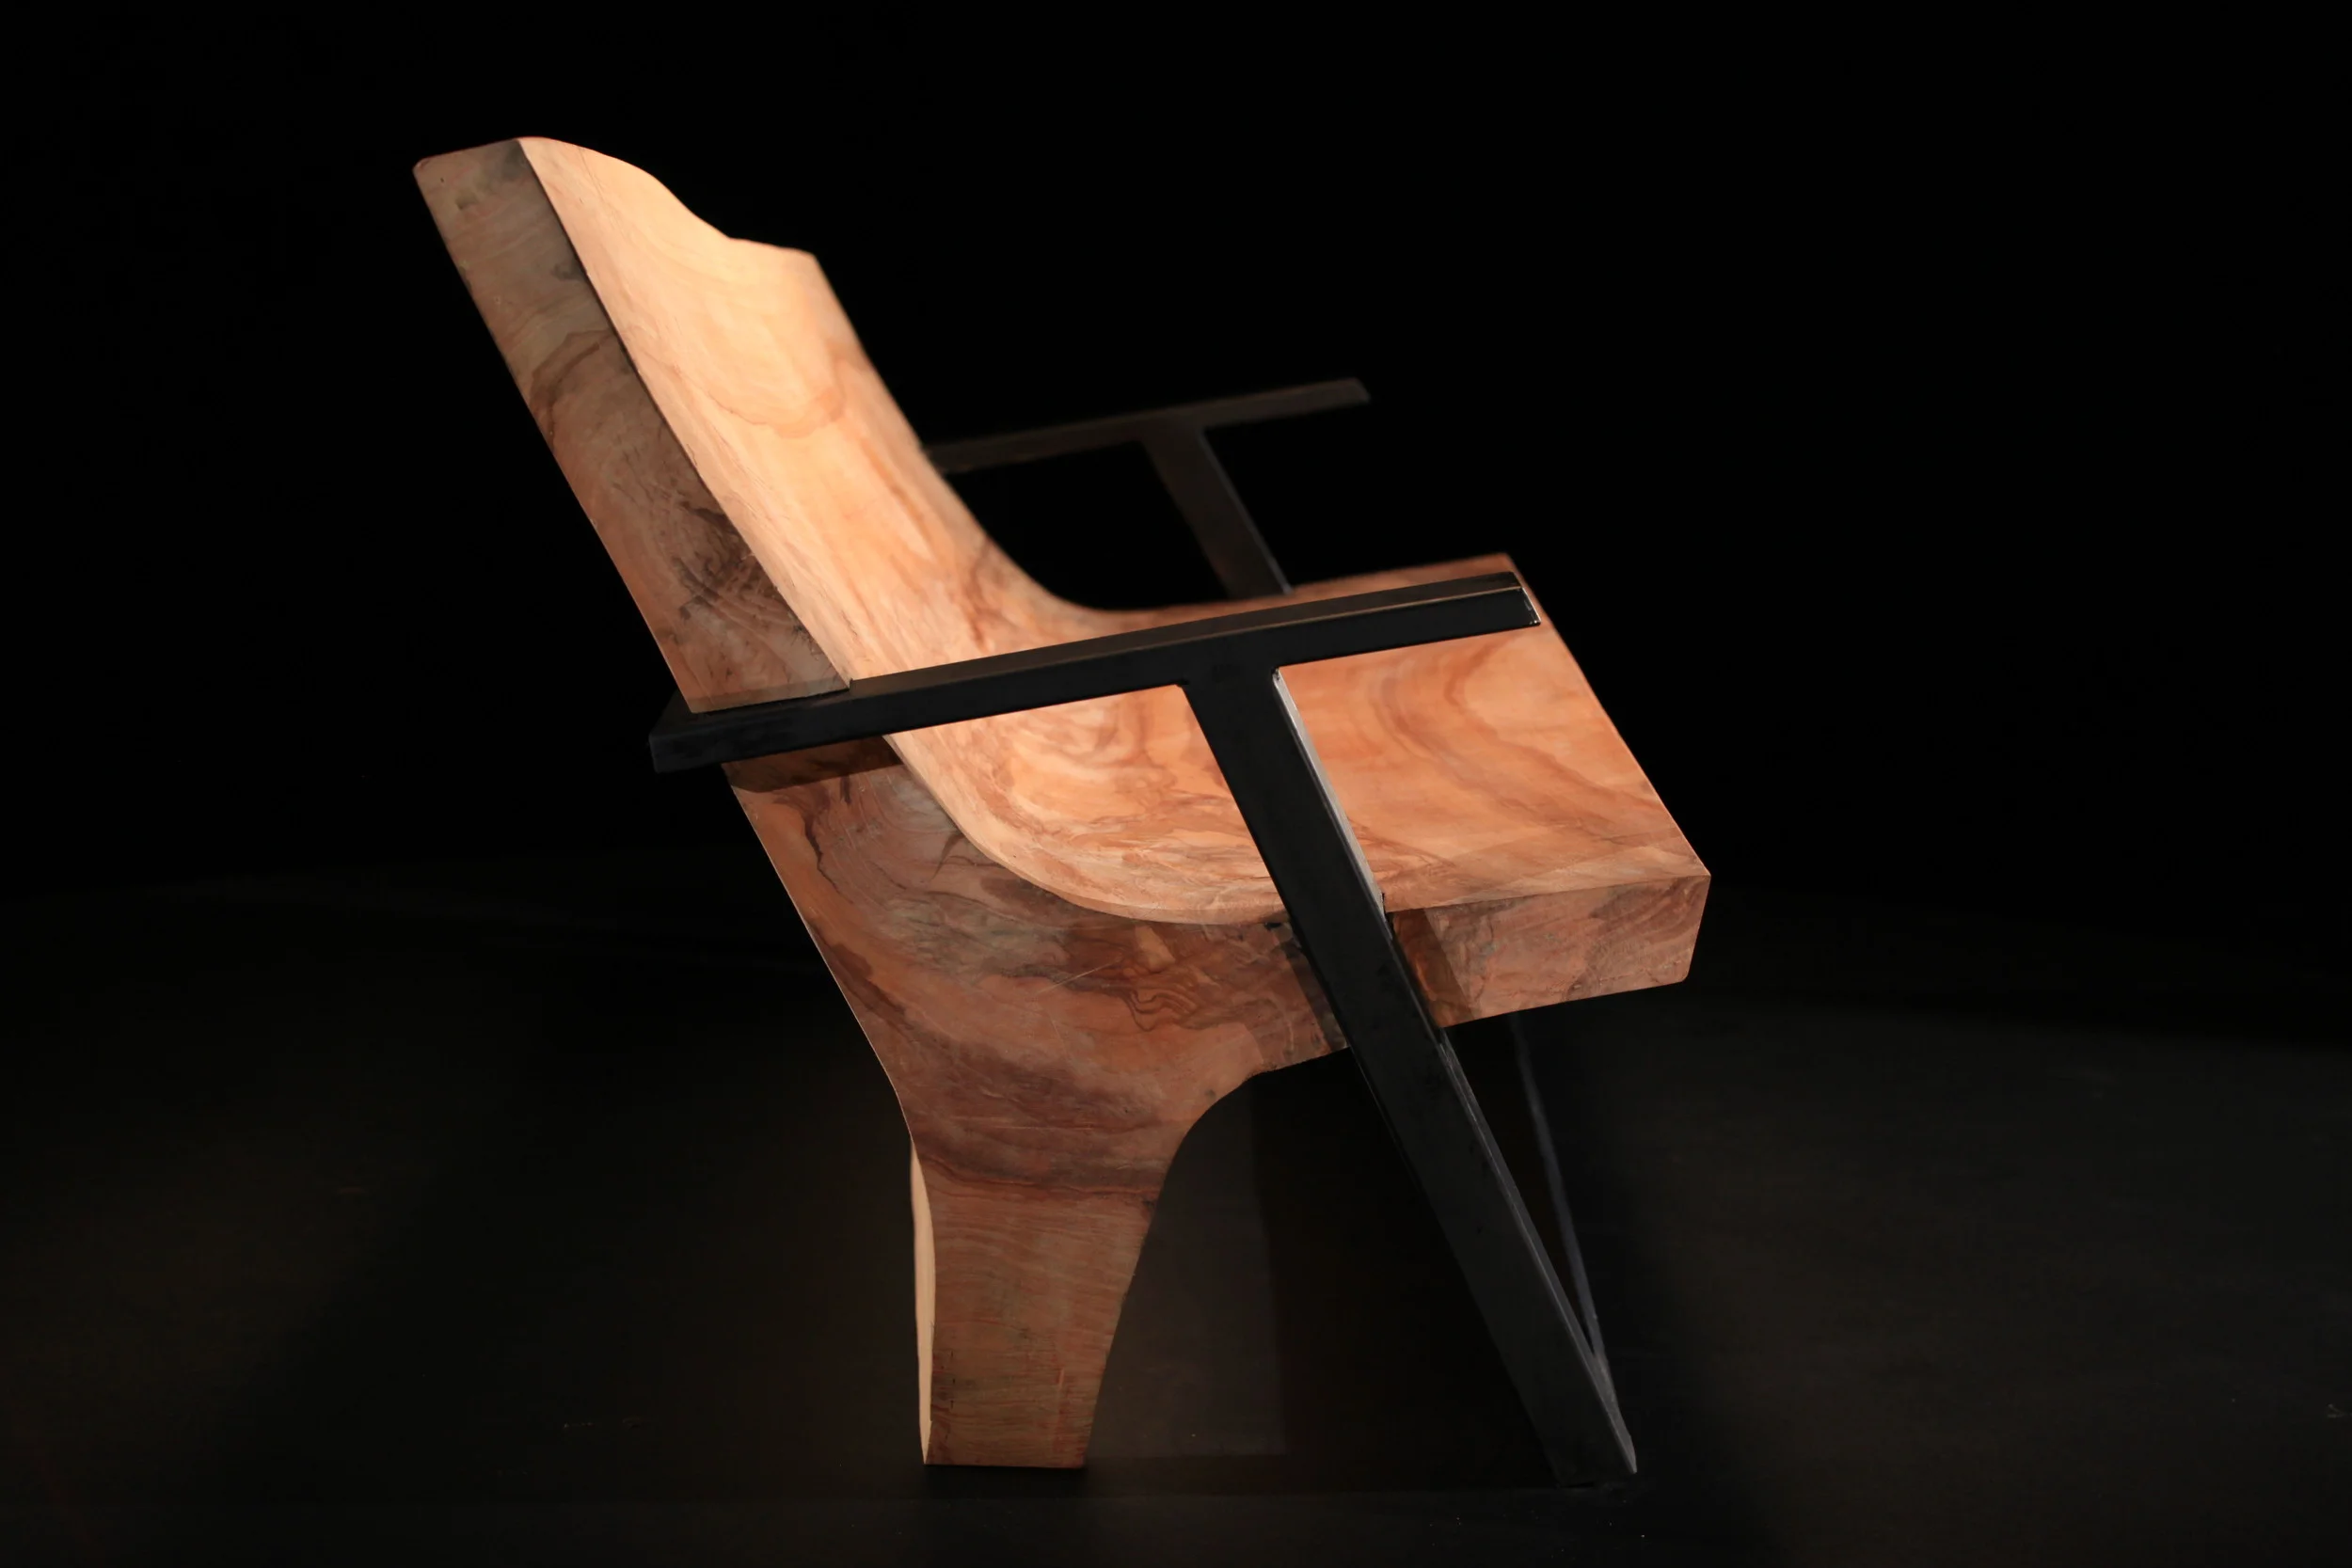
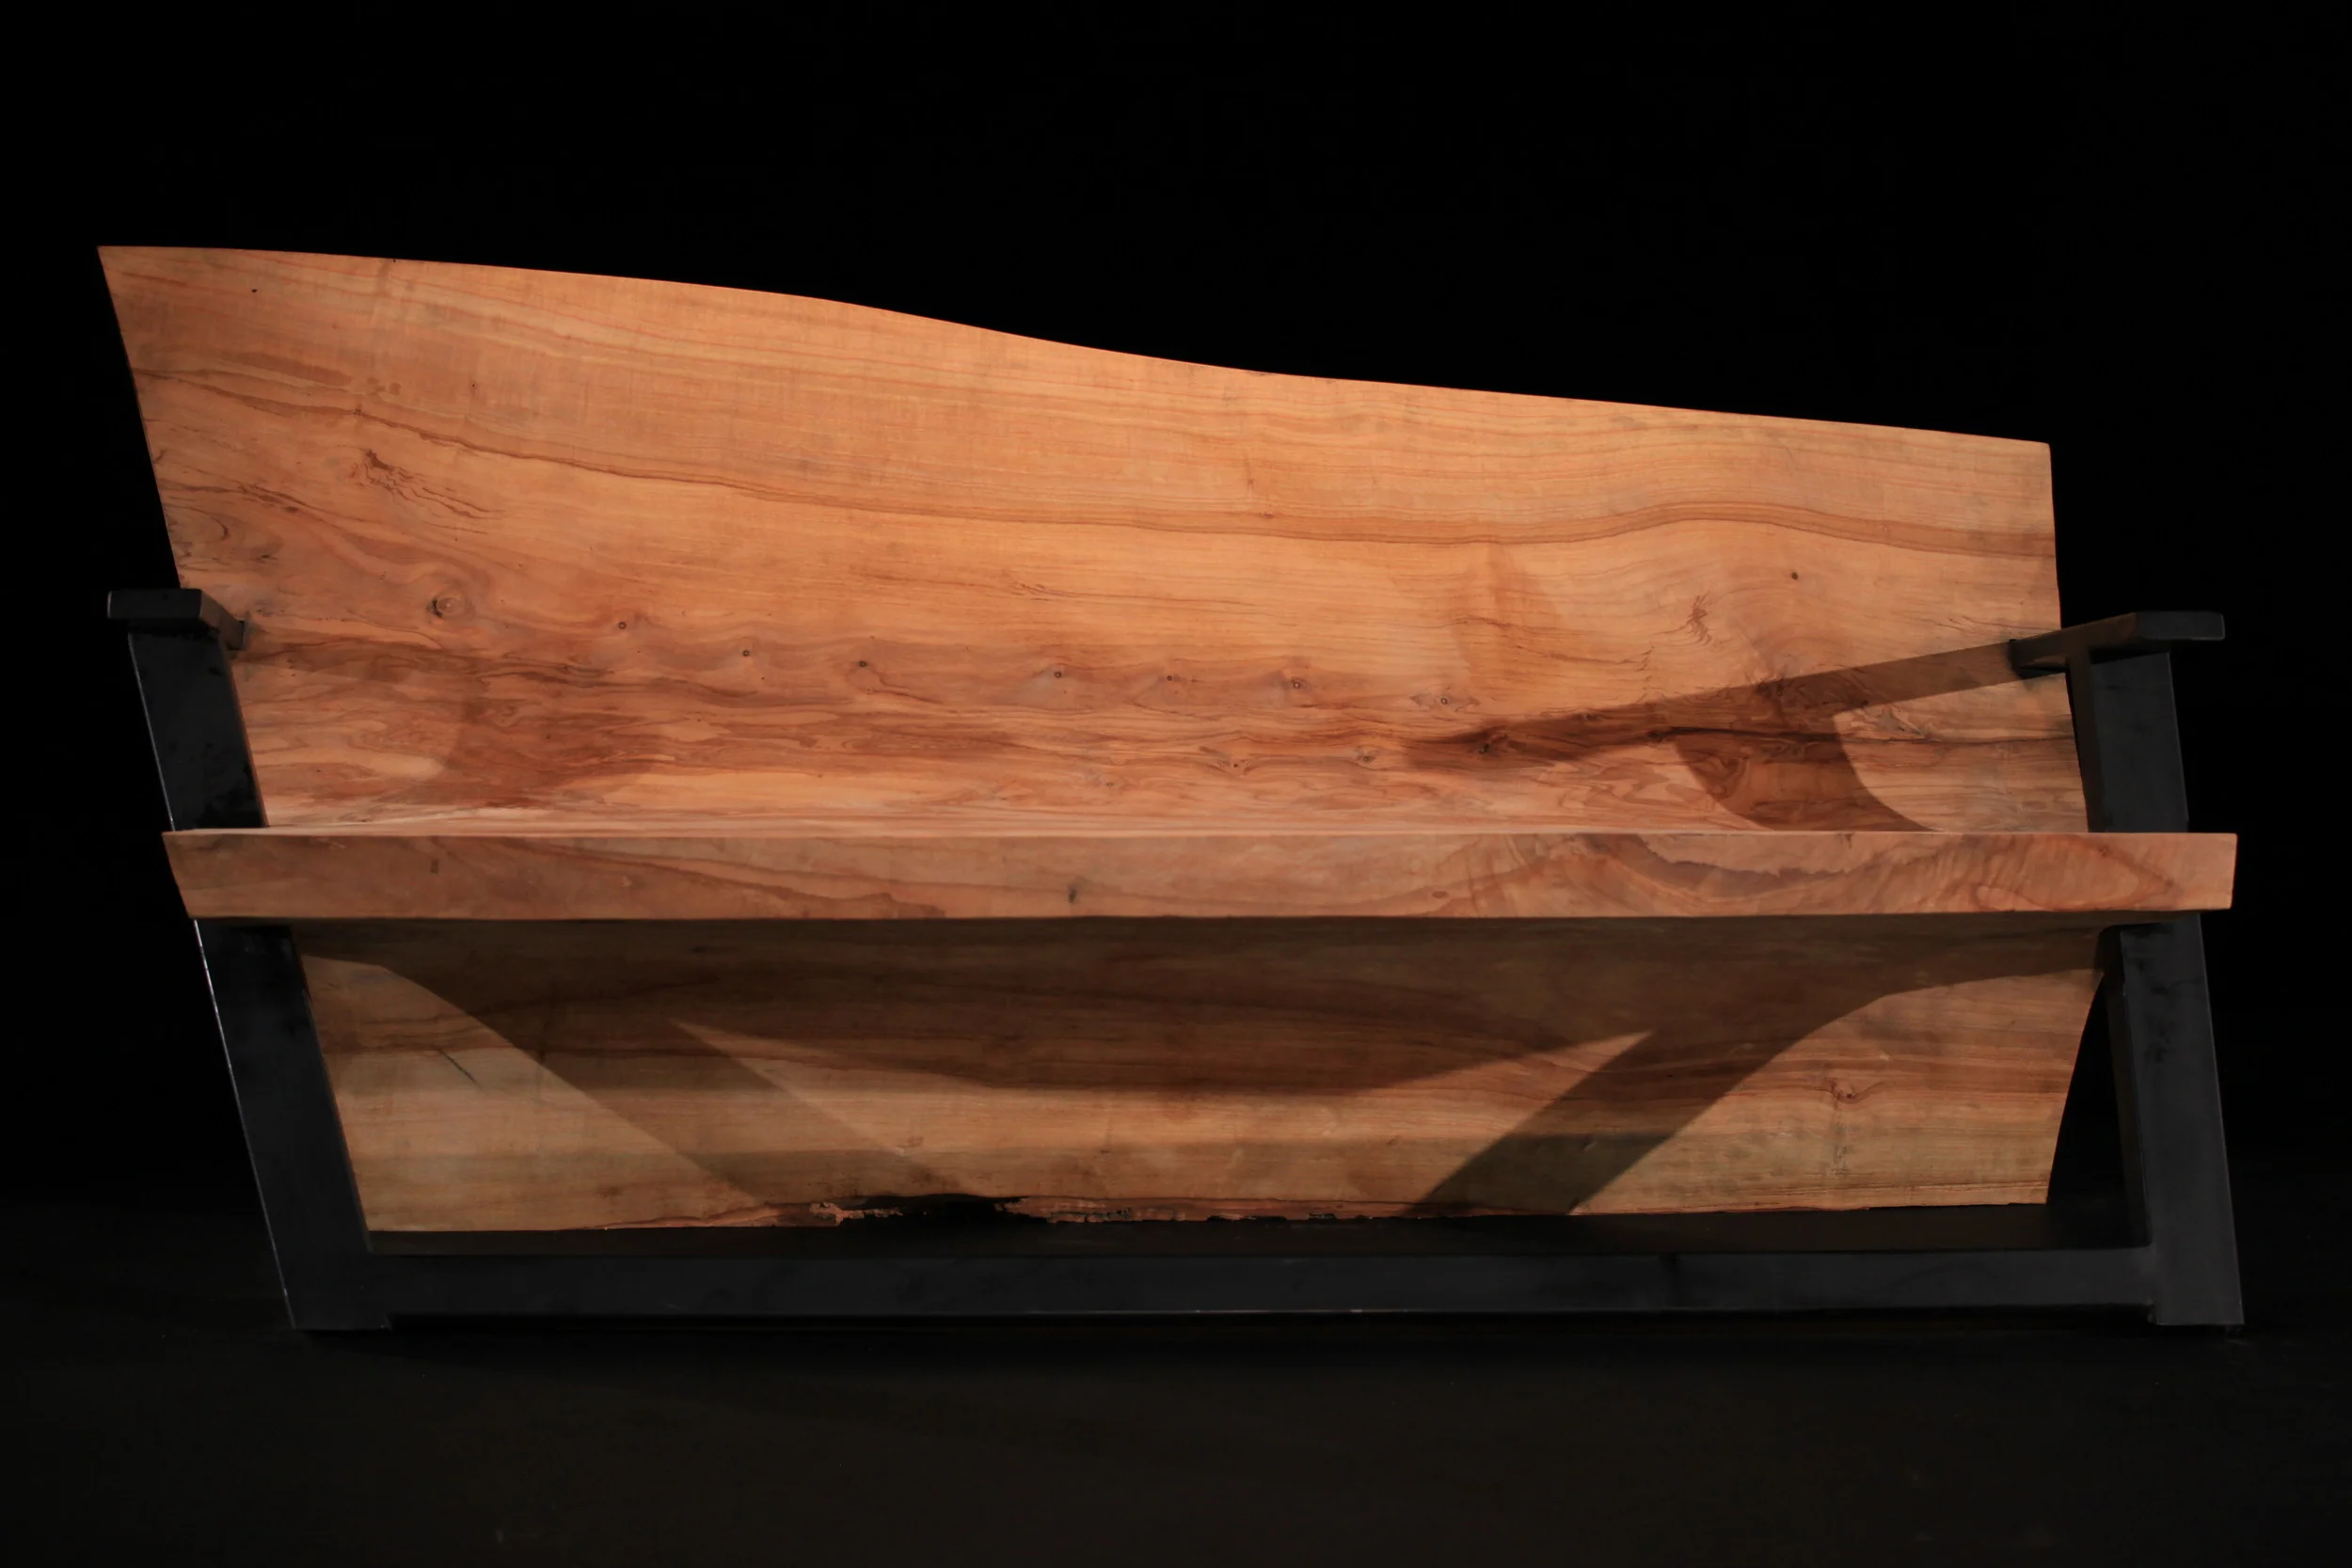
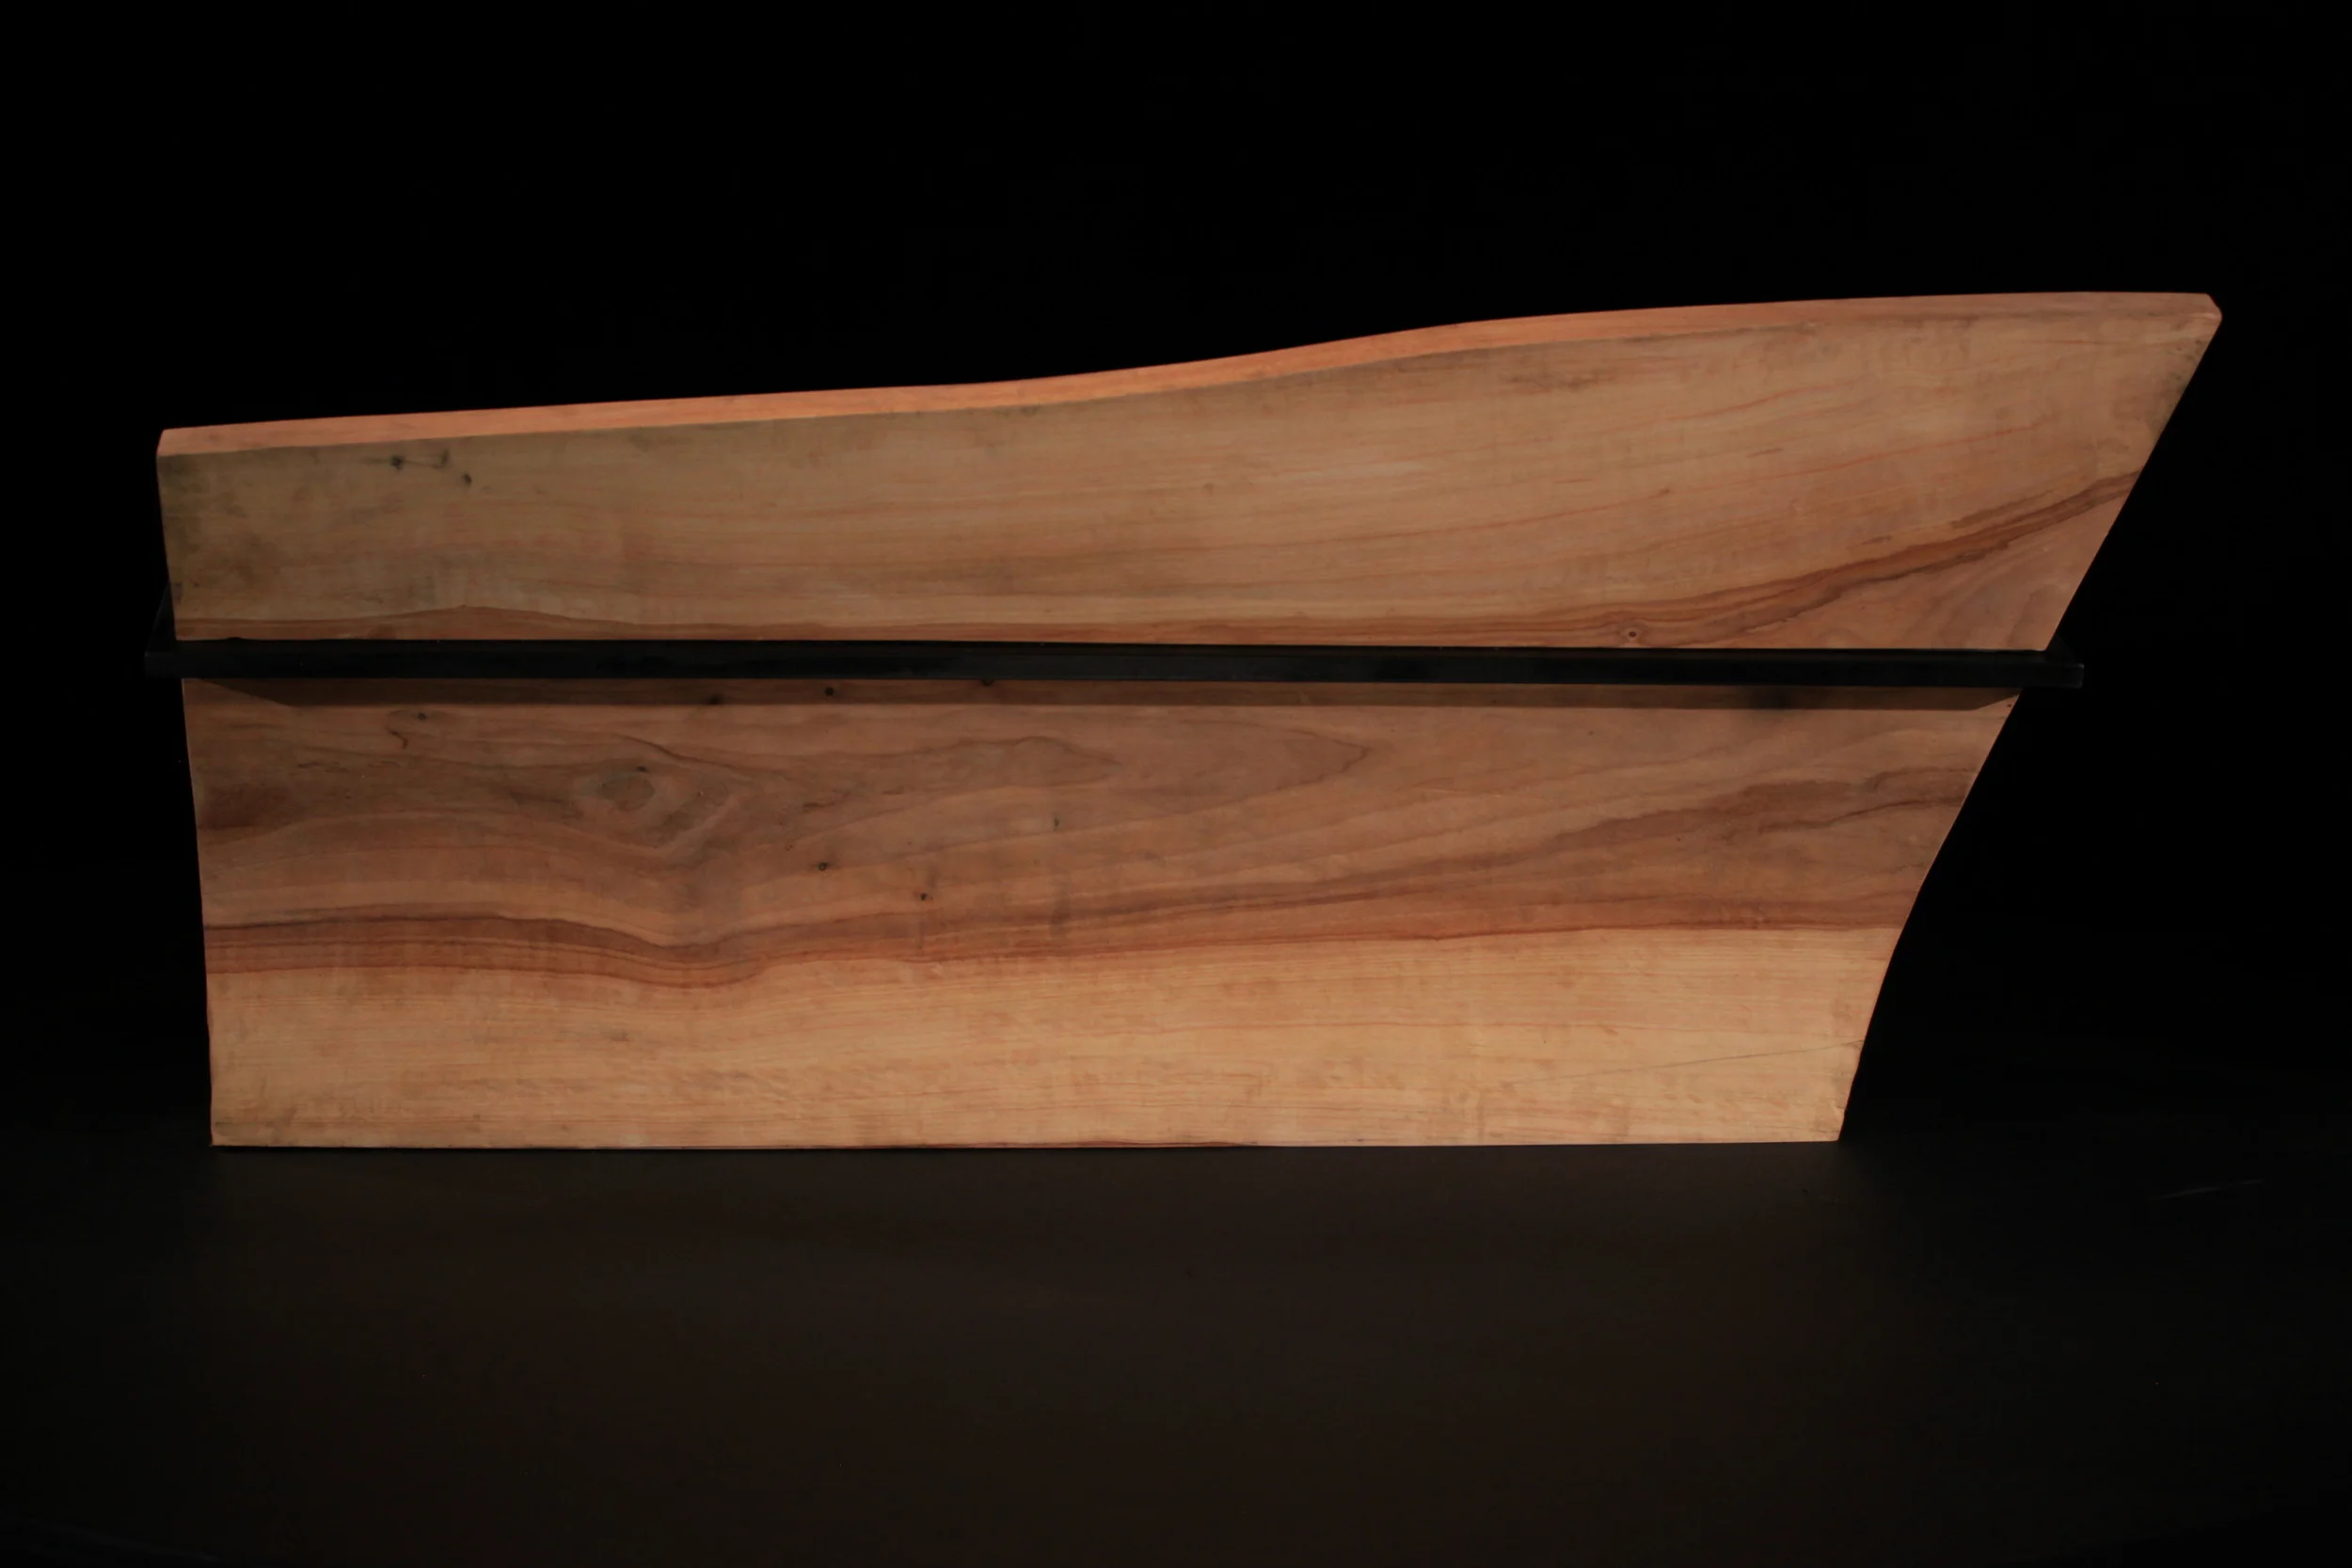
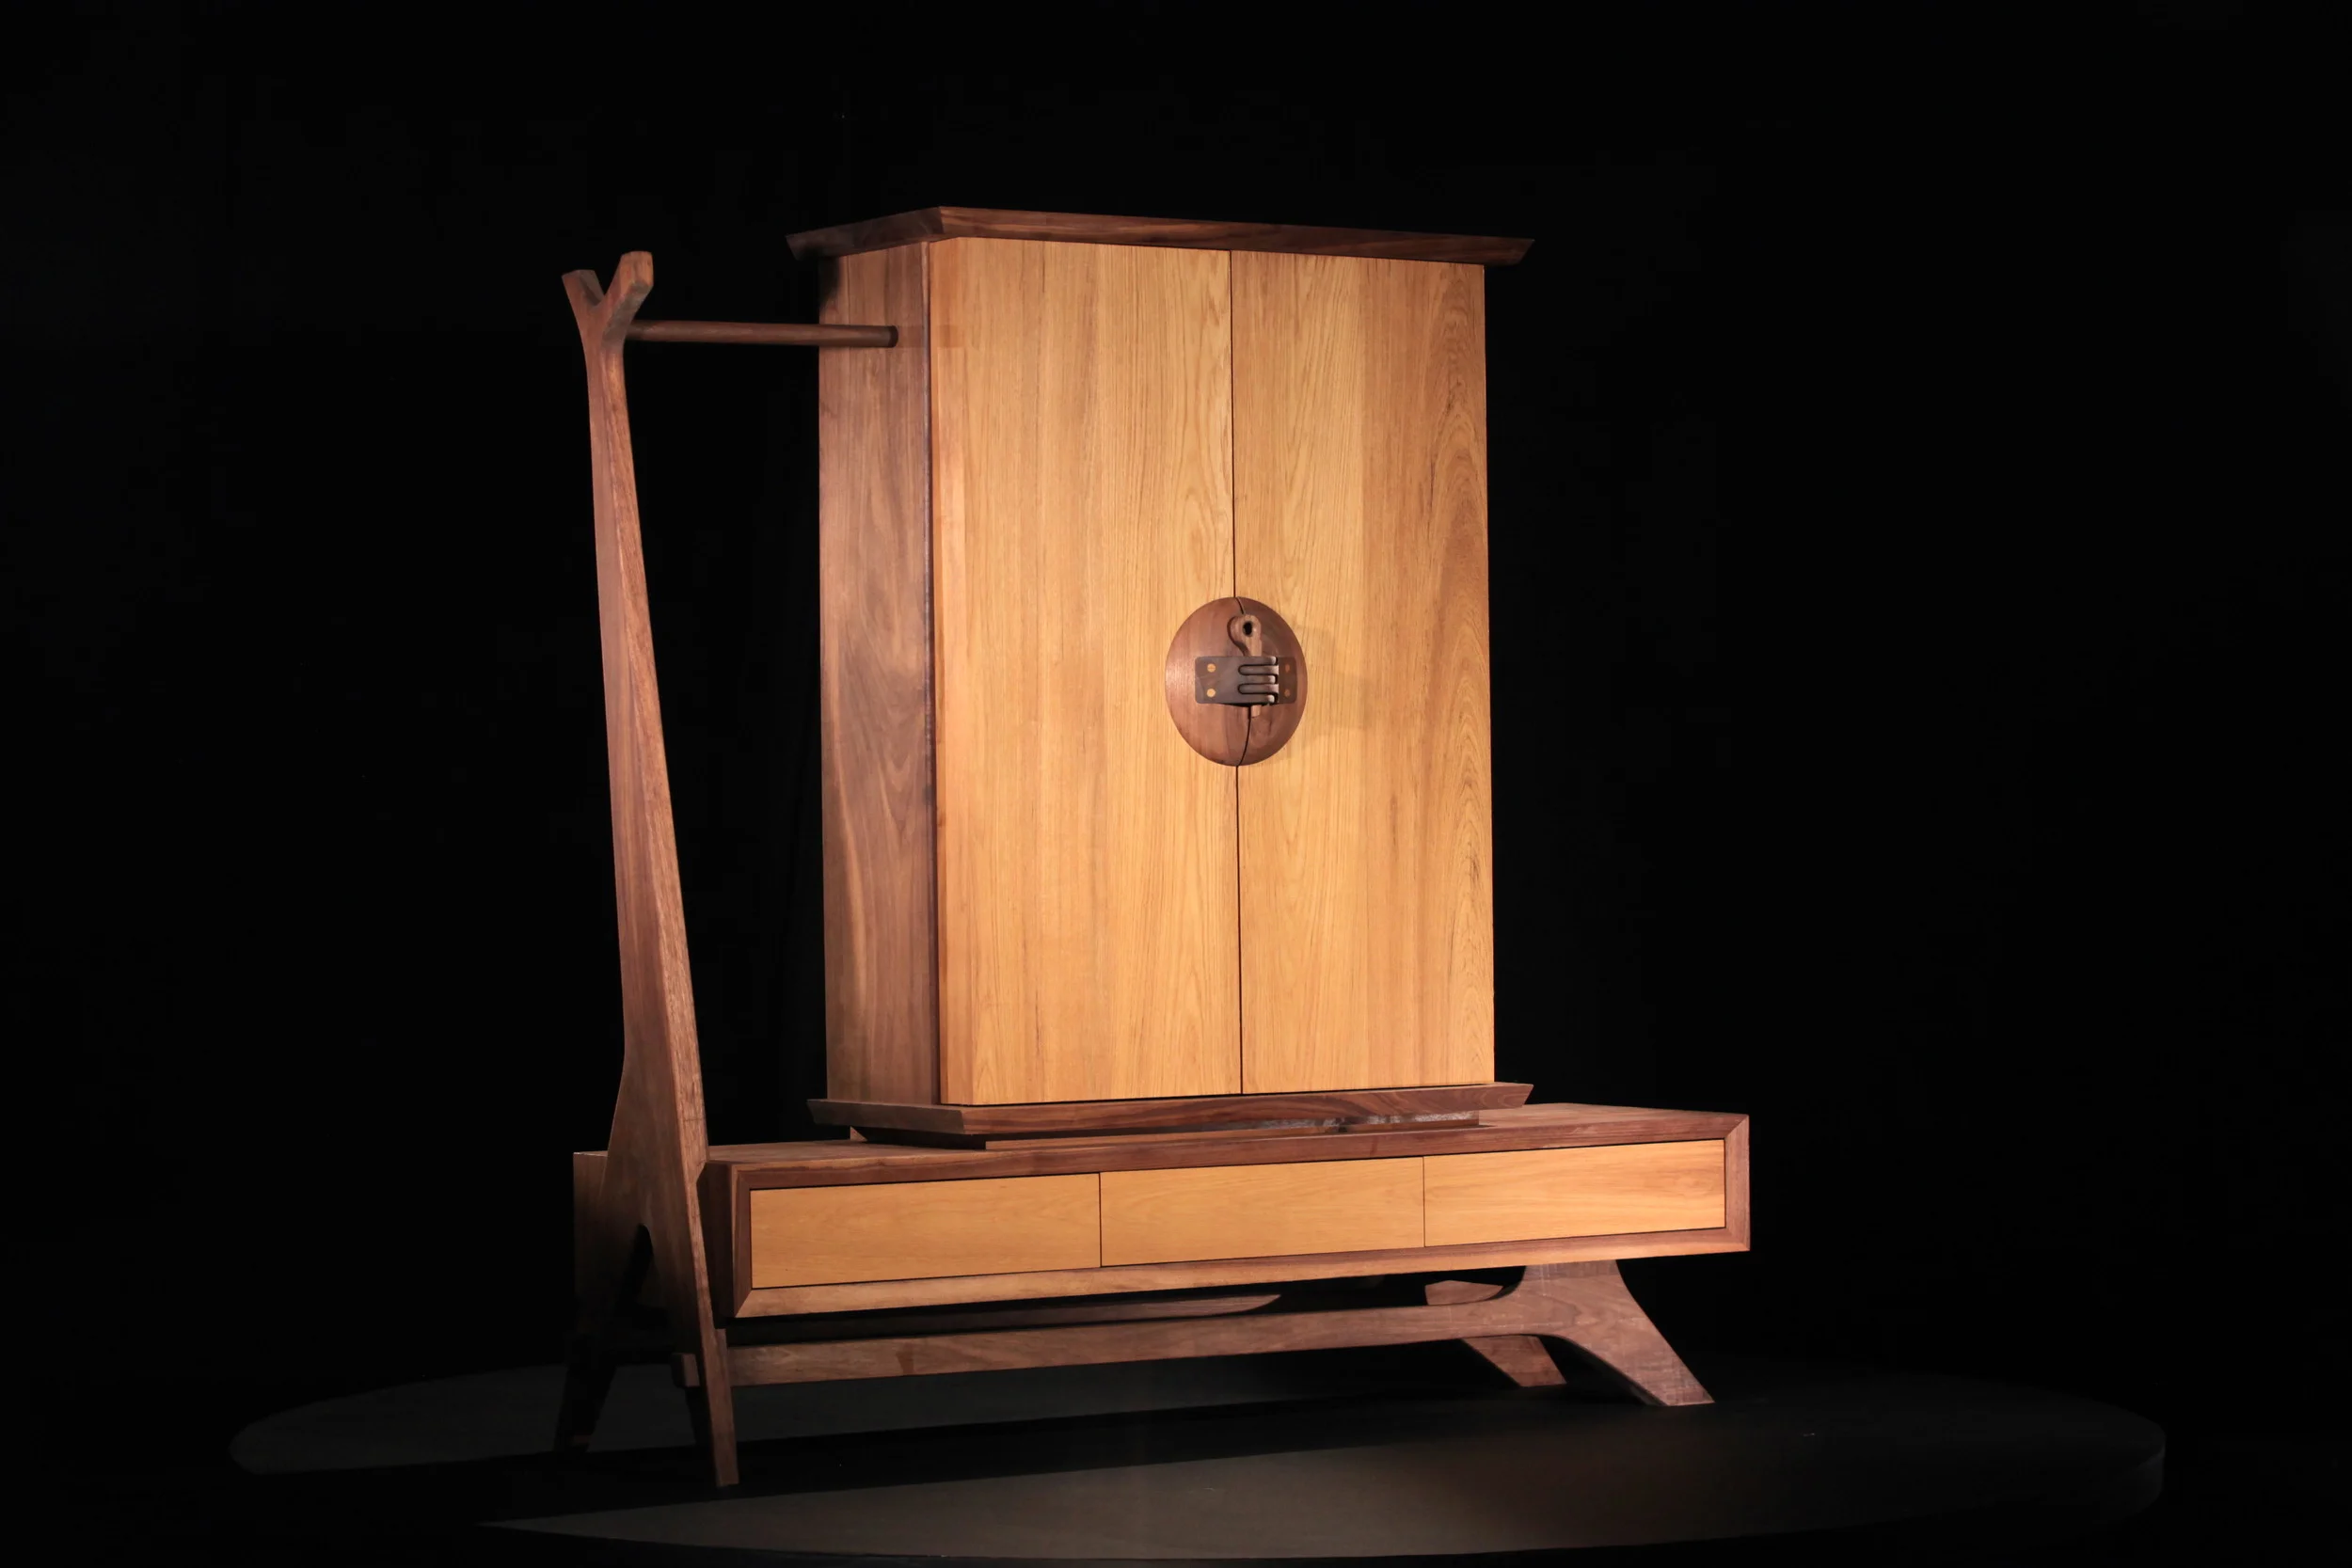
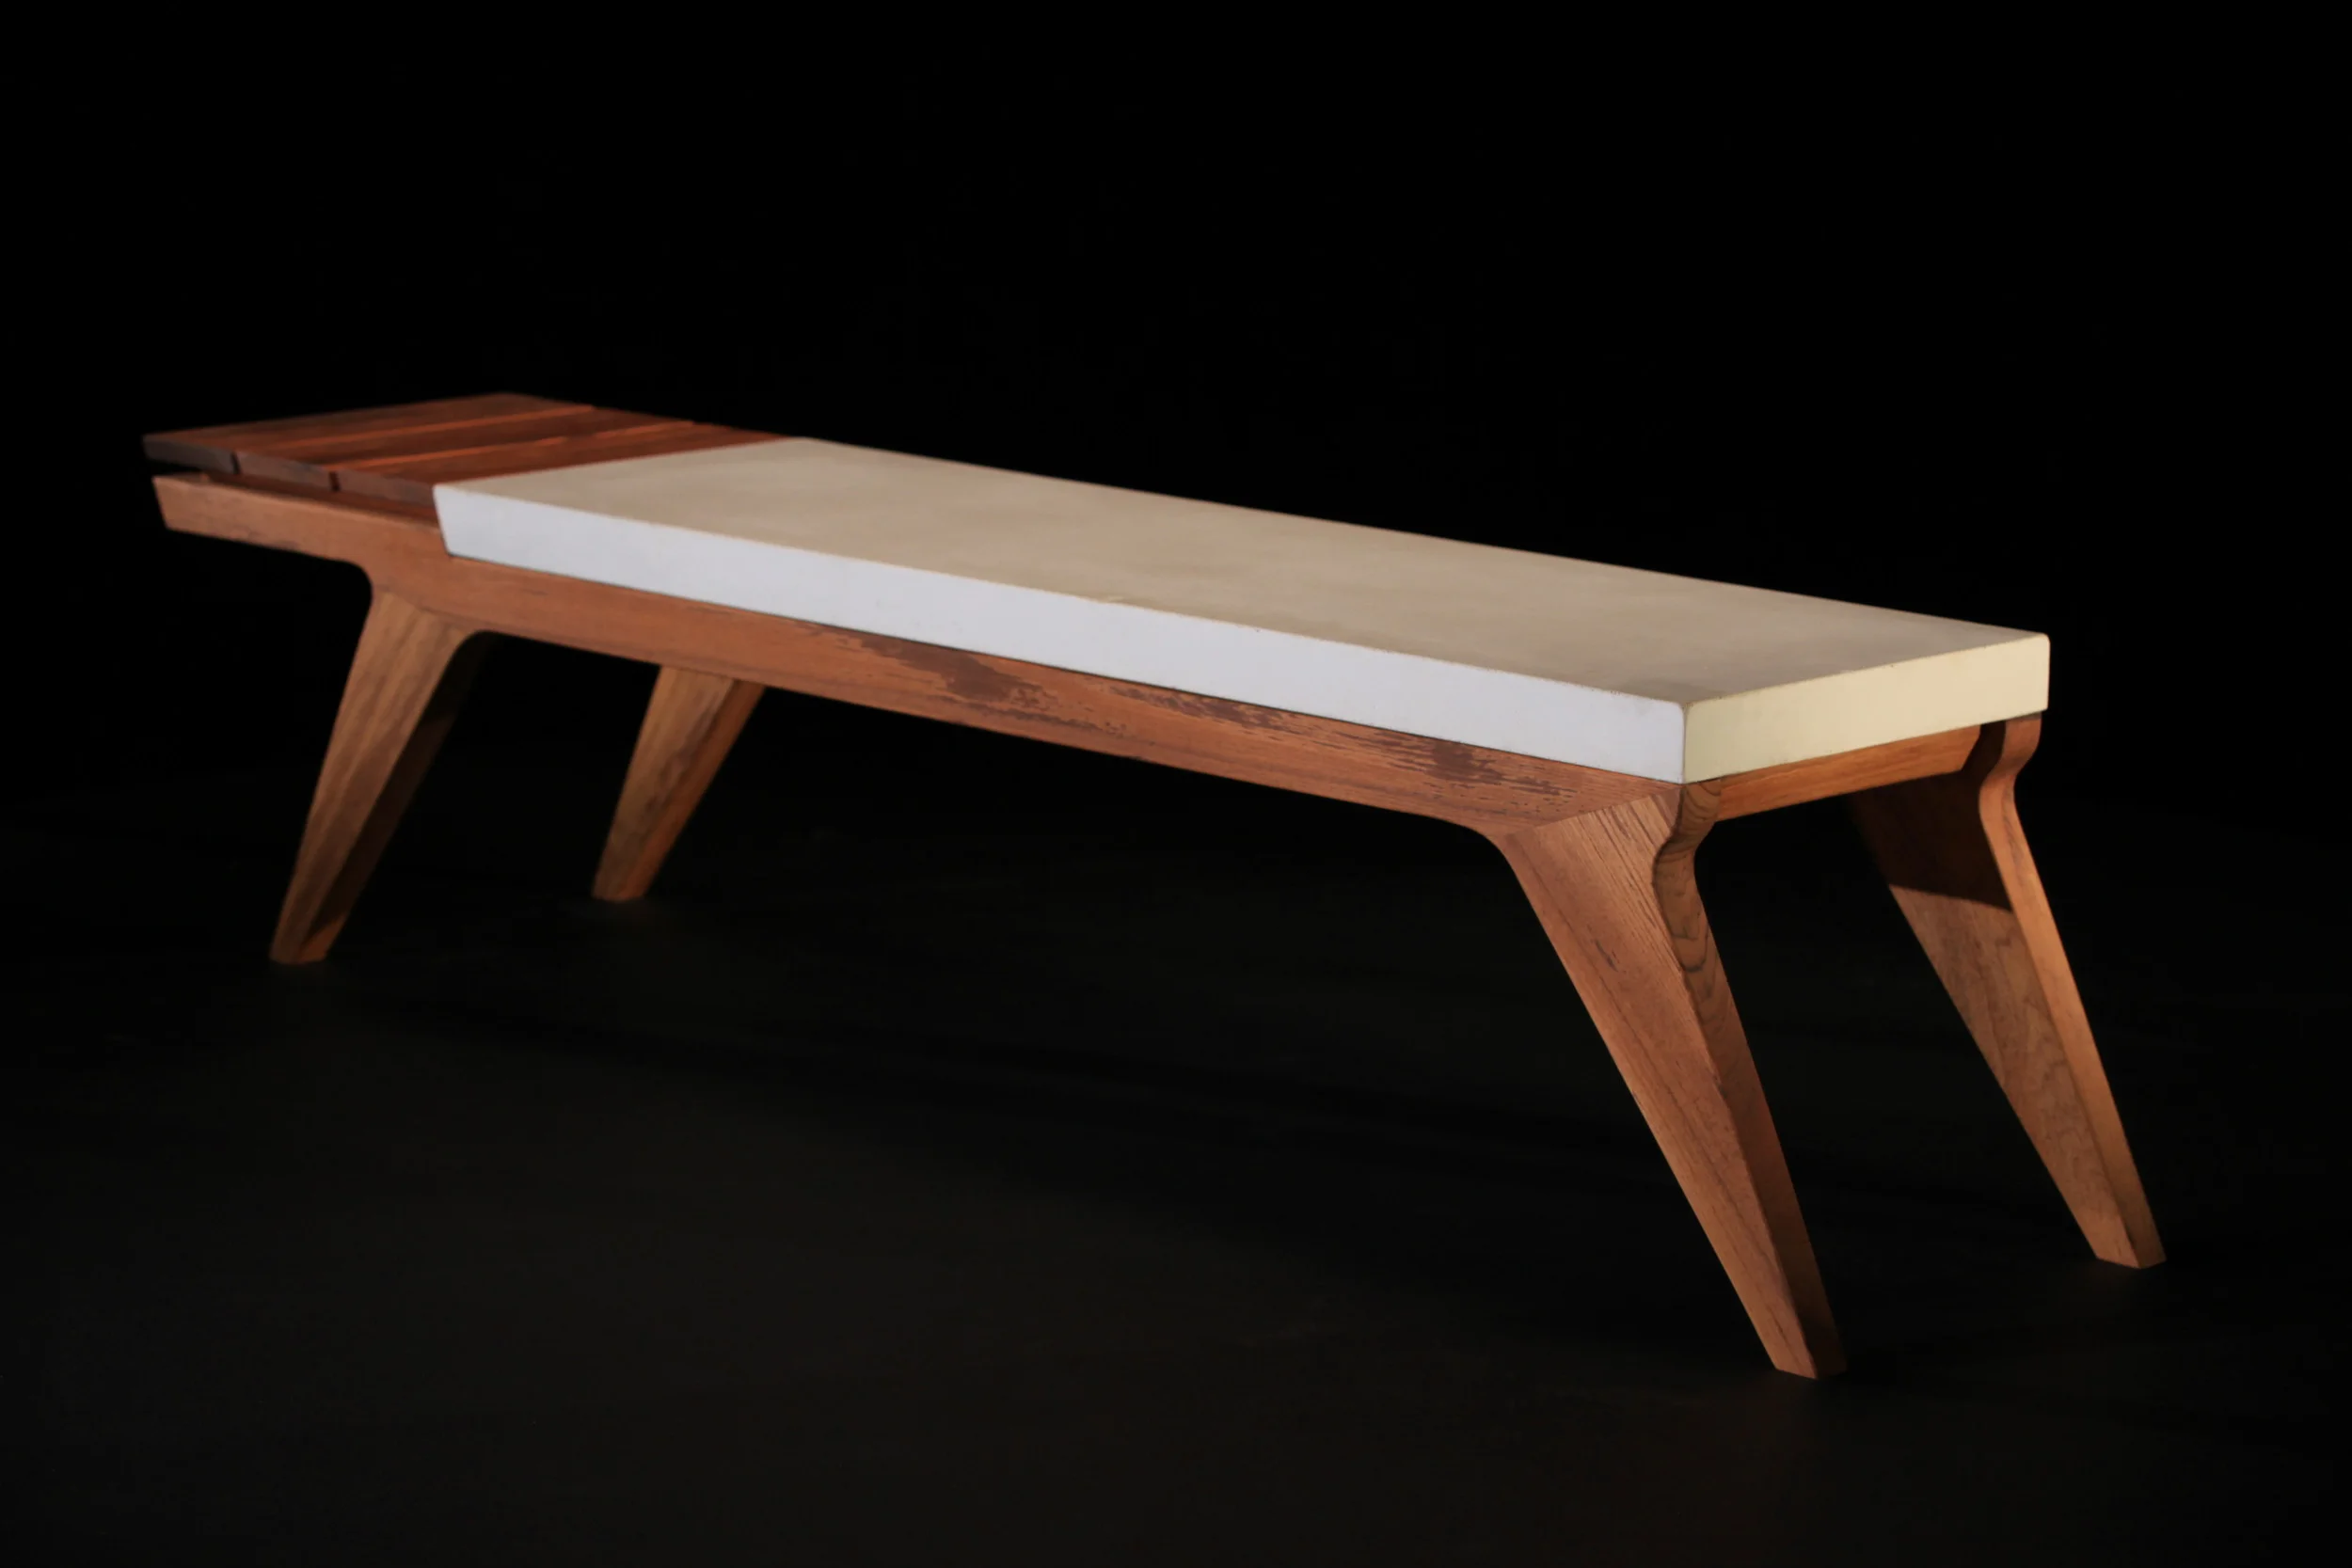
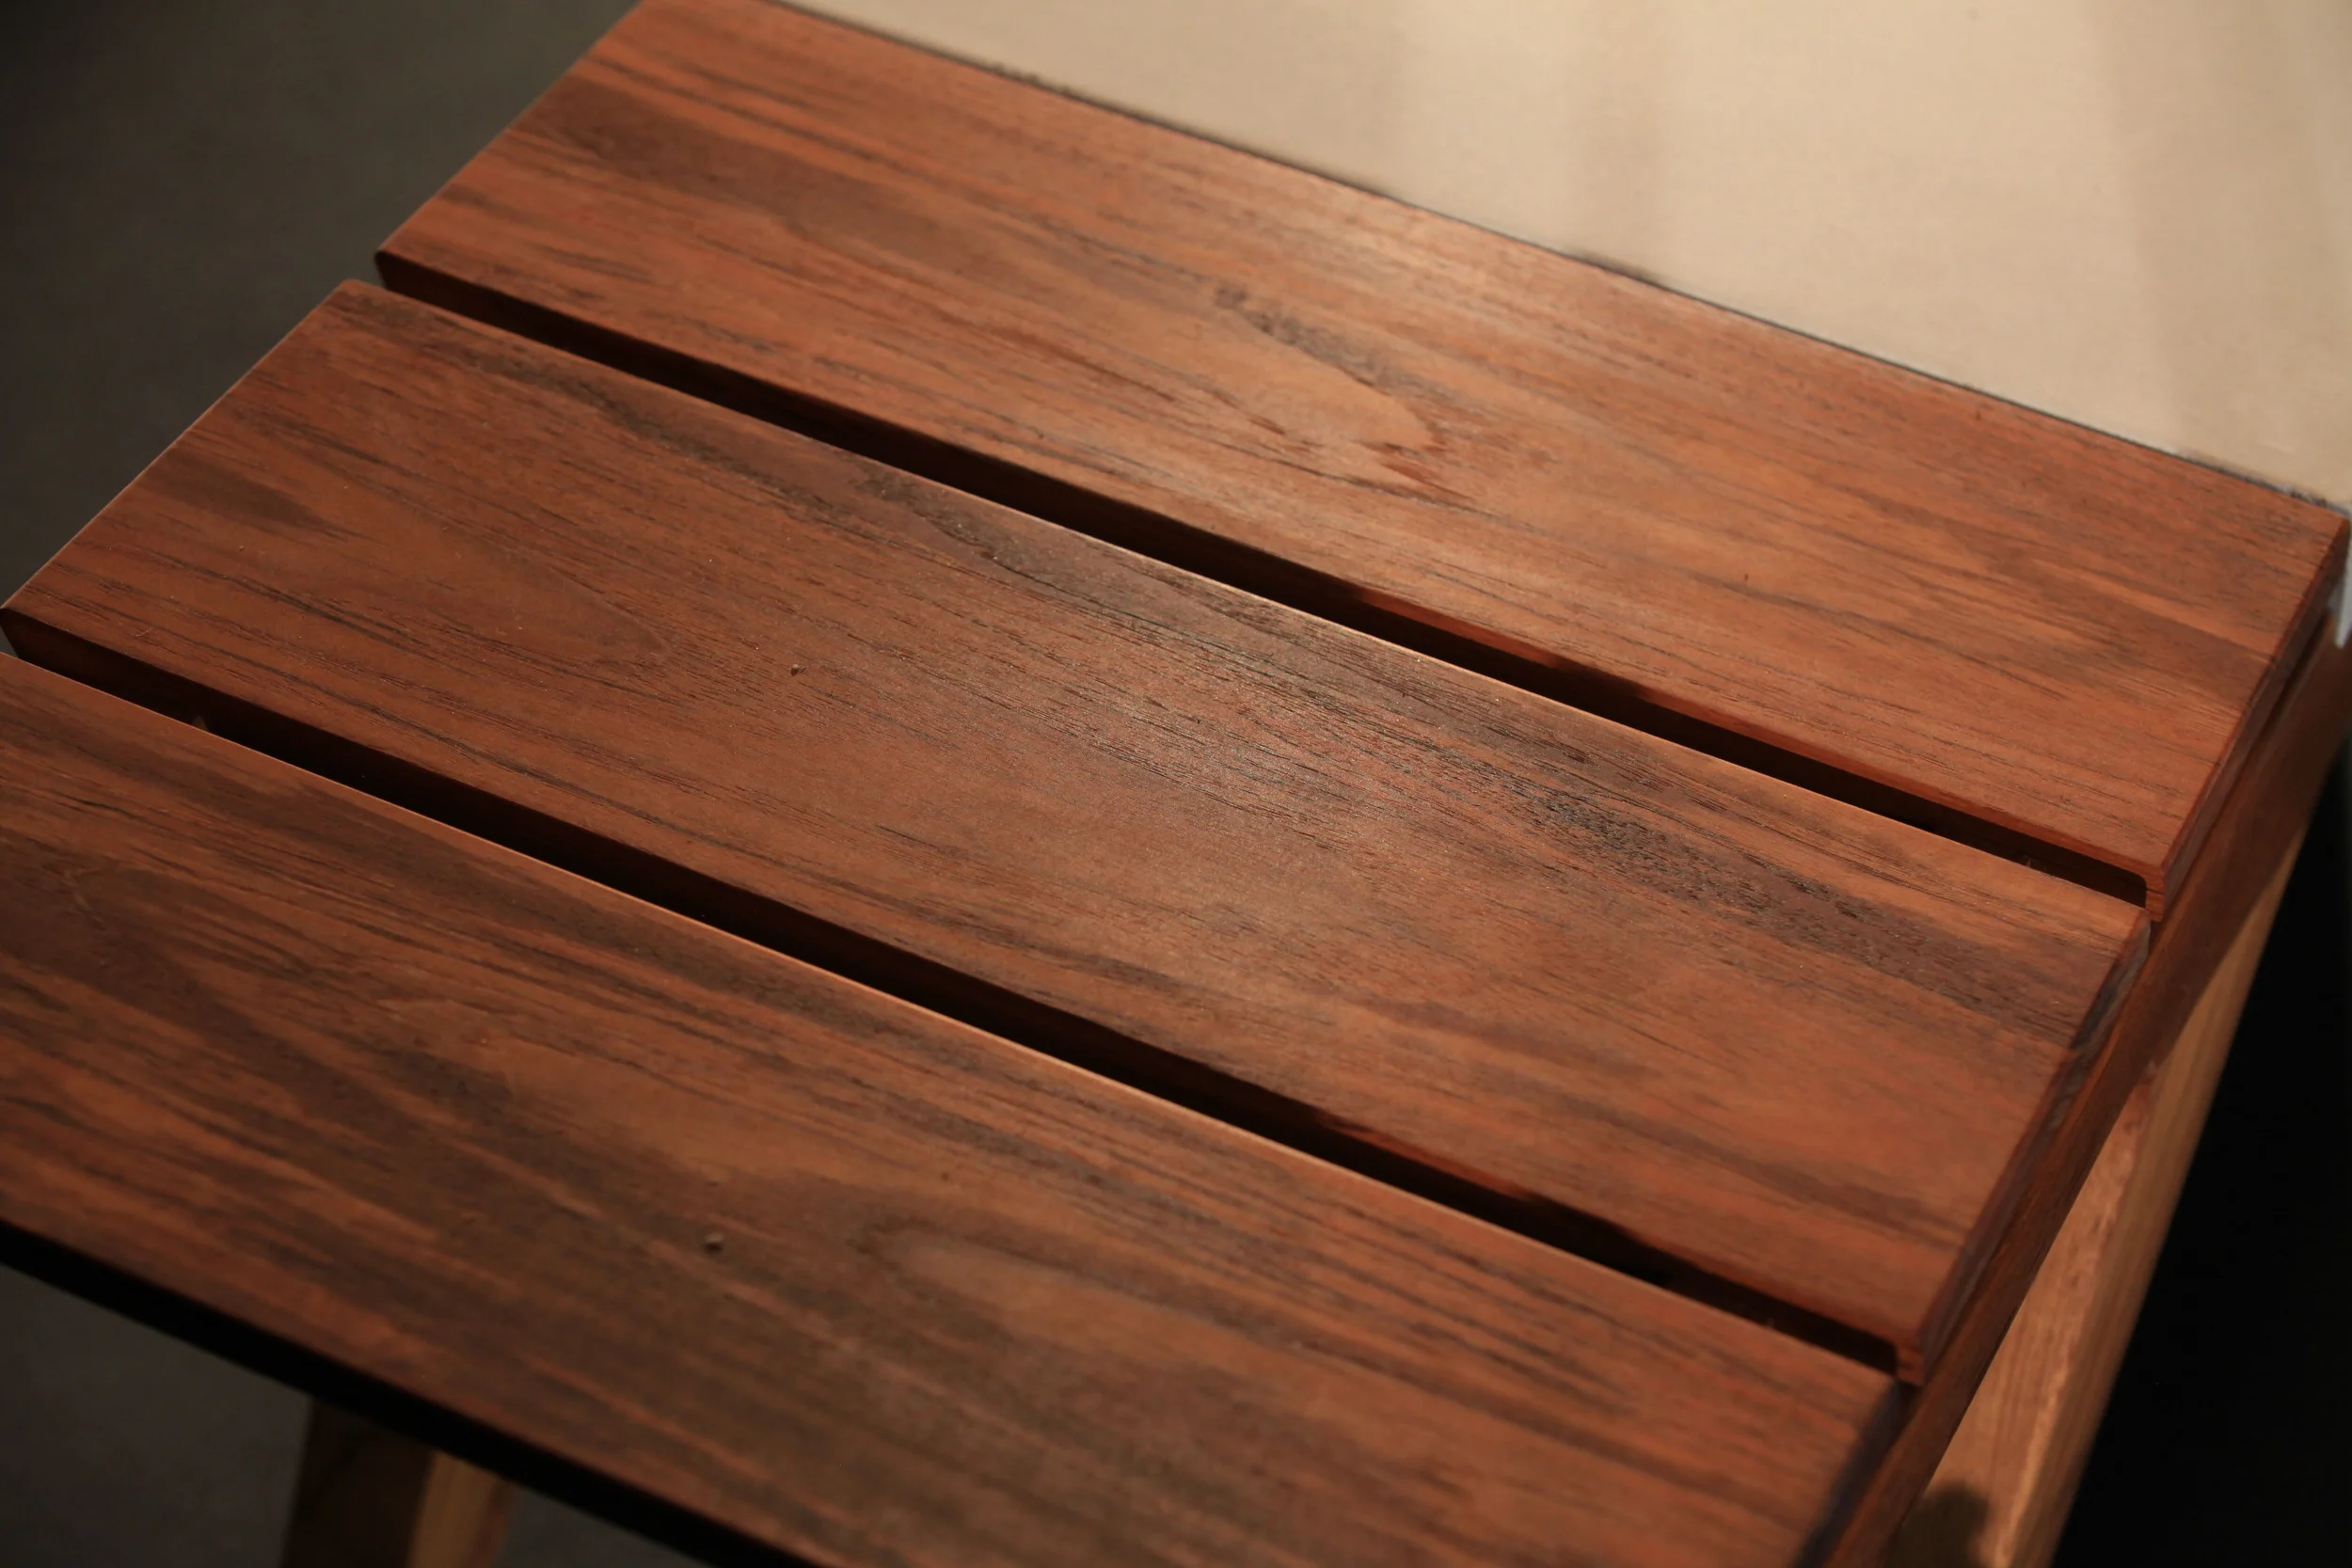
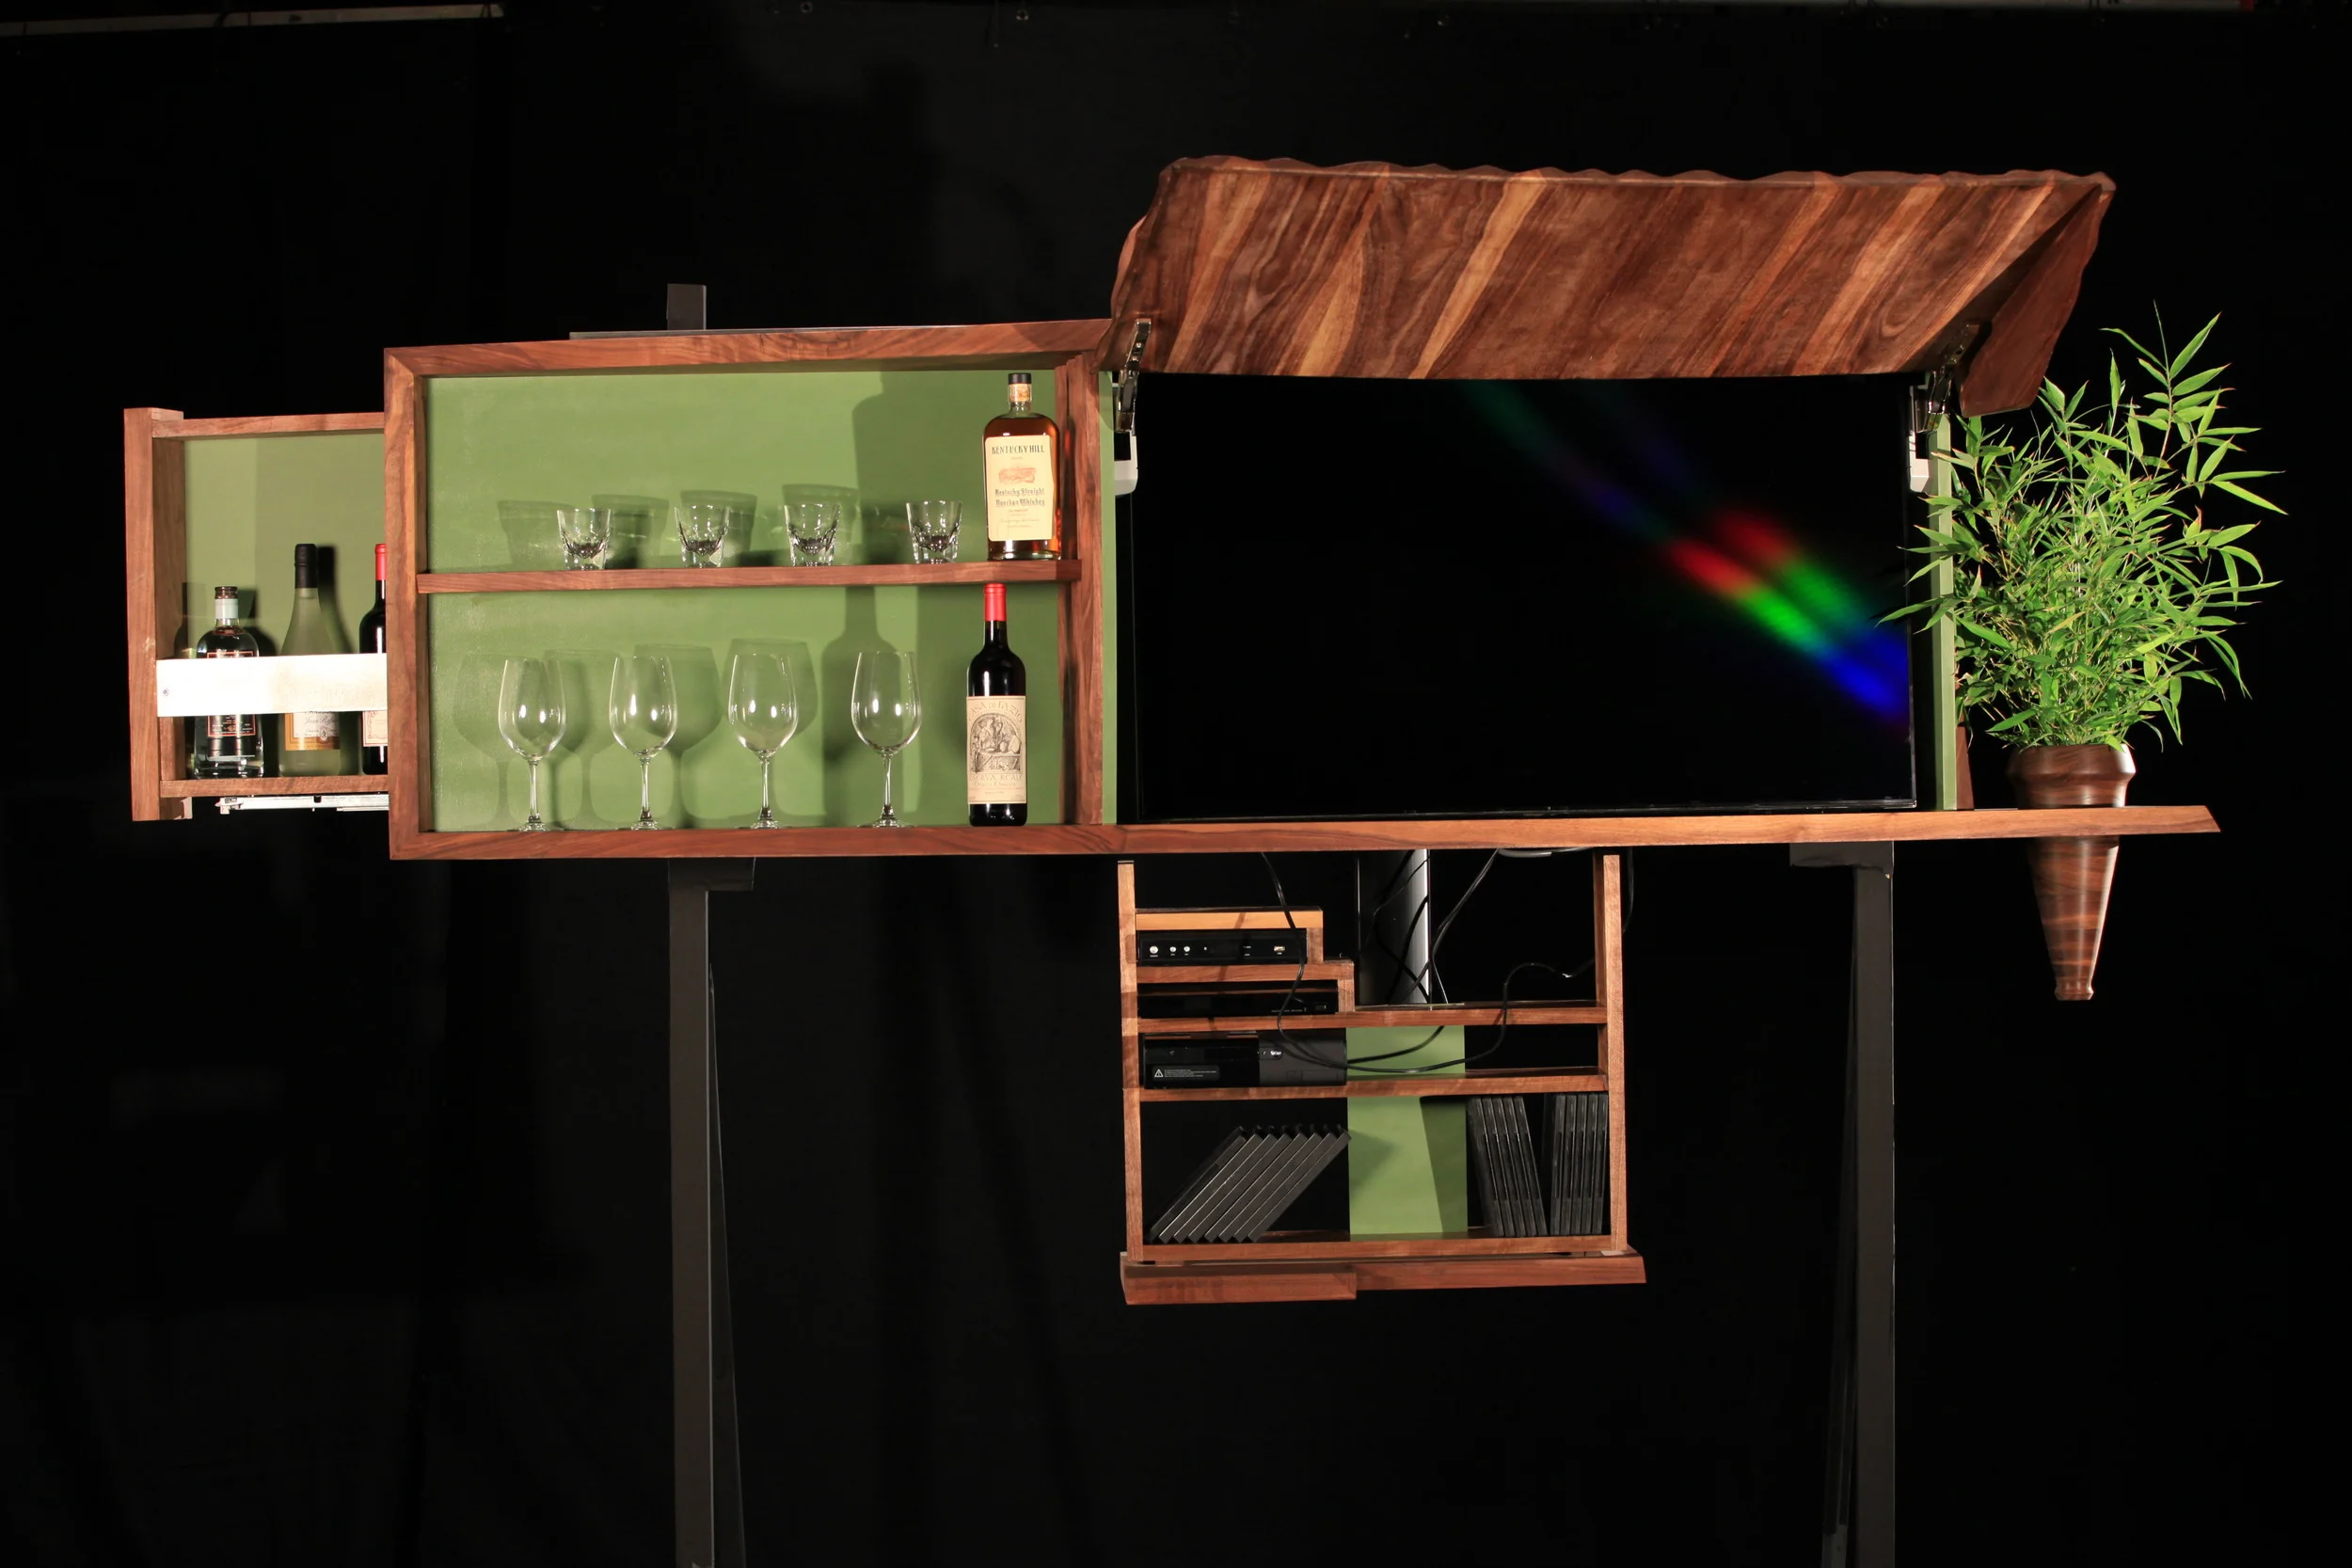
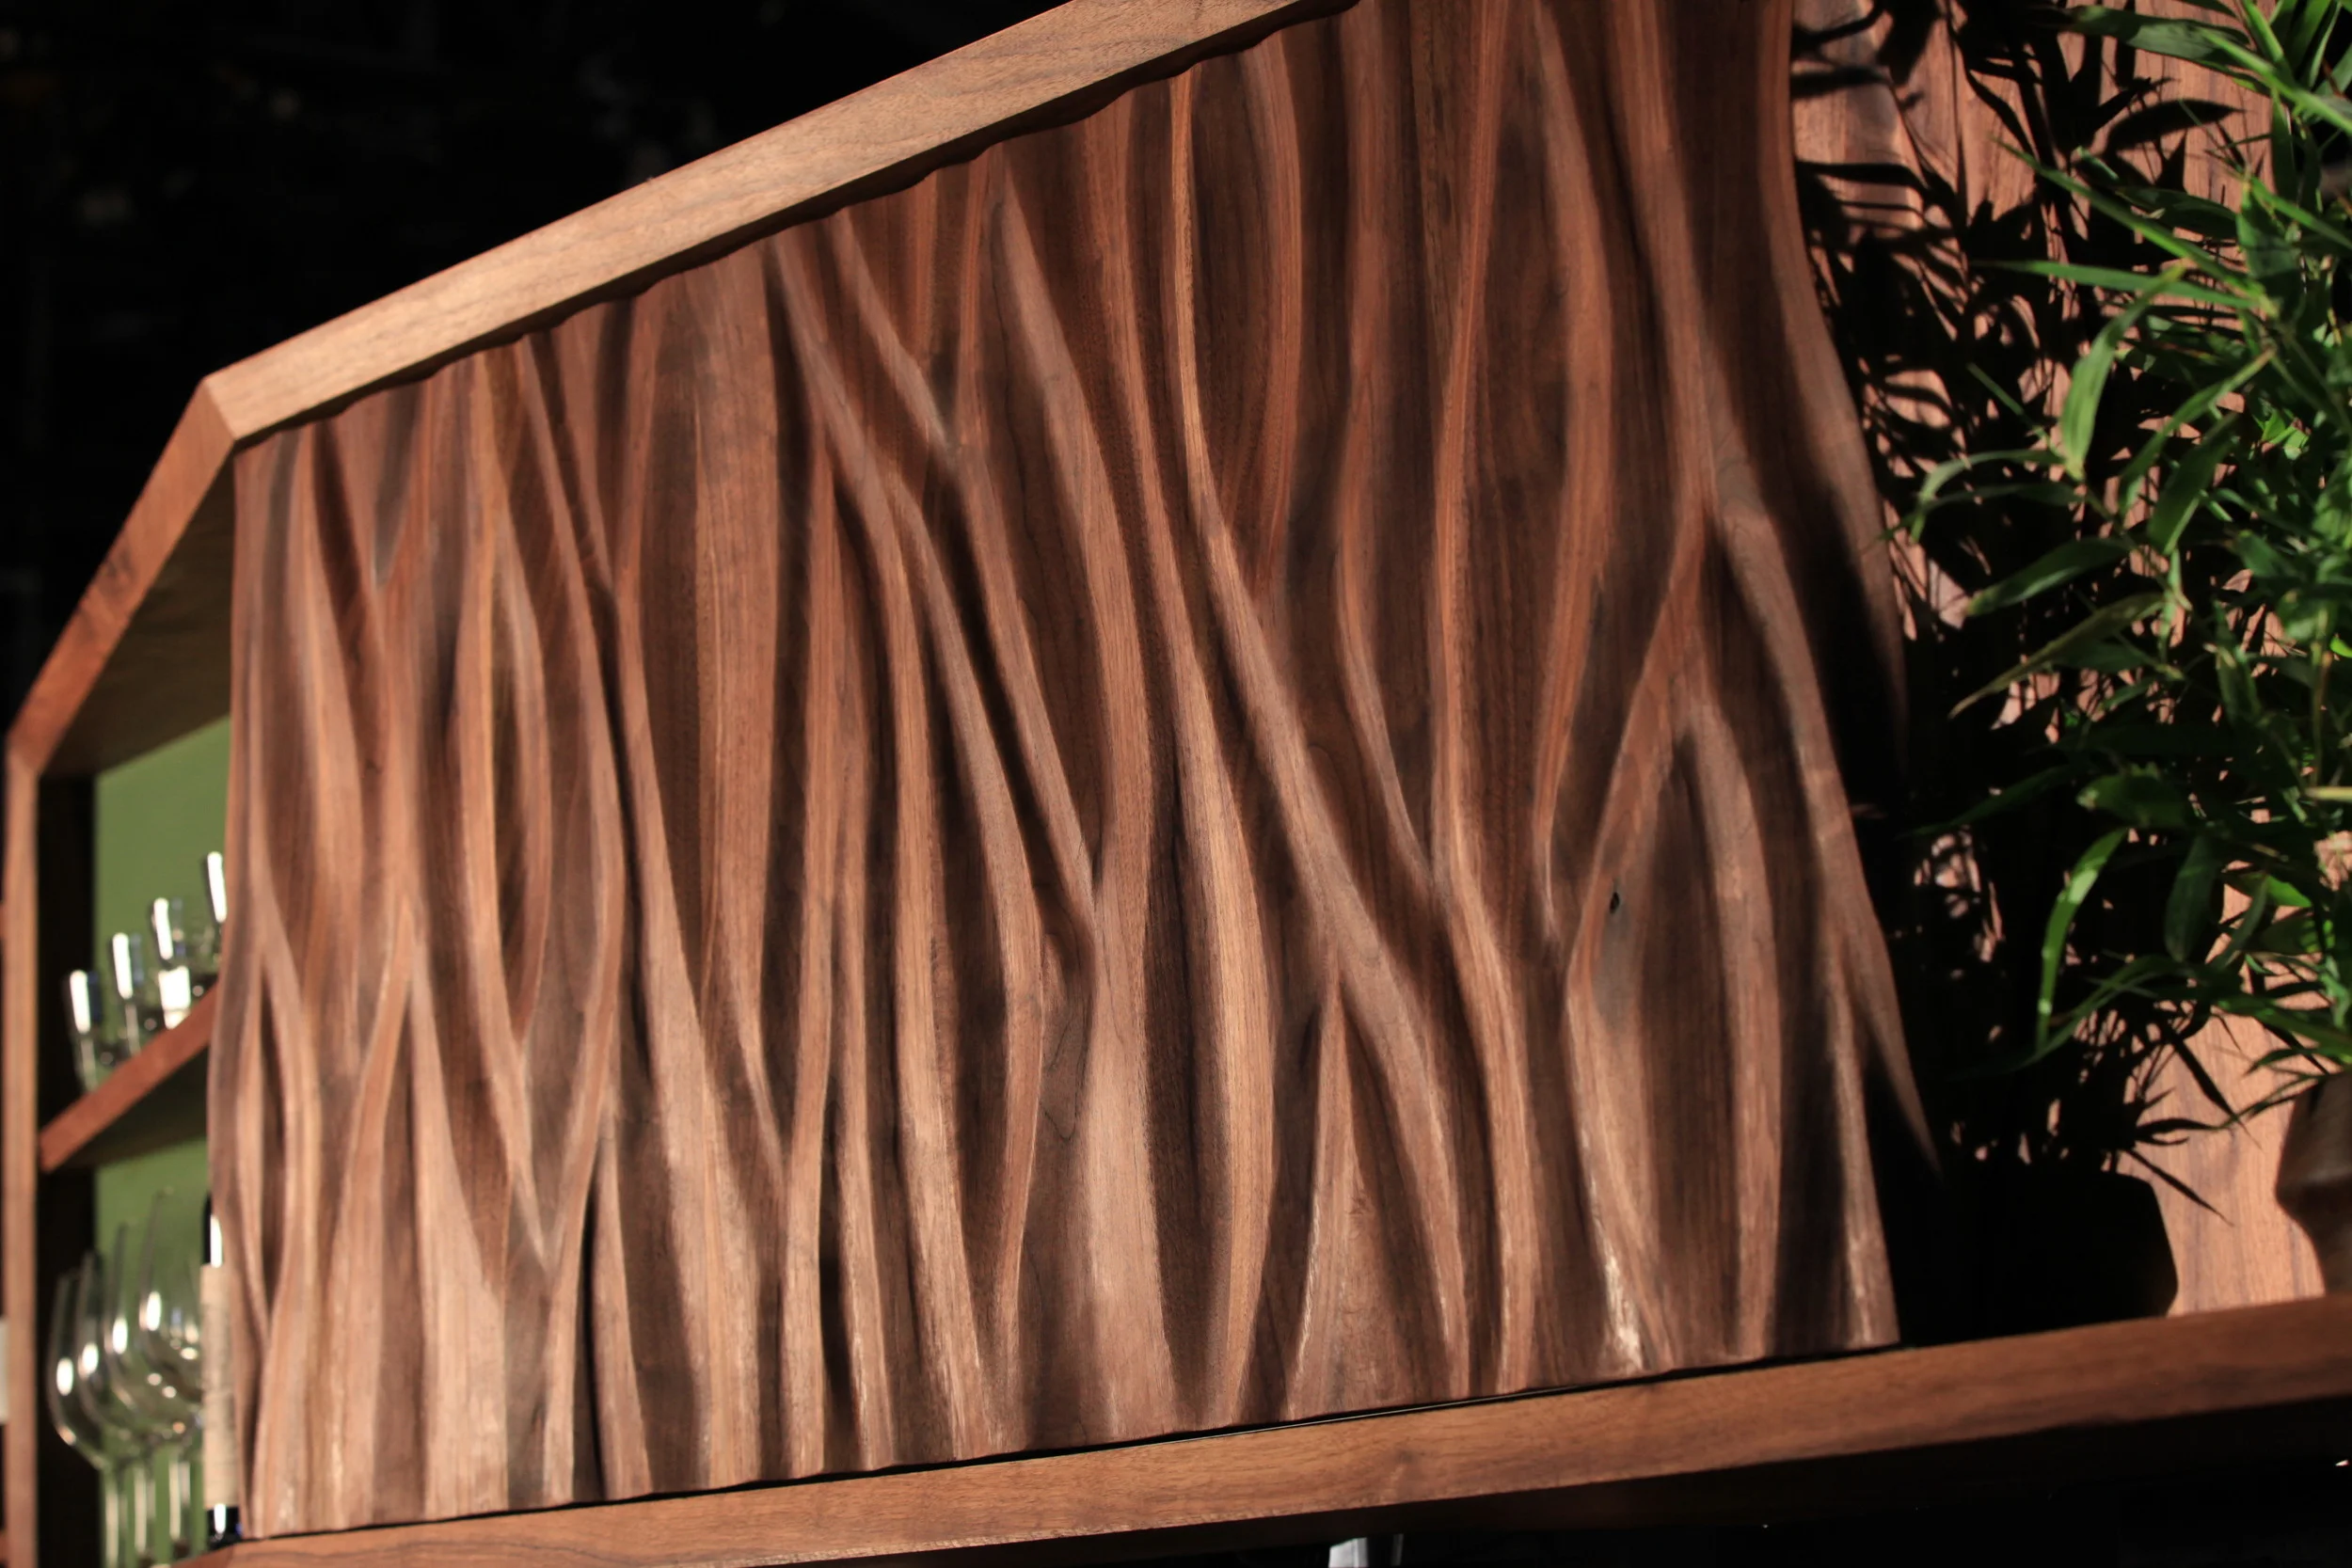
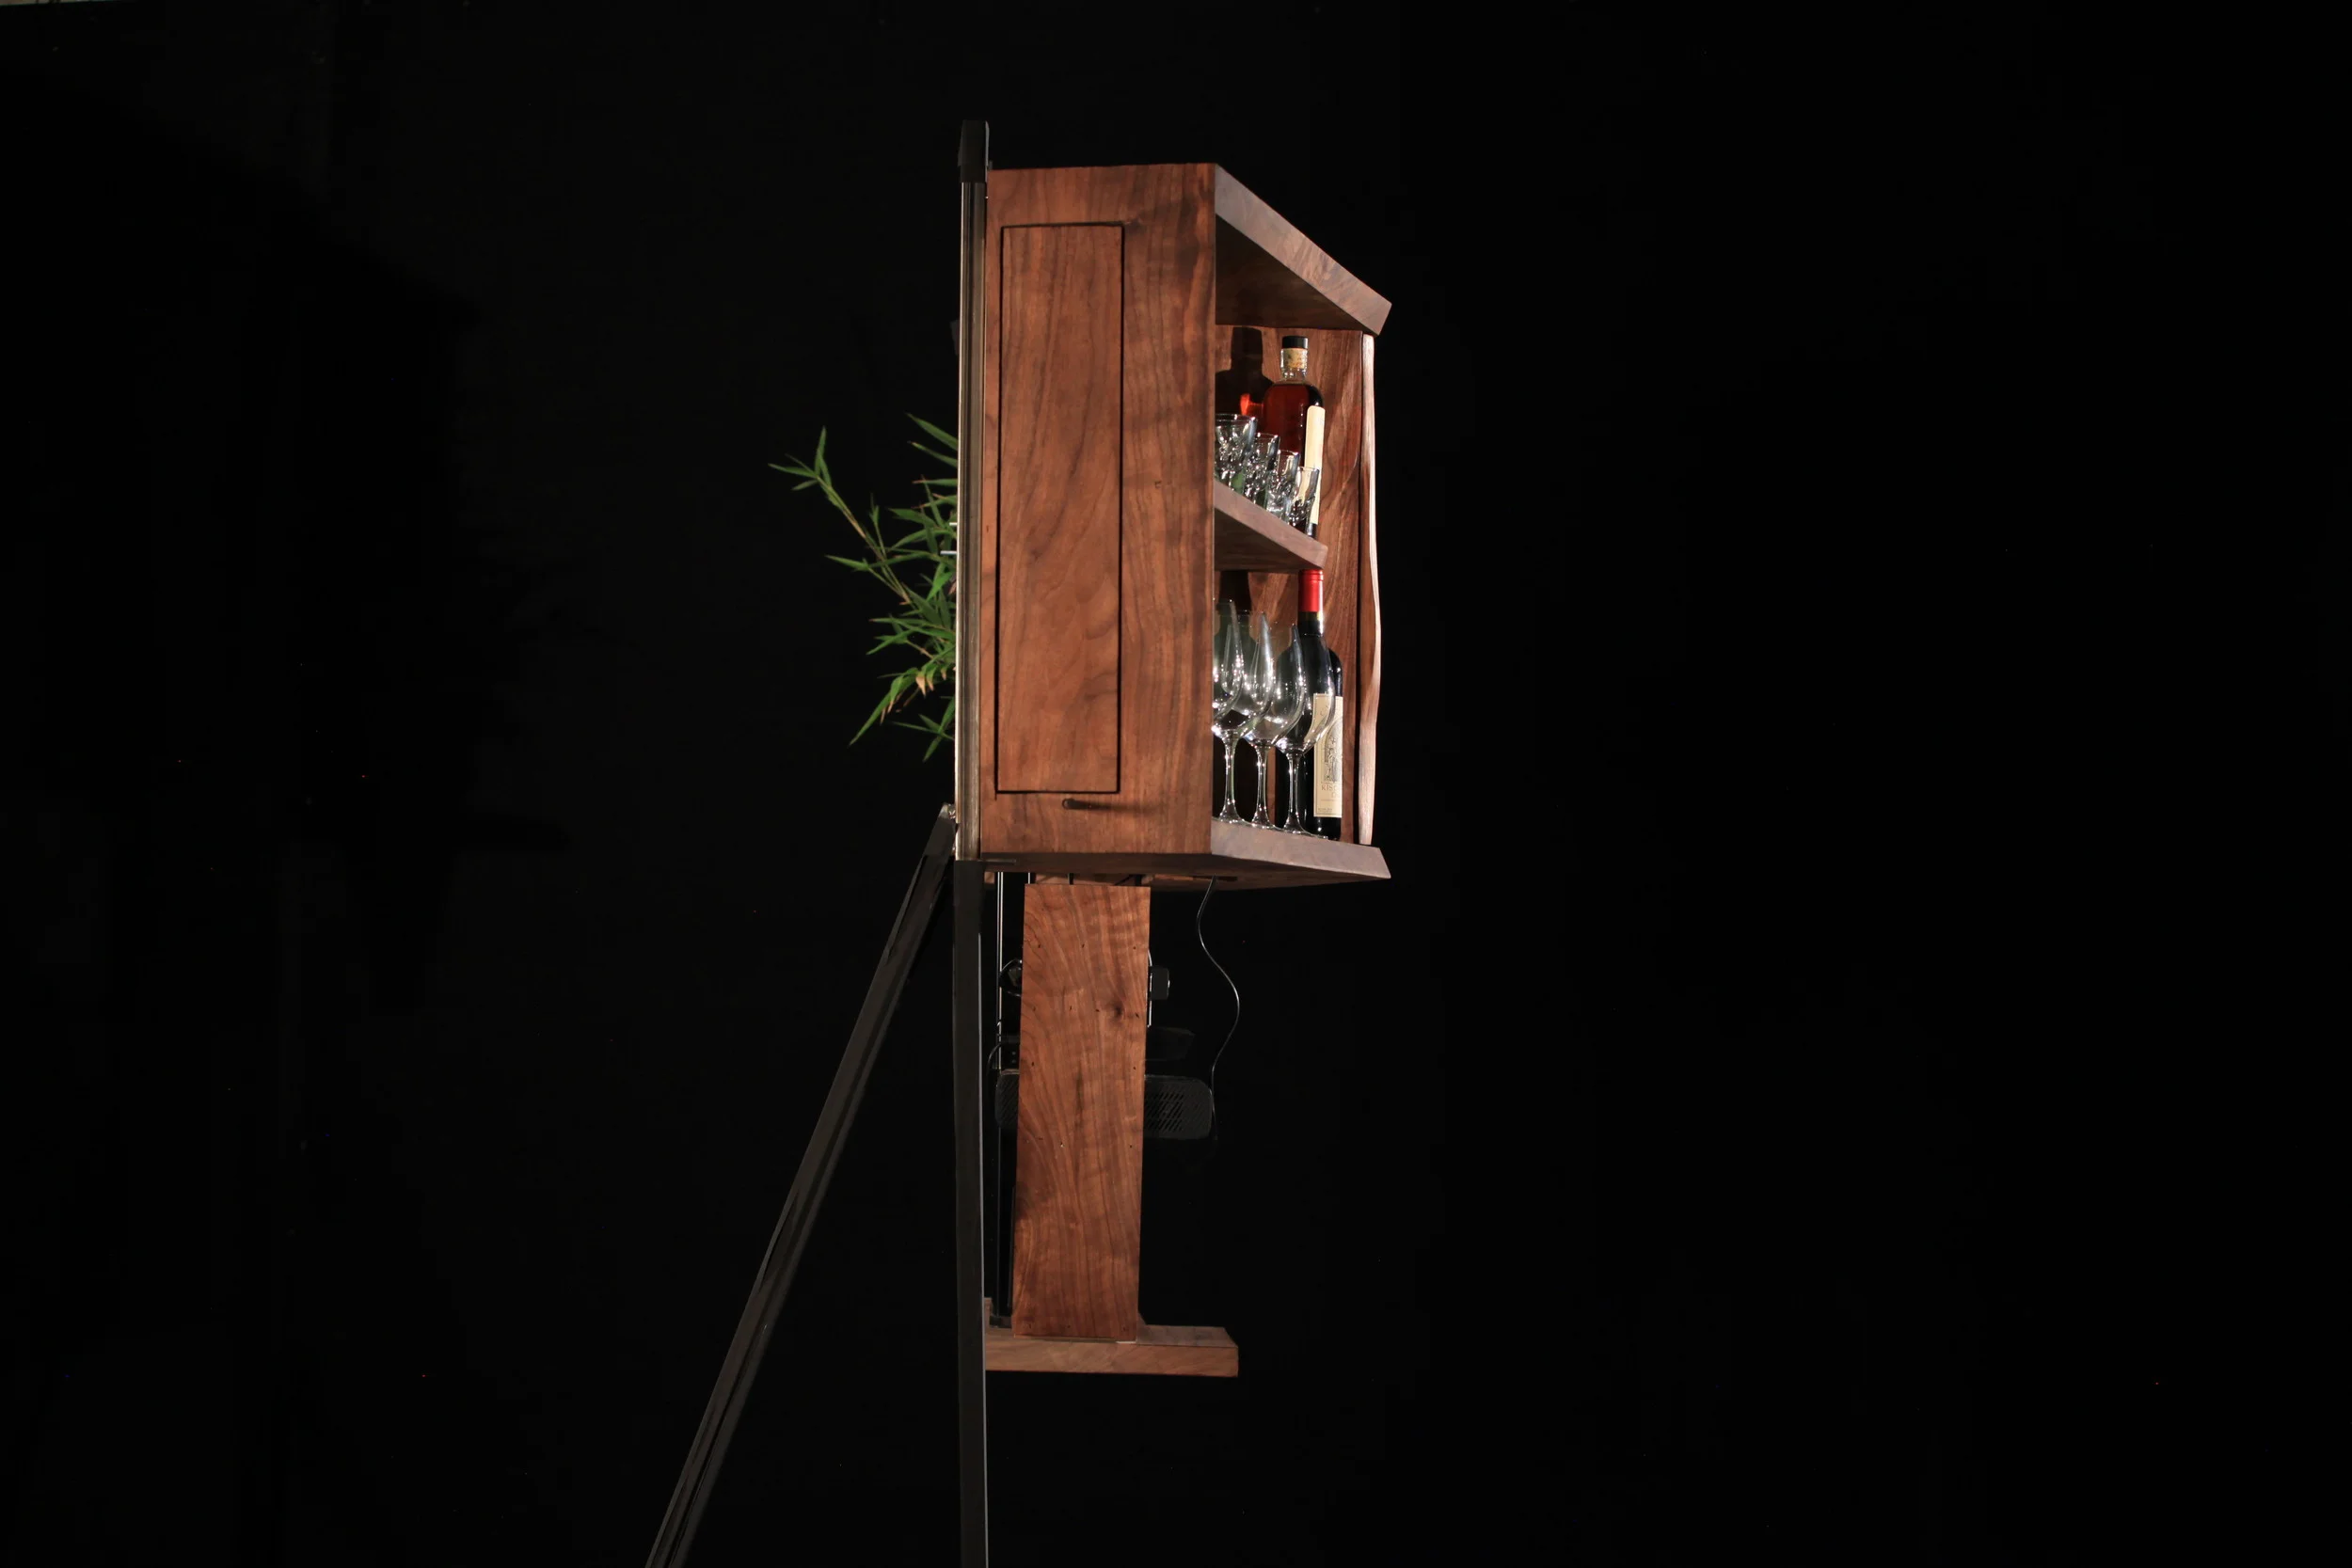
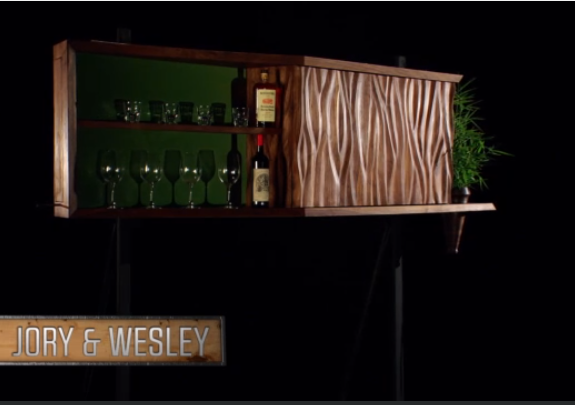
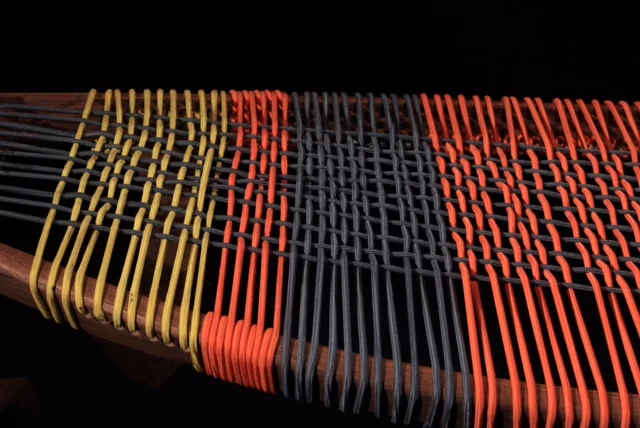
Jory Brigham’s tables use solid hardwoods and fine veneers. Natural wood provides strength, durability, and a warm aesthetic. Each piece is selected for grain, texture, and color, ensuring visual interest and uniqueness.
Finishes highlight the wood’s natural beauty while protecting it. Hand-applied finishes allow control over sheen and texture, creating surfaces that are smooth to touch and visually elegant.
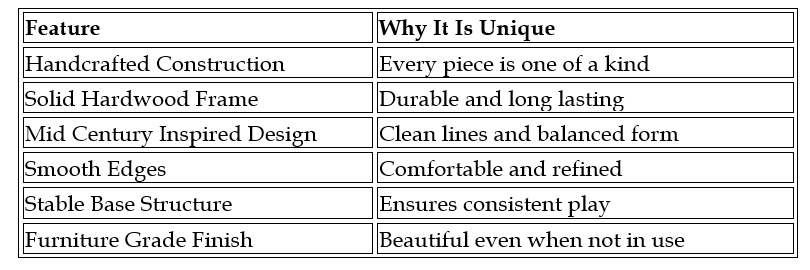
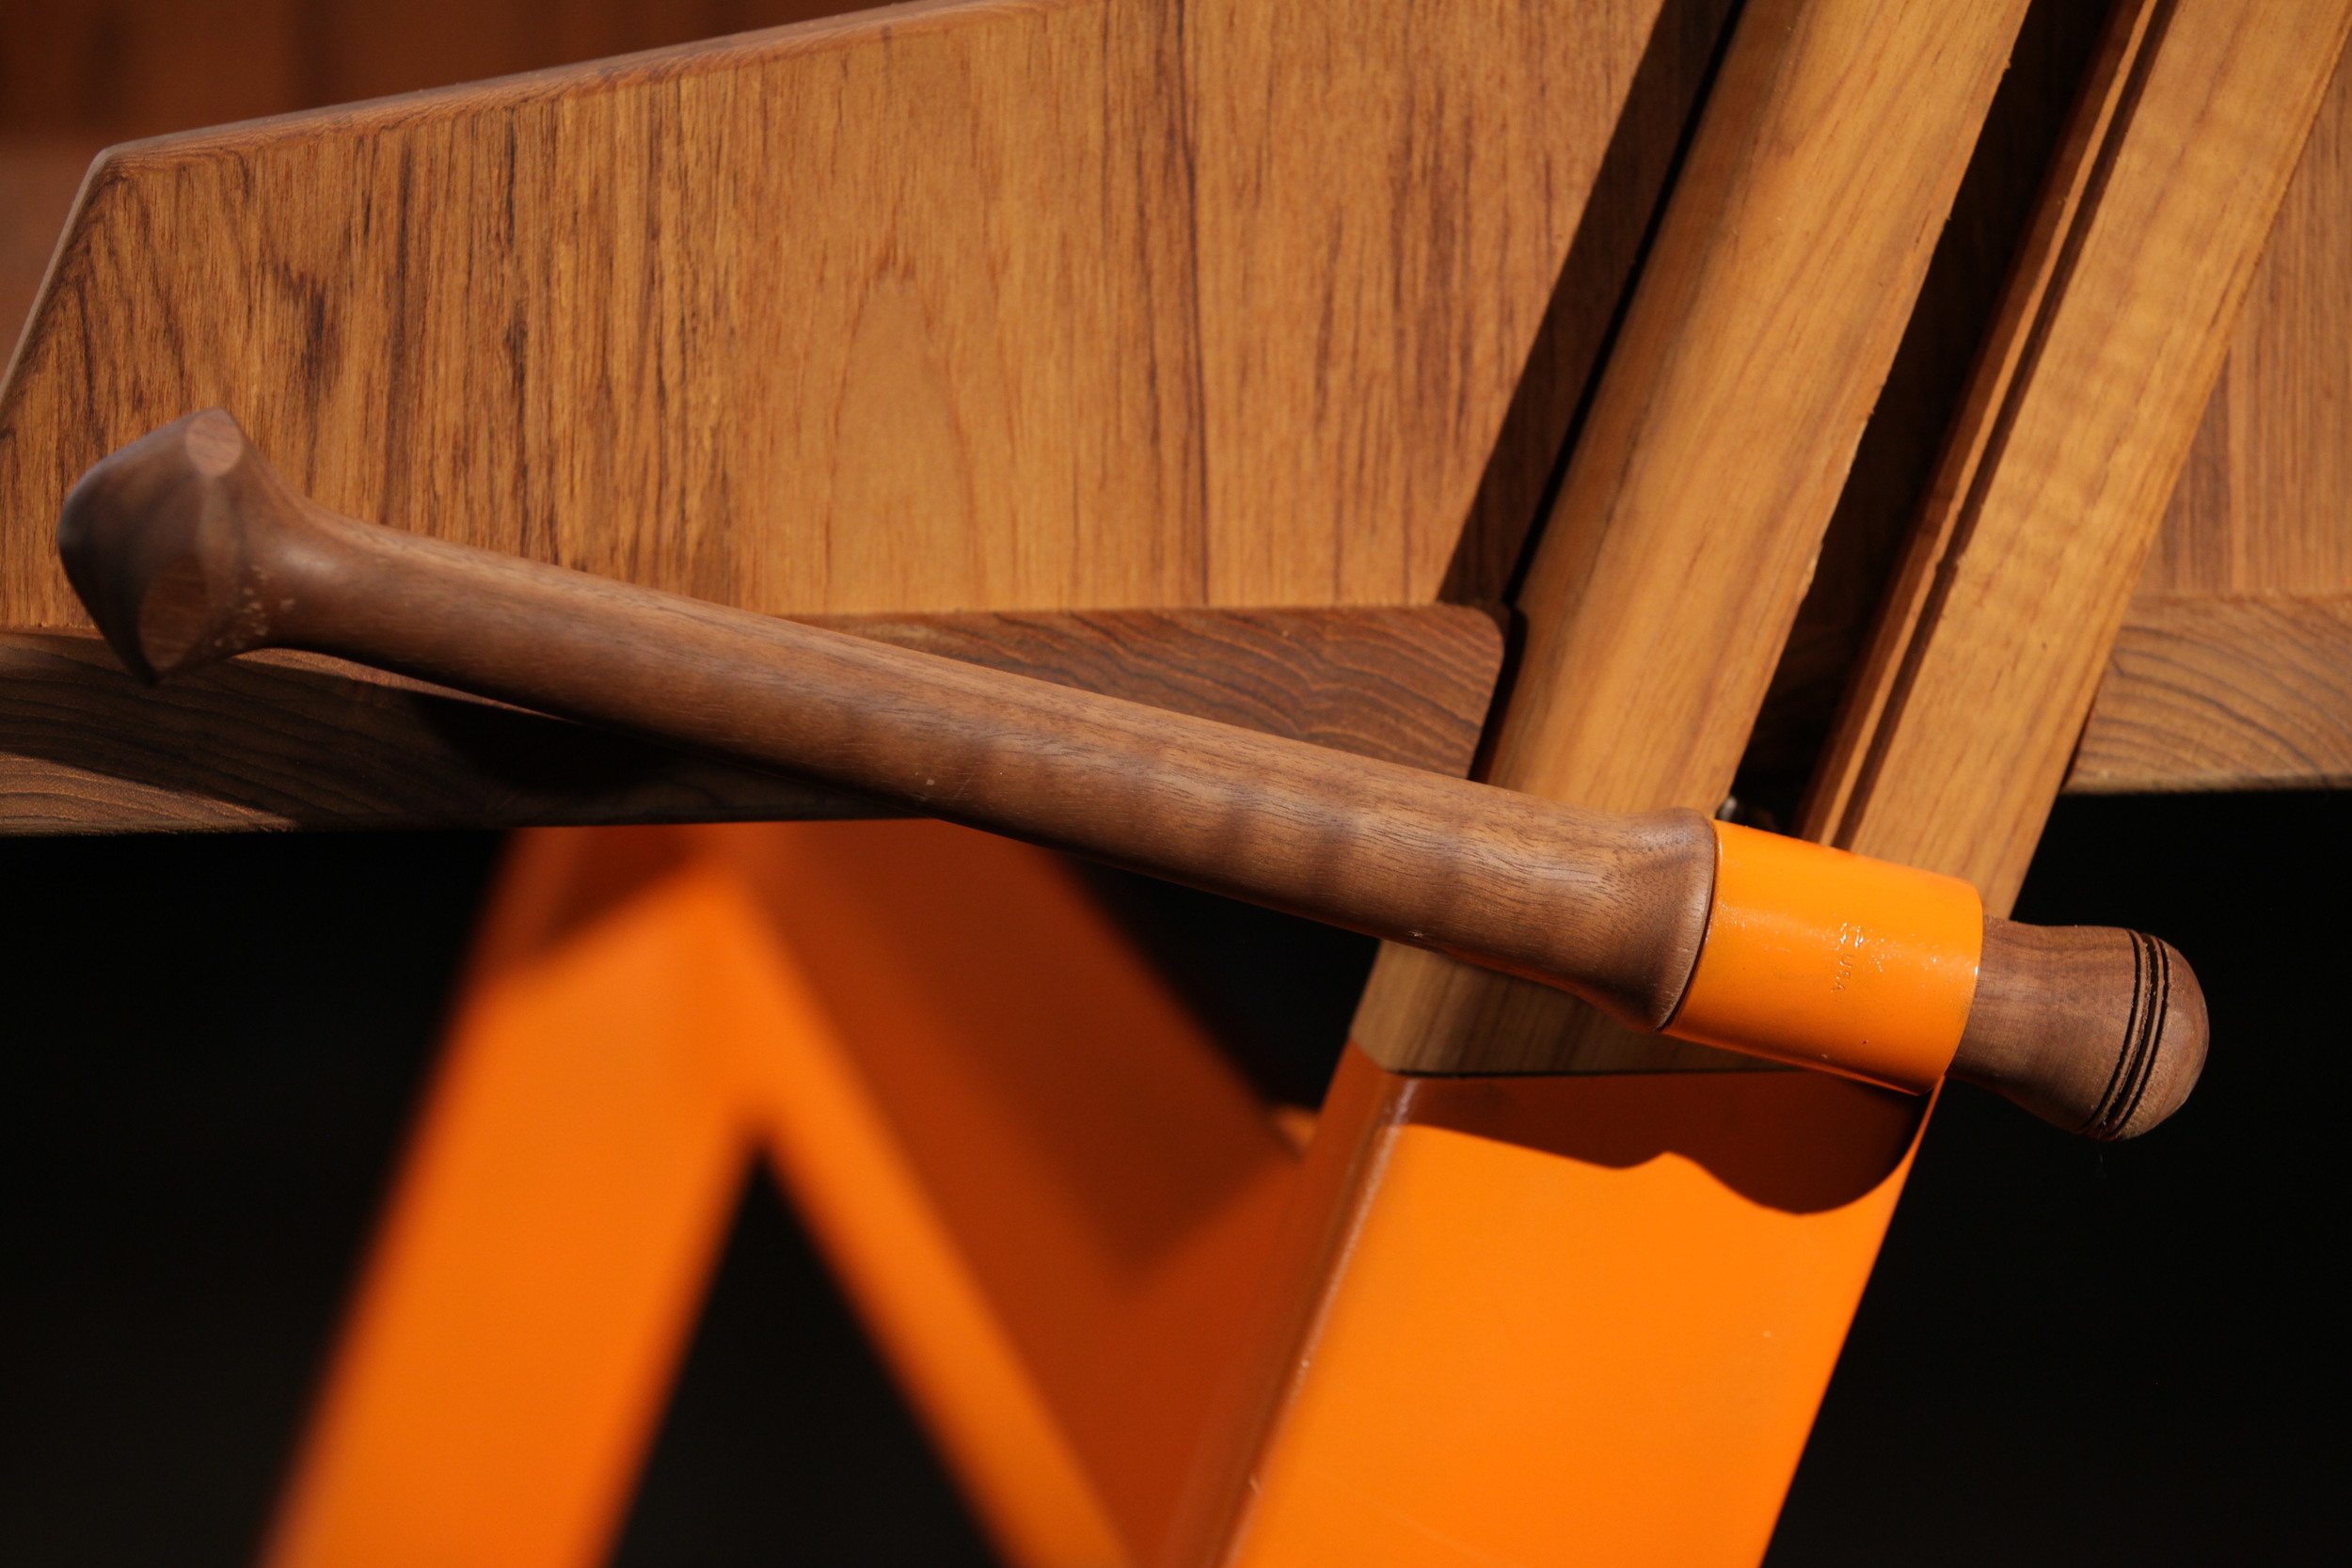
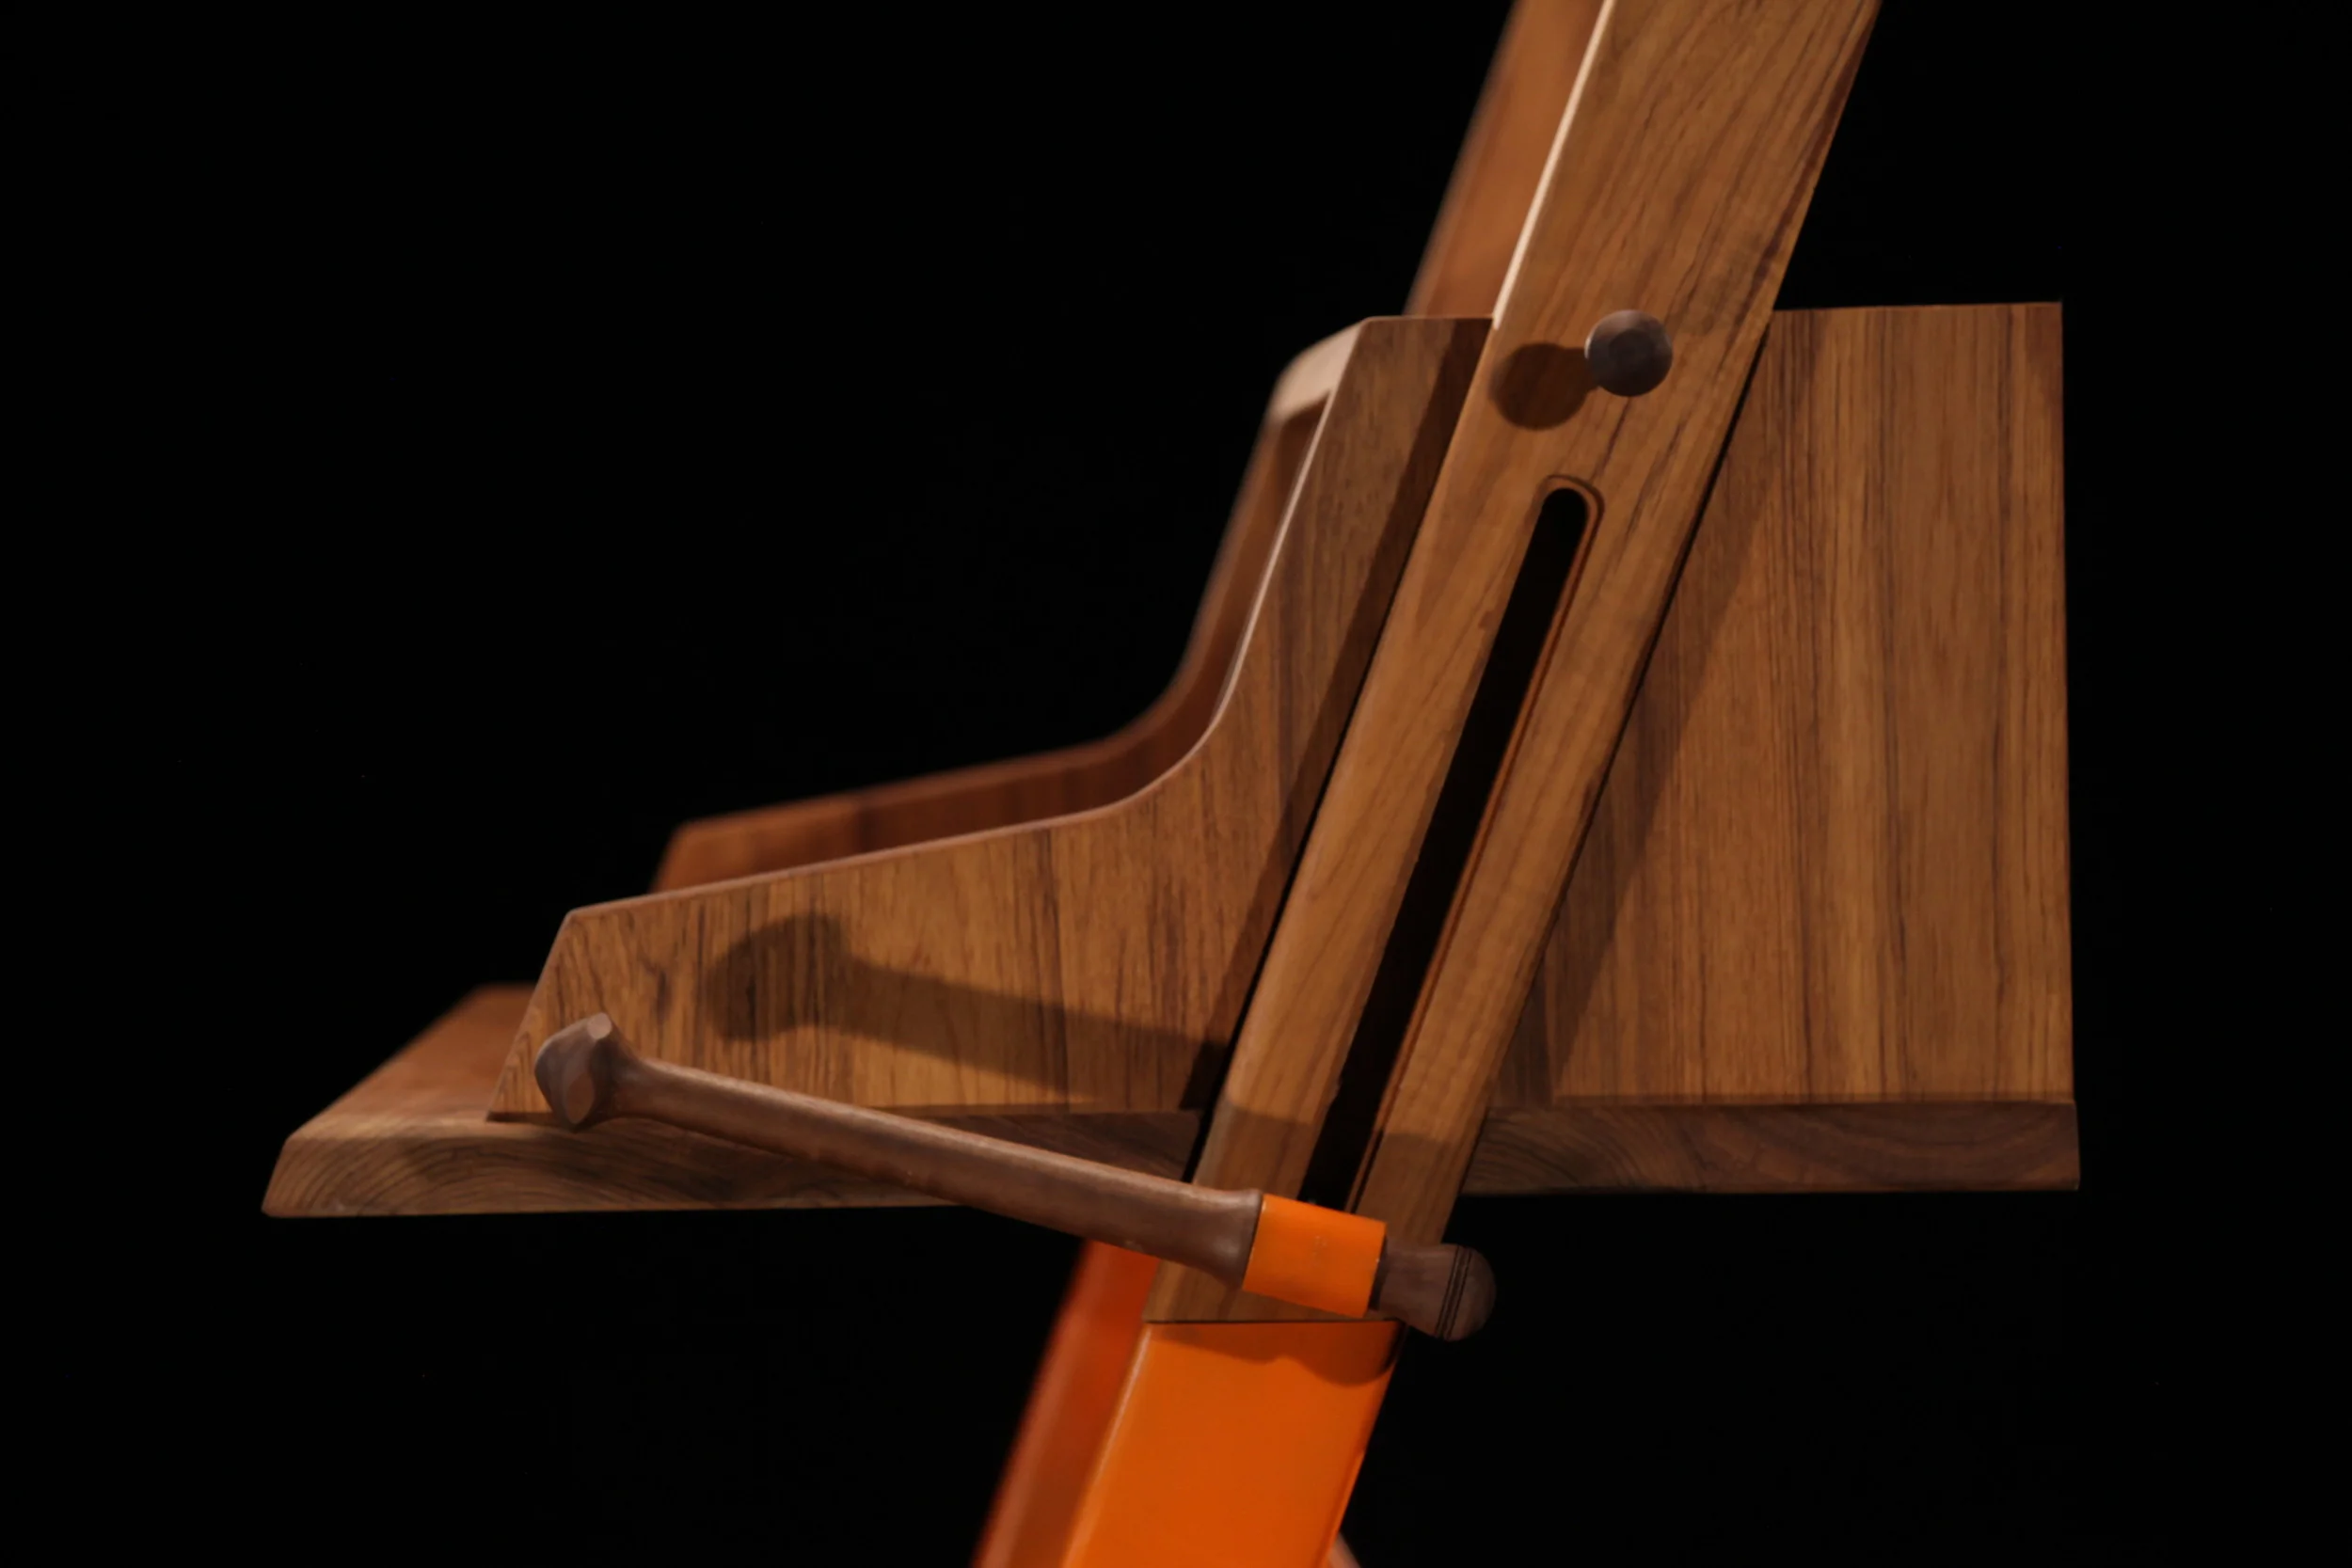
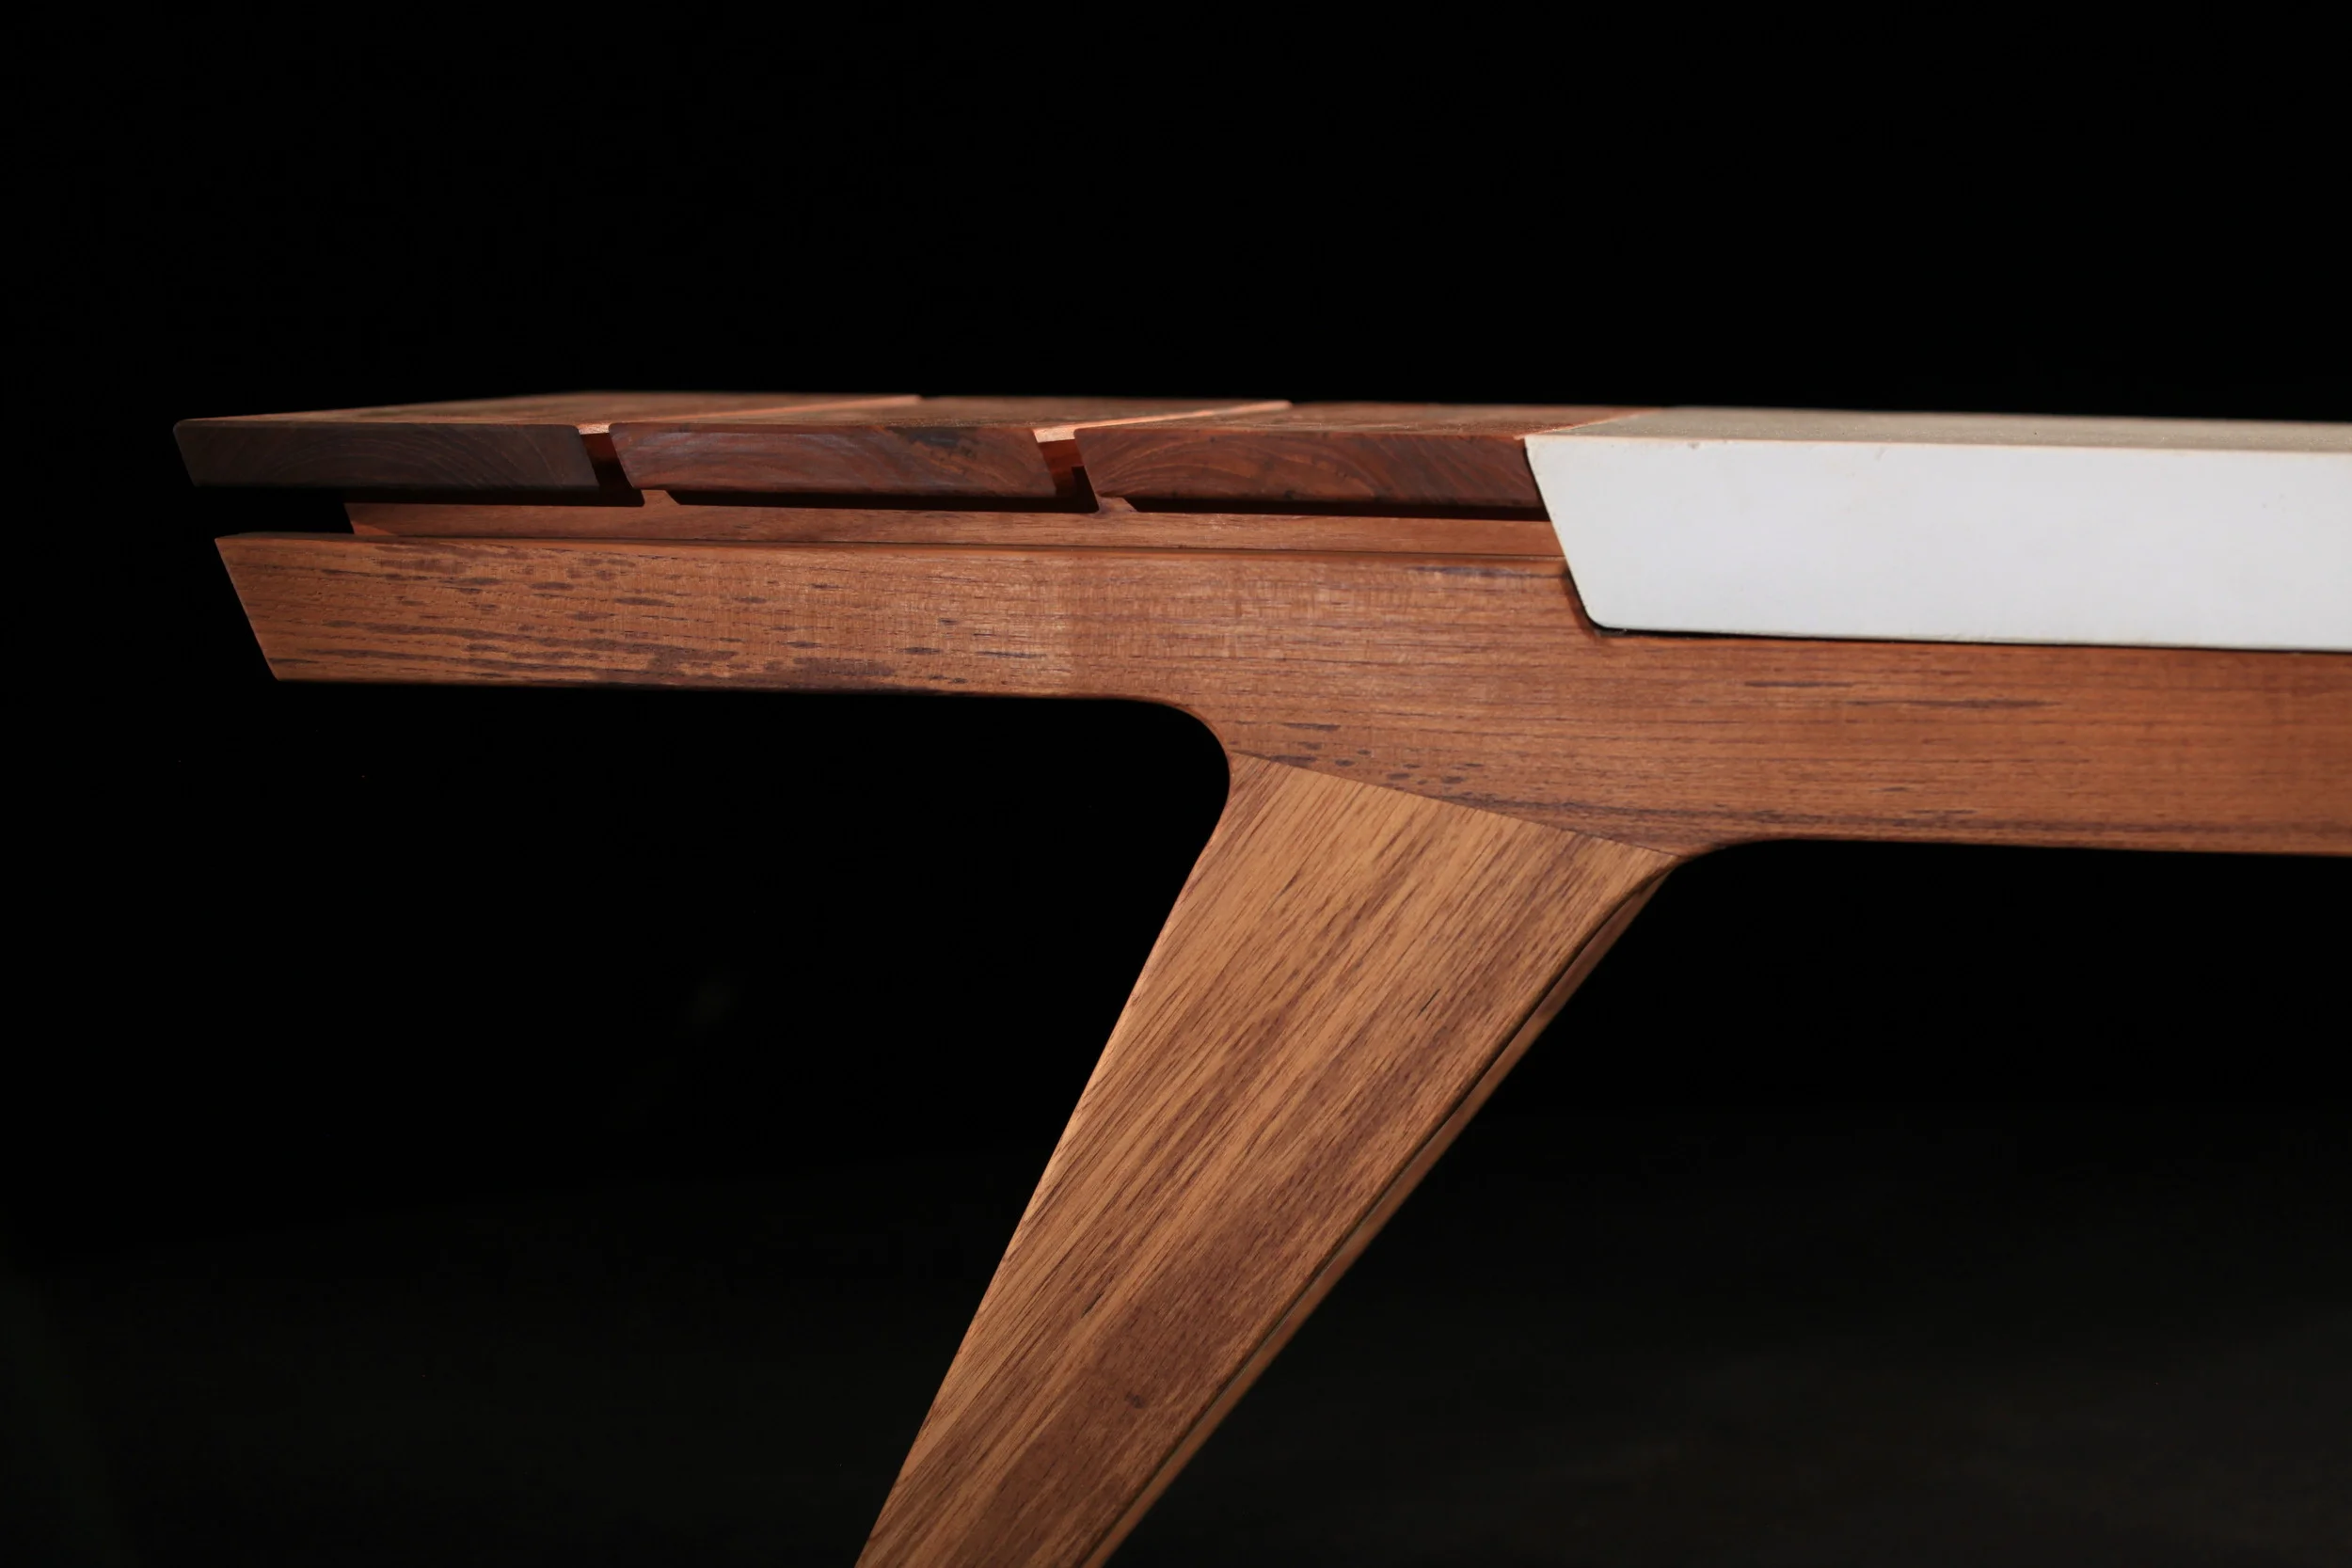
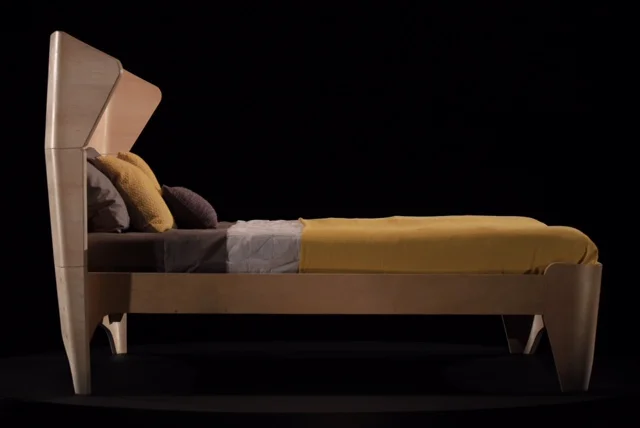
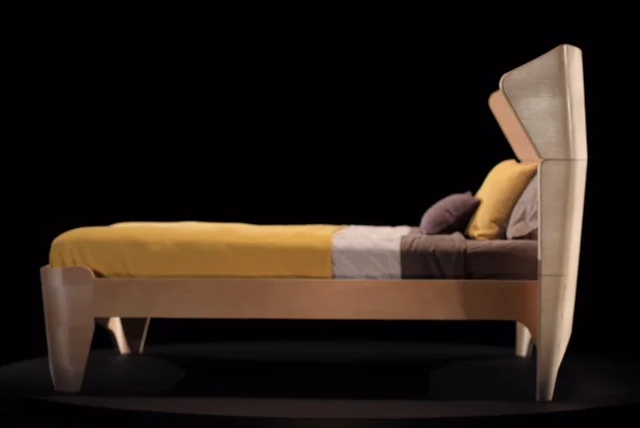
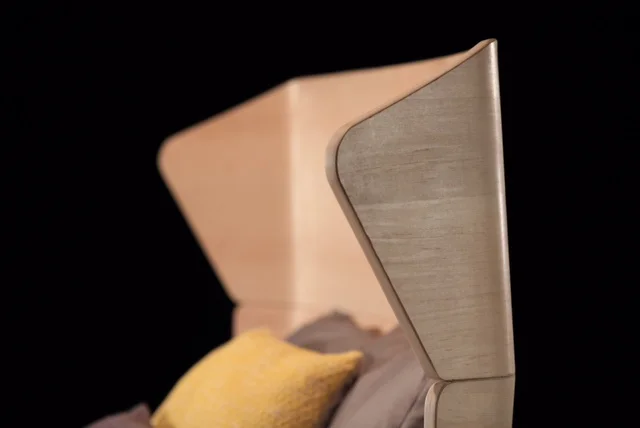
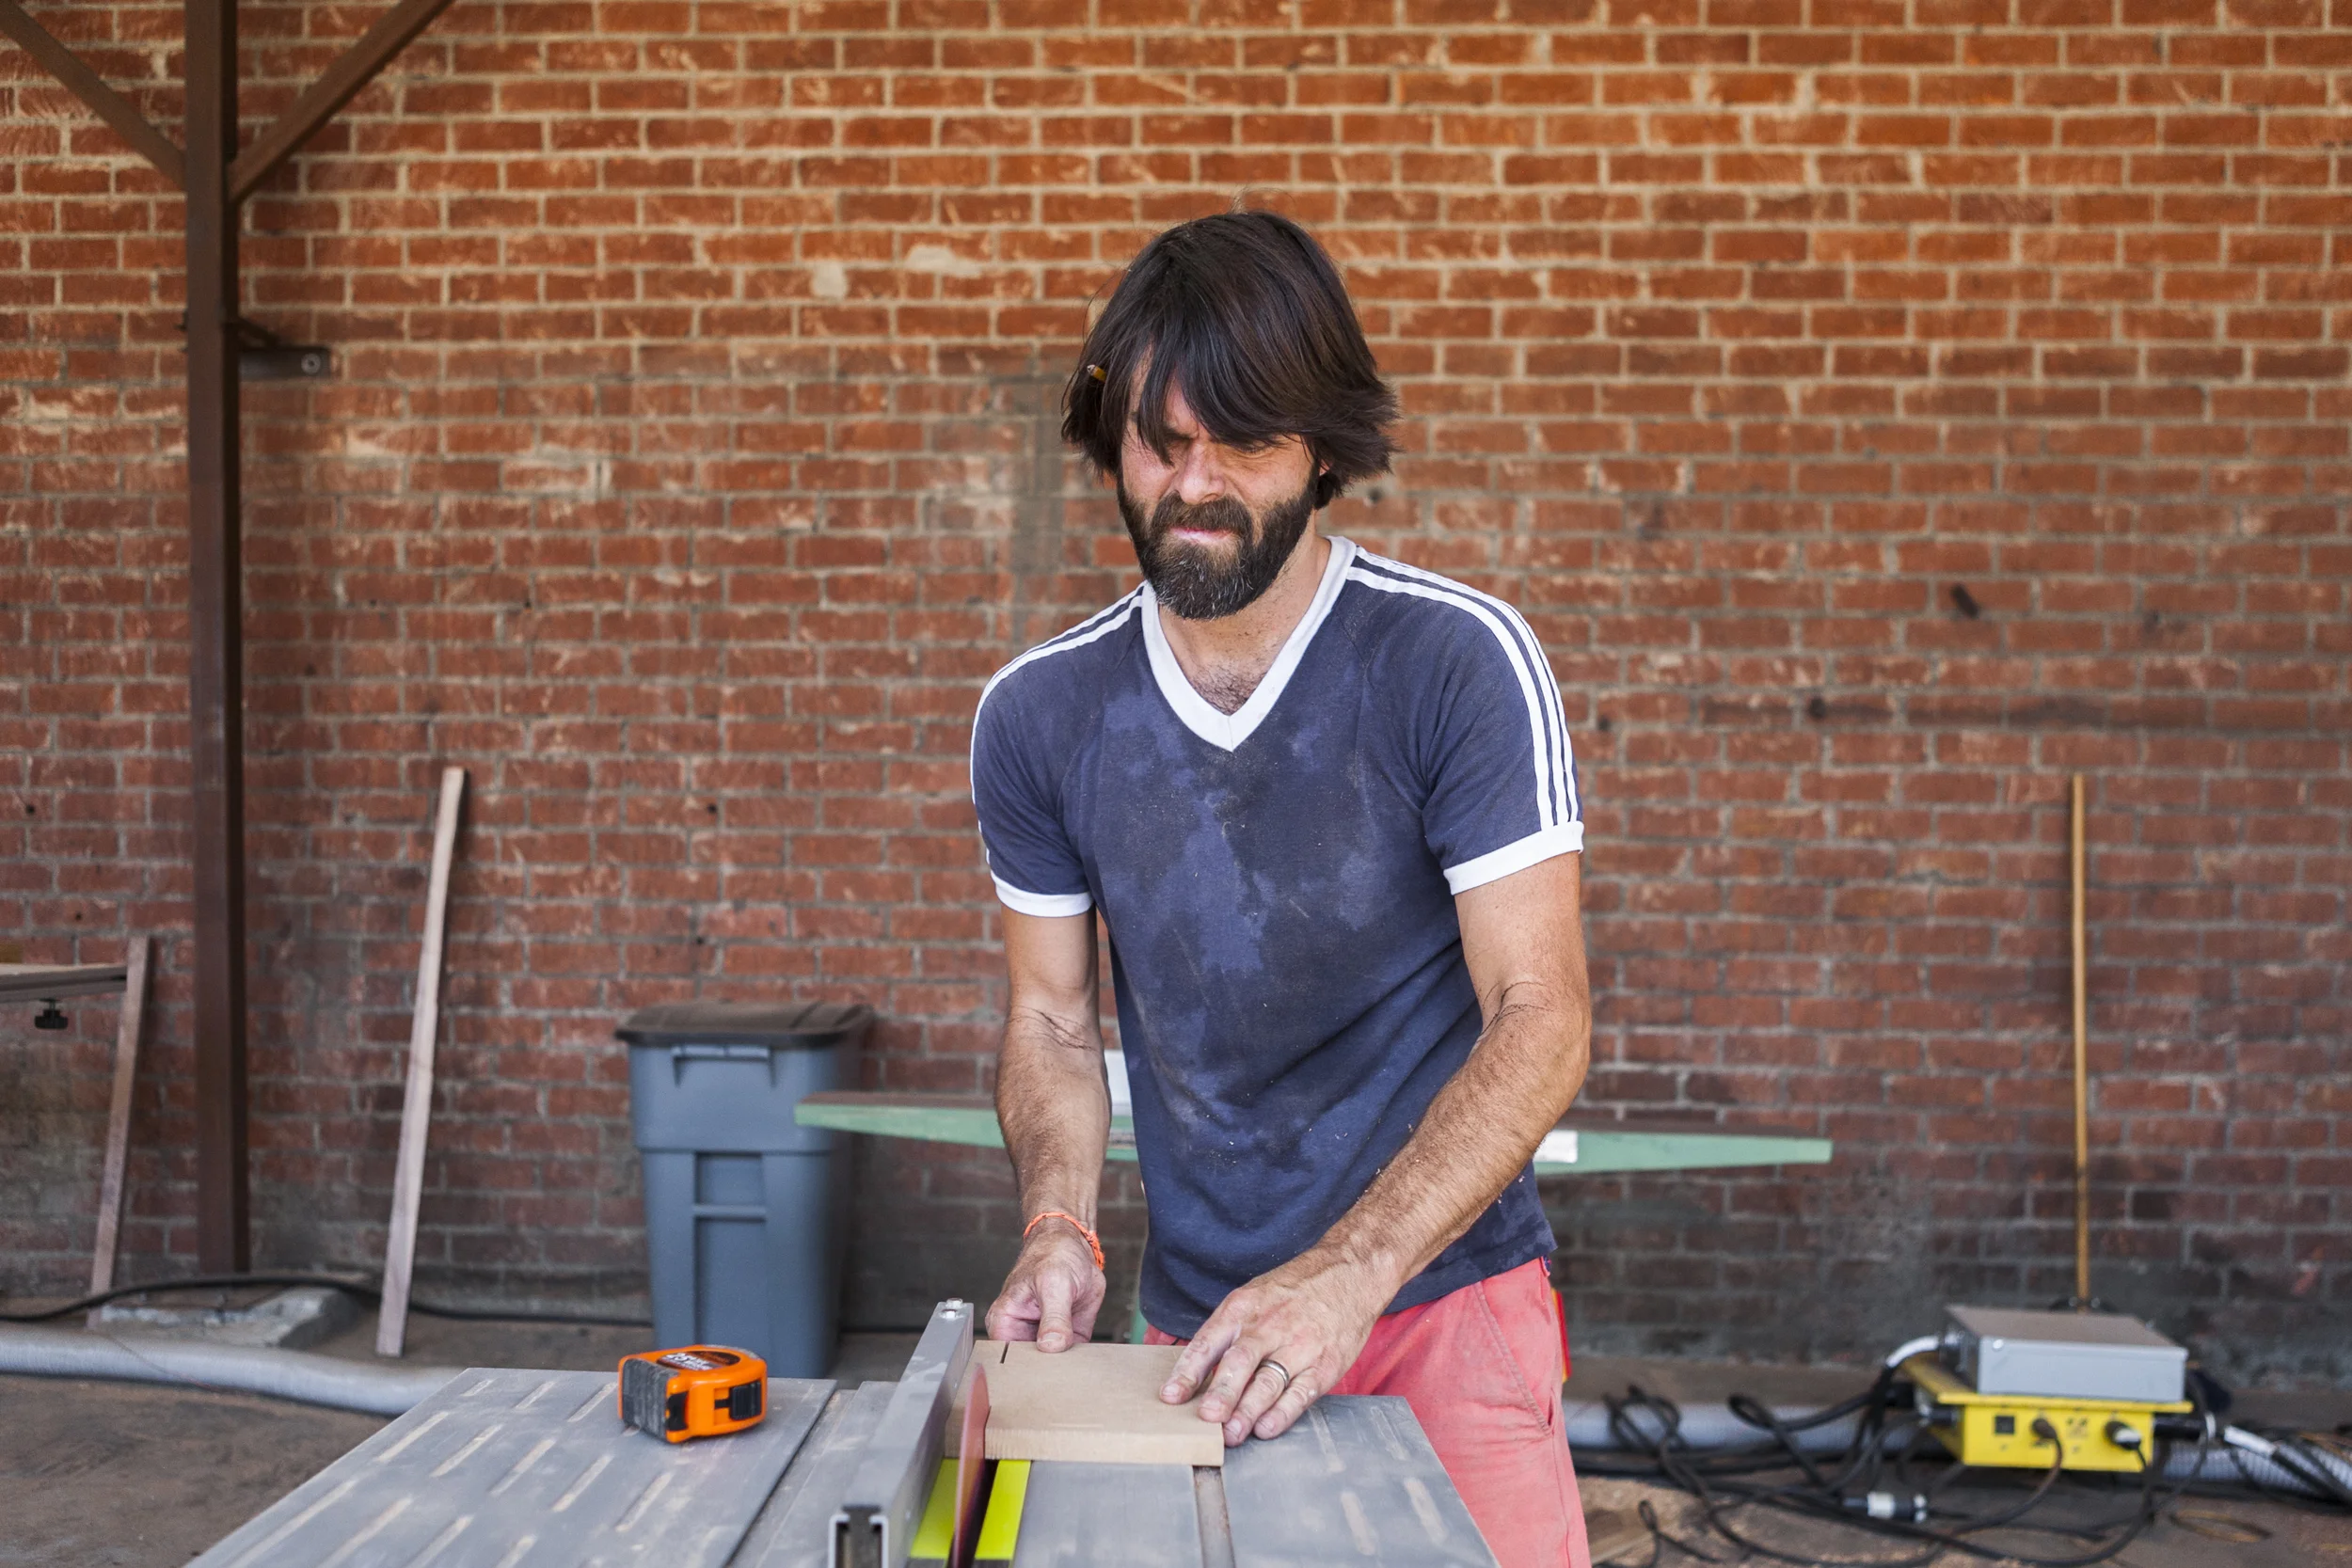
Edge Design and Details
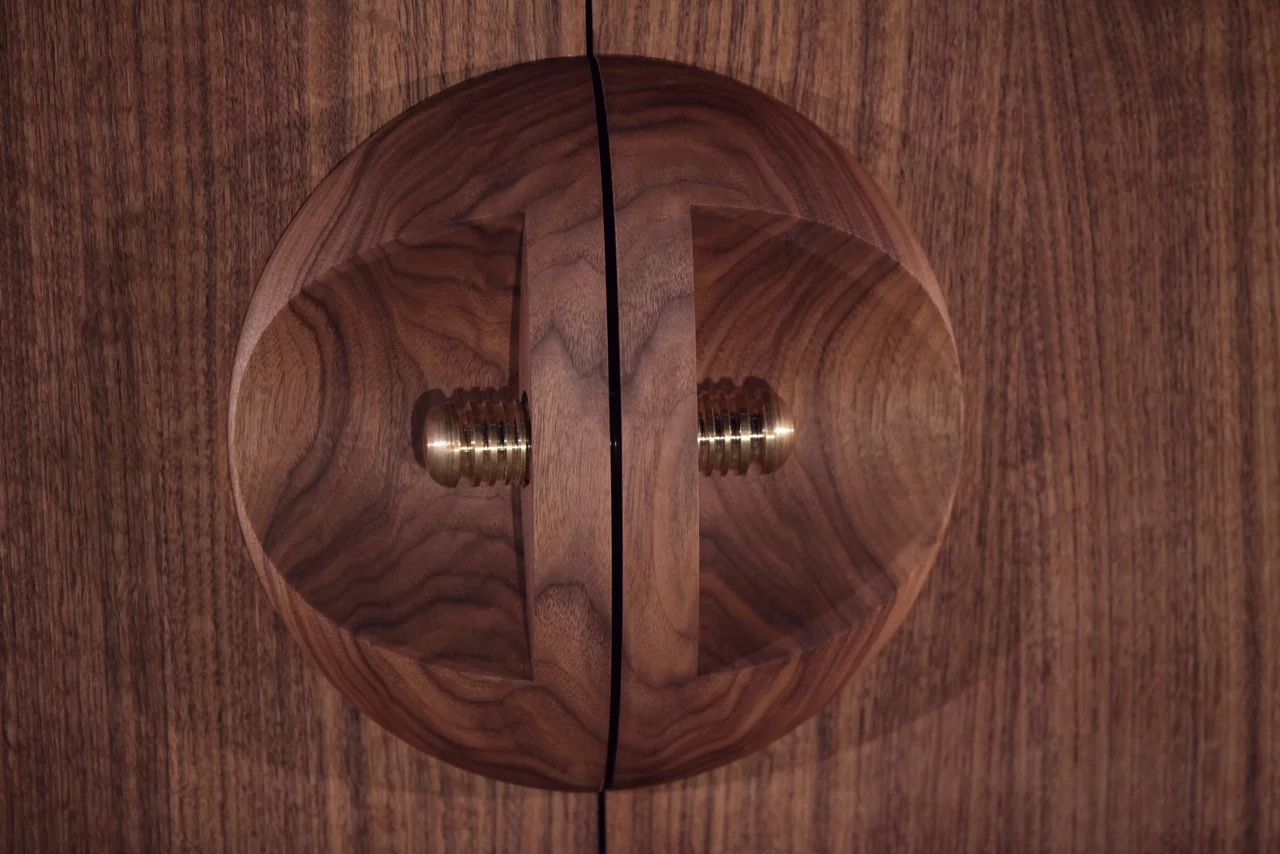
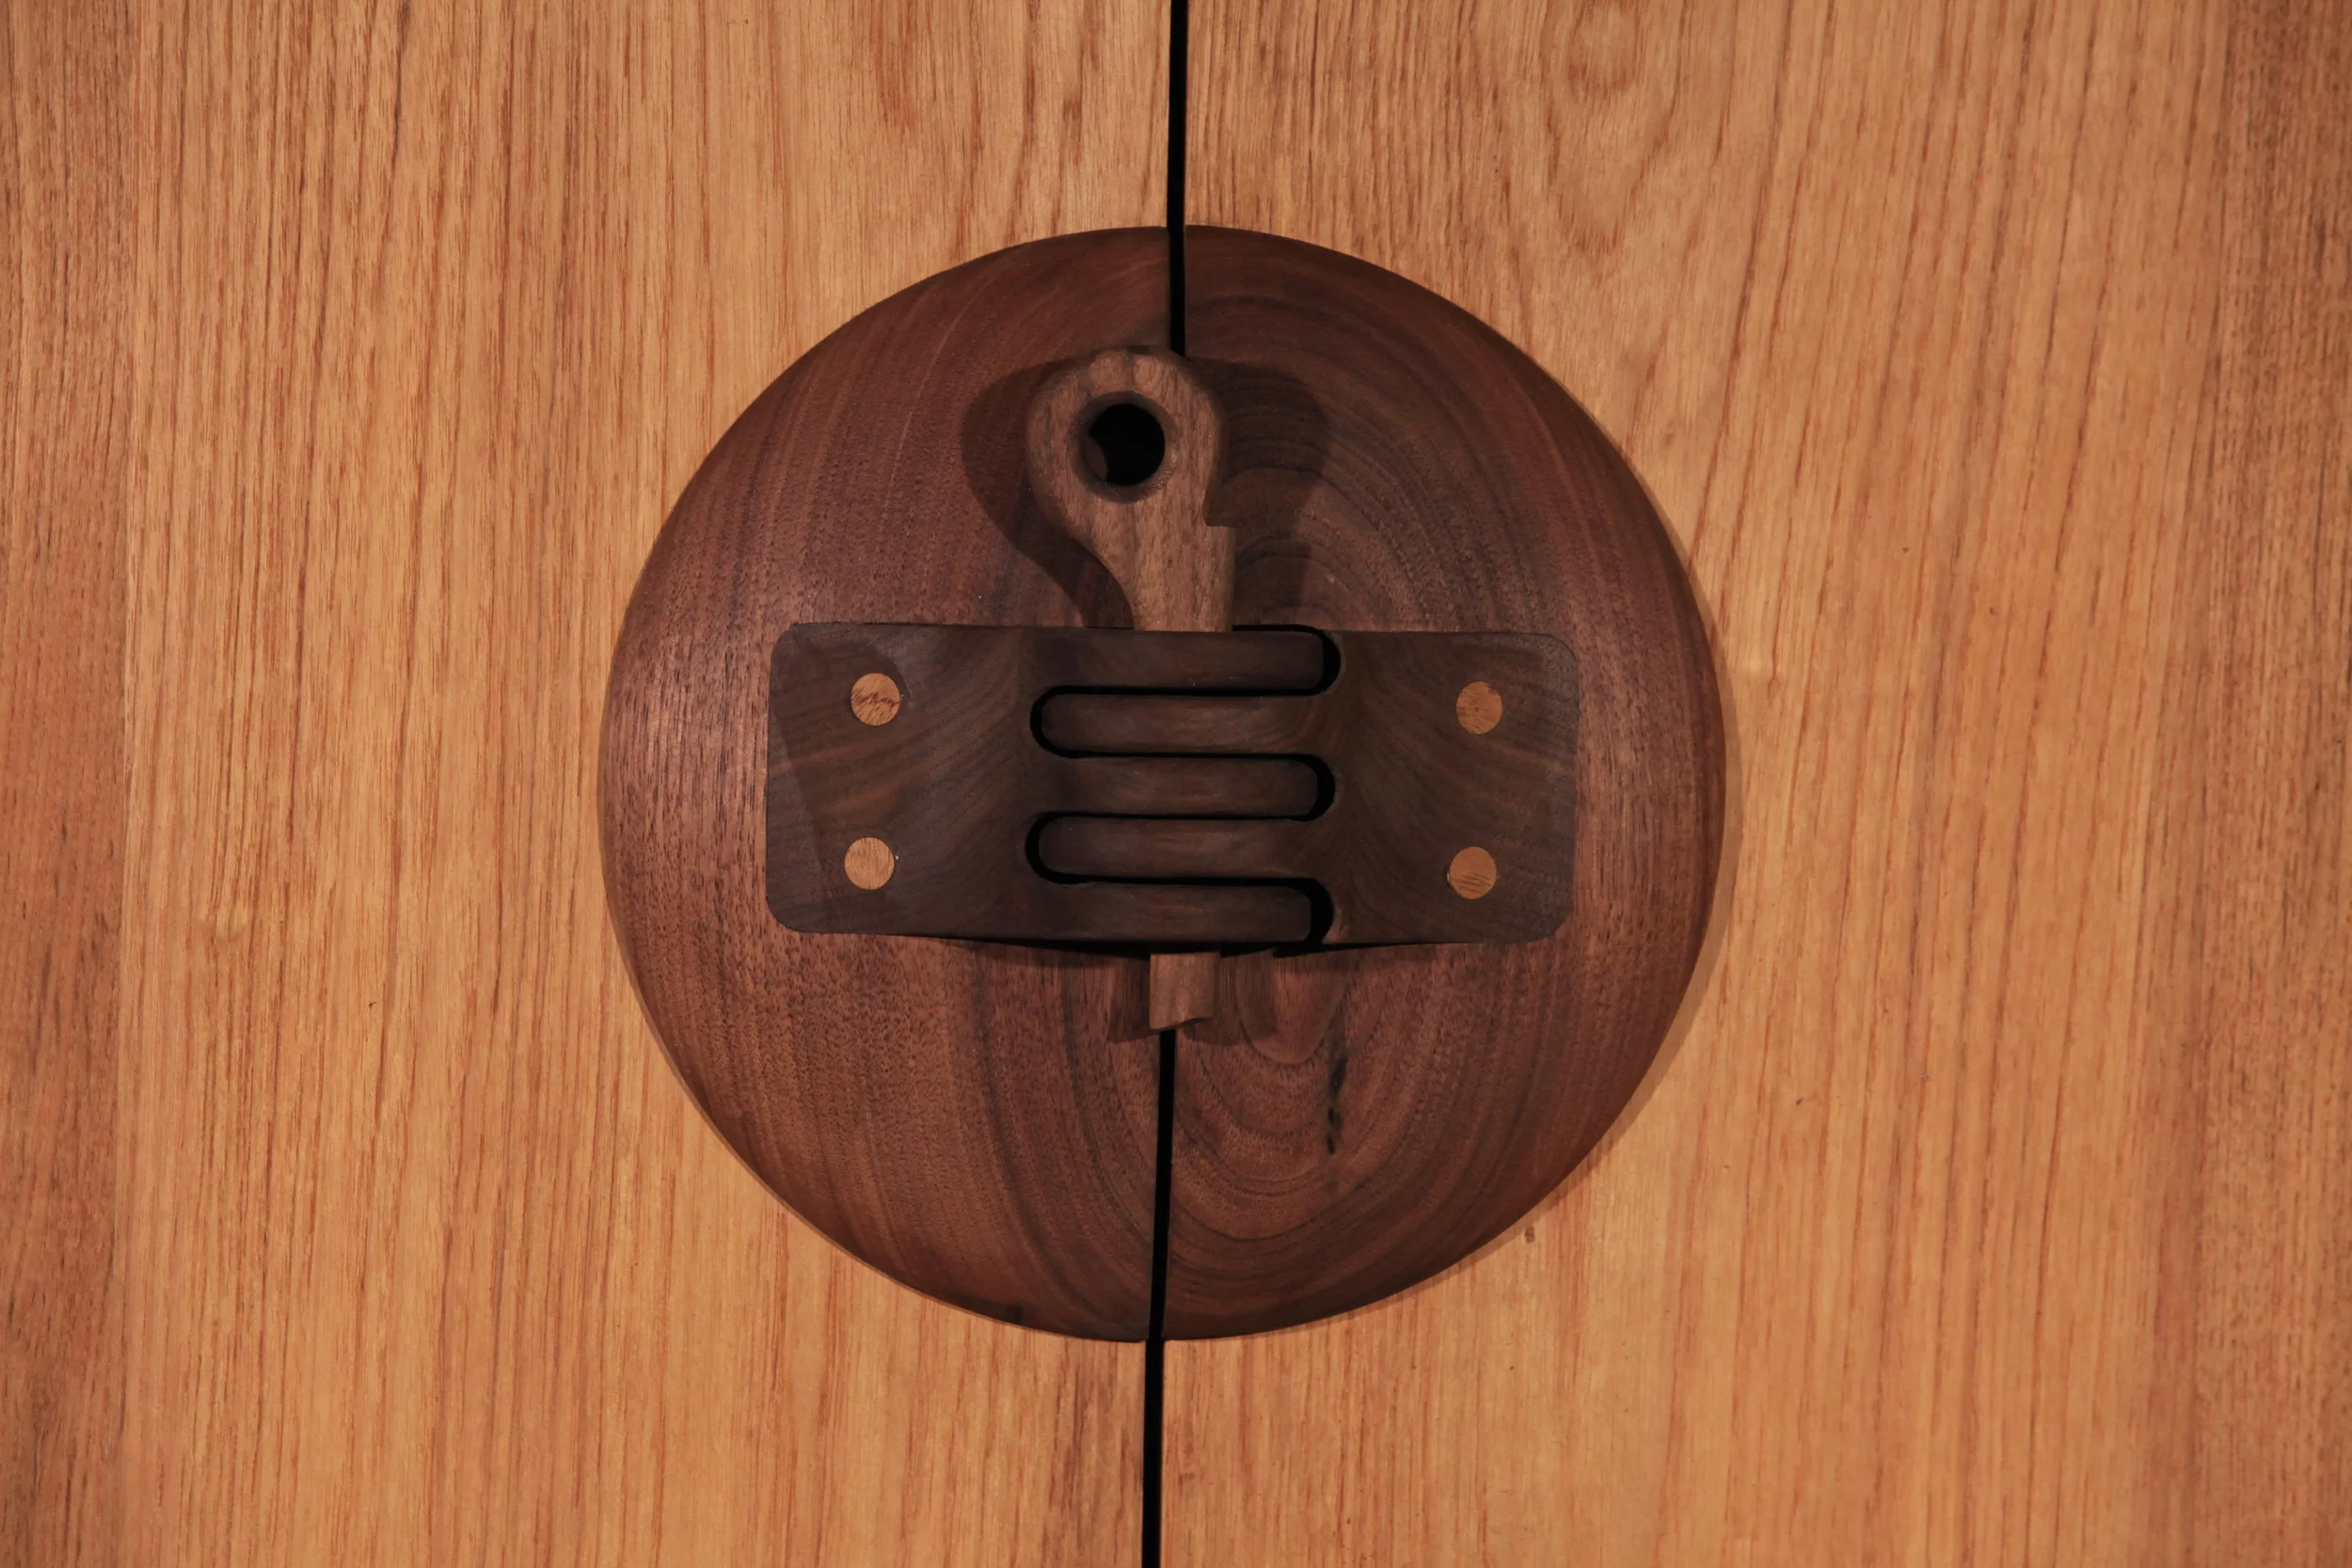
Edges are functional and aesthetic. Rounded or beveled edges provide comfort for arms and prevent sharp corners in tight spaces. Subtle sculpting of edges adds a design element that reflects mid-century sensibility.
Additional details may include inlaid strips, carved accents, or contrasting wood highlights. These elements make the table unique while maintaining professional elegance.
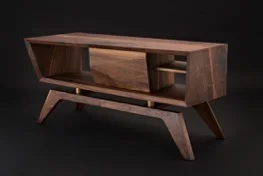
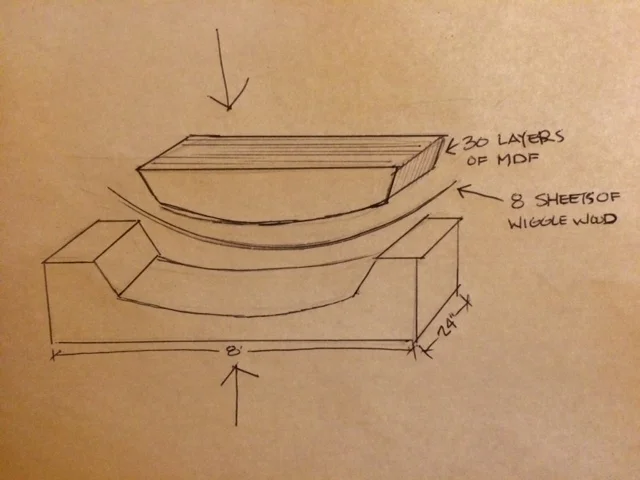
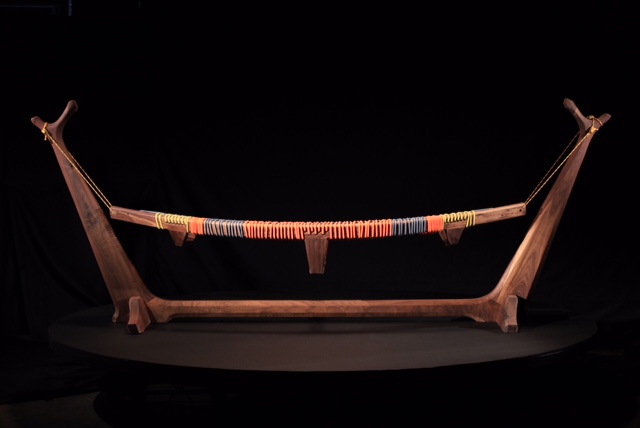
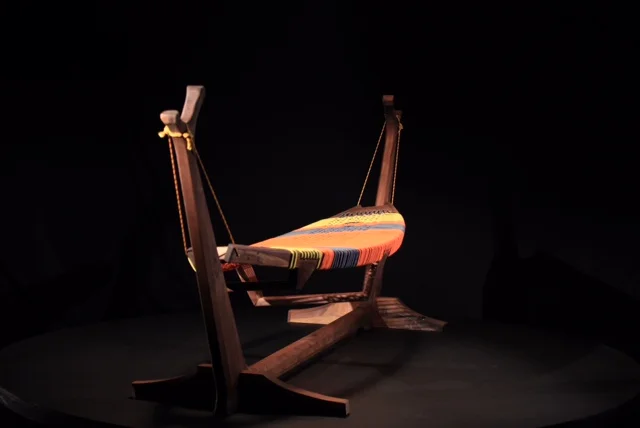
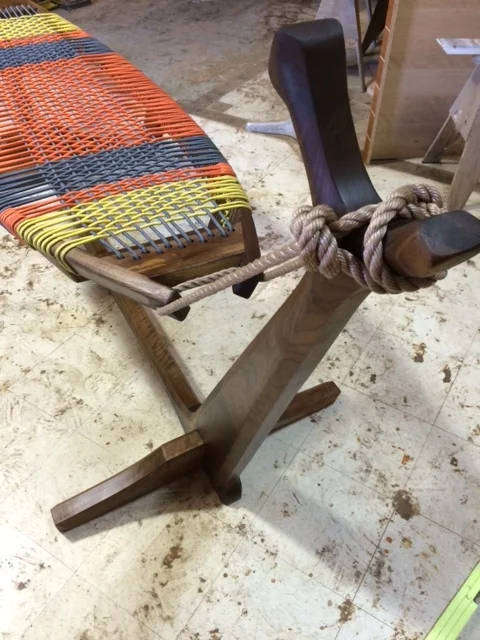
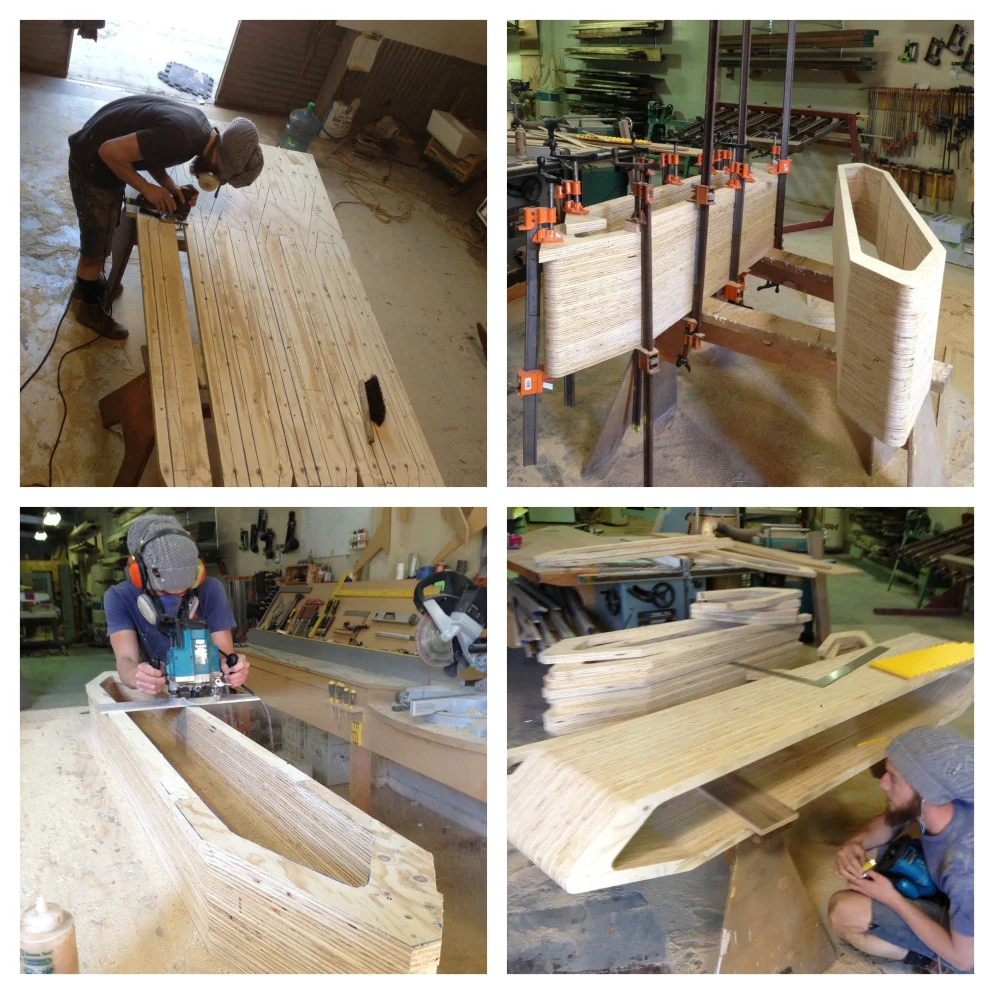
Structural Support and Stability
A large Shuffle Board requires a strong, stable base. Jory considers leg placement, bracing, and support structures to prevent wobbling. Properly designed legs and reinforcements support the table evenly and handle daily use.
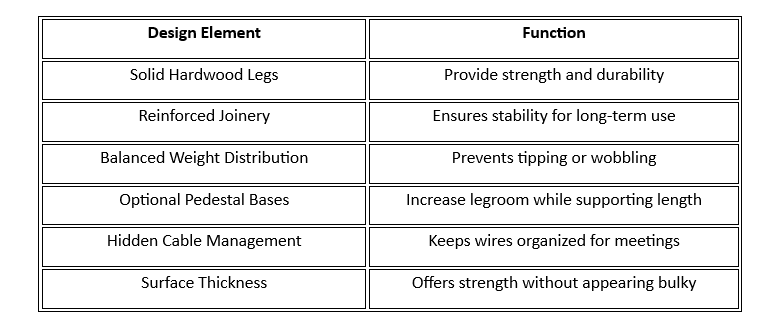
This combination of stability and design ensures that the table is both functional and visually balanced.
Seating and Ergonomics
Comfort is a priority in Shuffle Board design. A custom-sized table considers seat spacing, legroom, and clearance for chairs. Ergonomics ensures that participants remain comfortable during long meetings.
Jory’s approach balances aesthetics with practical comfort. Smooth edges, proper height, and carefully considered proportions make every seating experience pleasant.
Placement and Room Integration
A Shuffle Board should fit the room’s dimensions and layout. Adequate space around the table allows movement and proper chair placement. Lighting, flooring, and surrounding furniture all influence the table’s visual impact.
Custom sizing allows the table to integrate seamlessly into the space. It becomes a centerpiece without overwhelming the room, creating a professional yet inviting atmosphere.
How High-End Game Tables Inspire Shuffle Board Design
Many design principles of game tables influence Shuffle Board. Attention to detail, proportions, tactile finishes, and the balance between functionality and elegance are shared qualities.
Game tables often include subtle features such as integrated cup holders or smooth playing surfaces. Applying similar care to Shuffle Board ensures a combination of usability and beauty. Both highlight Jory Brigham’s philosophy of craftsmanship, patience, and creative restraint.
Final Thoughts
A customized Shuffle Board is a centerpiece of both function and design. Jory Brigham’s handcrafted tables combine mid-century inspiration with modern creativity to produce pieces that are elegant, durable, and perfectly suited to their space.
By focusing on materials, structure, ergonomics, and aesthetic details, a well-designed Shuffle Board supports comfort, collaboration, and professionalism. It is not just furniture. It is a lasting work of art that enhances the entire room.
The customized furniture market is expected to reach about USD 87.43 billion by 2031. It is growing at an average rate of 6.3% each year from 2024 to 2031. ( source)
Discover the elegance and craftsmanship of a customized Shuffle Board by Jory Brigham. Explore his handcrafted collection today and elevate your workspace with timeless design.
Frequently Asked Questions
-
It is designed to fit the specific space and needs of the room, offering optimal proportions and comfort.
-
Yes. Jory Brigham’s handcrafted tables balance aesthetics with practical features like stability and ergonomics.
-
Solid hardwoods and fine veneers are chosen for strength, durability, and visual appeal.
-
Very. They provide comfort, prevent injury, and add a design element that elevates the table’s style.
-
Yes. Cable management, sufficient surface area, and stable design allow for laptops, screens, and other equipment.
-
Handcrafted joinery and carefully selected materials ensure that the table remains strong and beautiful for decades.